Installing and Using the White Label Plugin on WordPress
After generating the white-labeled plugin in ResellPortal and receiving the ZIP file by email from Buy Applications, the next step is to install it on your client’s WordPress site. This section walks you through the full installation and activation process, as well as what to expect once it's live.
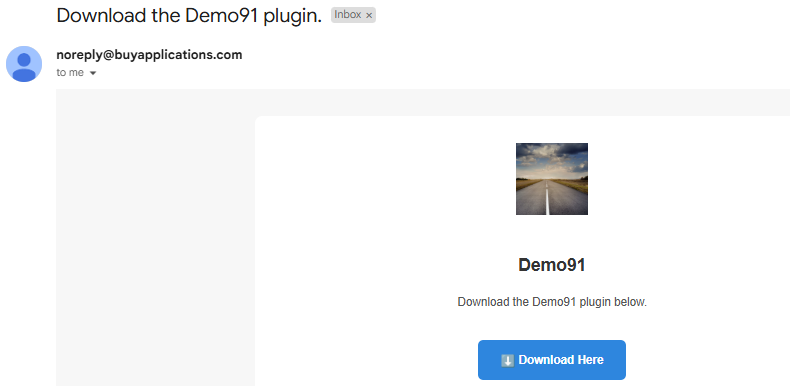
Step 1: Download the Plugin ZIP File
-
Check your email inbox (the one linked to your reseller account).
-
Look for an email from us with the subject line including your plugin name.
-
Download the attached ZIP file — this is your custom-branded plugin.

Step 2: Install the Plugin on WordPress
-
Log in to your WordPress admin dashboard (yourwebsite.com/wp-admin).
-
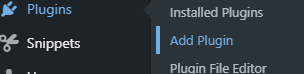
In the left-hand navigation menu, click on Plugins → Add New.

-
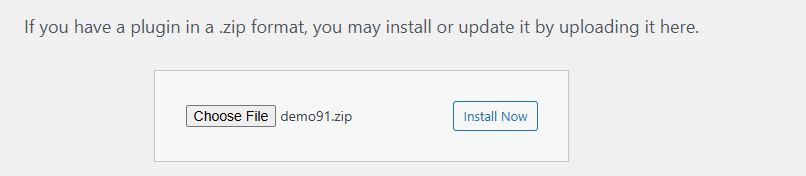
At the top of the screen, click the “Upload Plugin” button.

-
Click “Choose File”, select the ZIP file you received via email, and then click “Install Now”.

-
Wait for the upload and installation to complete.
-
Once done, click the “Activate Plugin” button that appears.


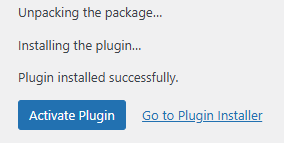
✅ You should now see your white-labeled plugin appear in the left navigation bar of the dashboard, using the custom name, logo, and description you configured earlier in ResellPortal.
Step 3: Access the Plugin Dashboard
-
Click on the newly added plugin in the WordPress sidebar.
-
You’ll be taken to the plugin’s custom dashboard screen.

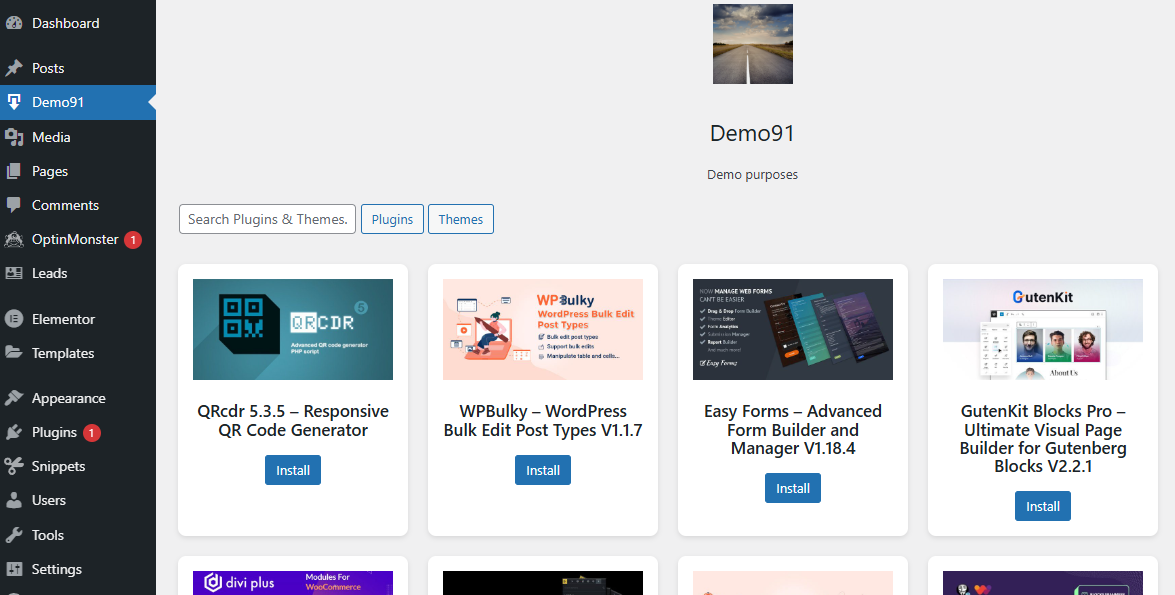
Here you’ll see:
-
Your custom branding: Plugin name, logo, author name, and description.
-
A table interface listing over 1500+ WordPress plugins and themes available for installation.
Step 4: Download Plugins & Themes
-
From the dashboard table, browse or search for the plugin/theme you want to install.
-
Each item includes a download button, version info, and a brief description.
-
Click “install” on any item to instantly install it into your WordPress environment.
🛠 These downloads come with automatic update support, powered by the licensing engine activated via ResellPortal.
Notes for Resellers
-
The plugin only works on the domain it was generated for.
-
You can manage licenses and branding anytime from your ResellPortal dashboard under the Subscriptions tab.
-
Updates for the 1500+ items are automatically pulled in as long as the subscription remains active.