
About Domains
cPanel offers several domain management tools to help efficiently manage clients' websites. These tools allow to manage WordPress installations, create websites using templates, build sites with a drag-and-drop builder, and manage domains. This documentation will walk you through each of these tools and how to use them effectively.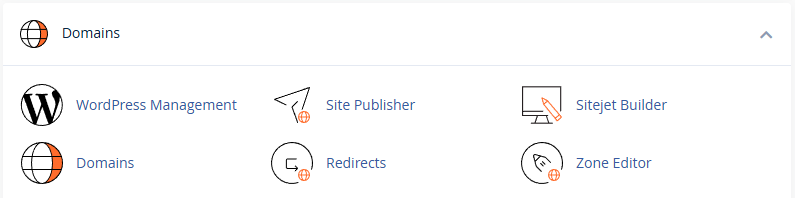
1. WordPress Management Tool
The WordPress Management feature in cPanel offers a comprehensive toolkit for managing WordPress sites. This feature helps install WordPress, manage plugins and themes, and monitor site quality. It is divided into three main sections: Installations, Plugins, and Themes.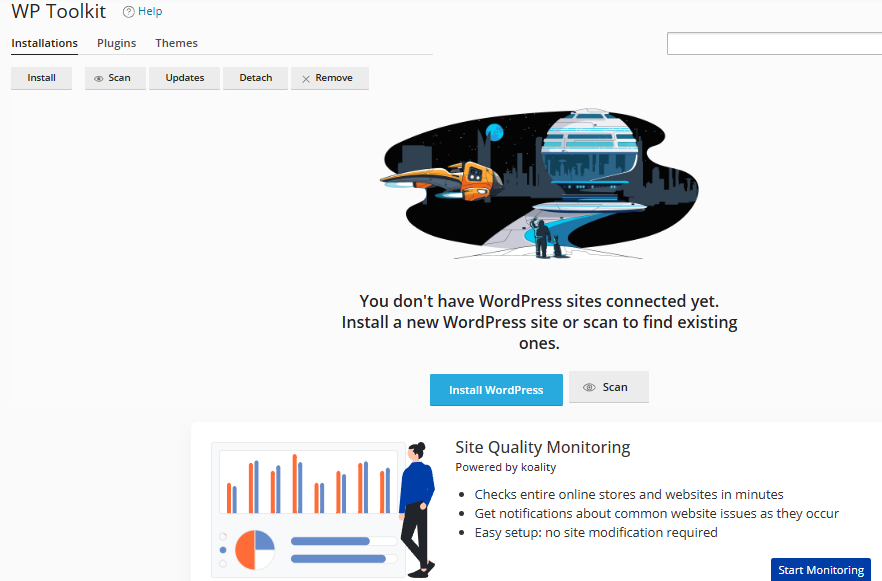
Installations
The Installations section provides a user-friendly interface for managing WordPress sites. Here’s what you can do:
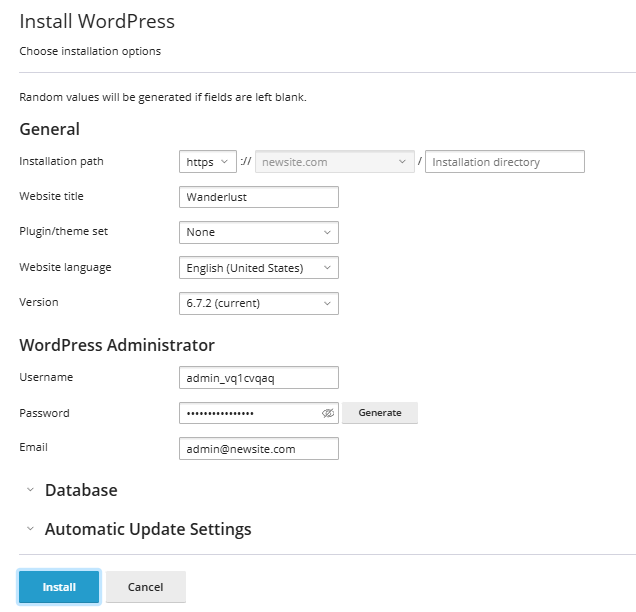
- Install New WordPress: You can install a fresh WordPress site with a few clicks.
- Scan Existing WordPress Installations: If there’s an existing WordPress site, you can scan it and connect it to the WordPress Toolkit for easier management.
- Quality Monitoring: This feature helps you track the health of WordPress websites, including online stores. You’ll get notifications about common website issues such as slow performance, missing plugins, or outdated themes.
- Easy Setup: No need for modifications to the site, it checks for issues automatically.
- Real-Time Notifications: Get instant alerts on any website issues as they occur.

Plugins
In the Plugins section, you can manage the plugins installed on the WordPress sites you manage. Here’s what you can do:
- View Installed Plugins: See a list of all the plugins installed on your WordPress sites.
- Manage Plugins: Activate, deactivate, or update plugins as necessary to keep your WordPress sites running smoothly.
- Install New Plugins: You can also add new plugins to enhance the functionality of WordPress sites.
Themes
The Themes section lets you manage the themes installed on your WordPress installations. Here’s what you can do:
- View Installed Themes: See a list of all the themes installed on your WordPress websites.
- Activate Themes: Choose a theme and set it as active on the site.
- Manage Themes: Enable, disable, or delete themes that are not needed.
- Install New Themes: Add new themes from the WordPress repository or upload custom themes.
2. Site Publisher Tool
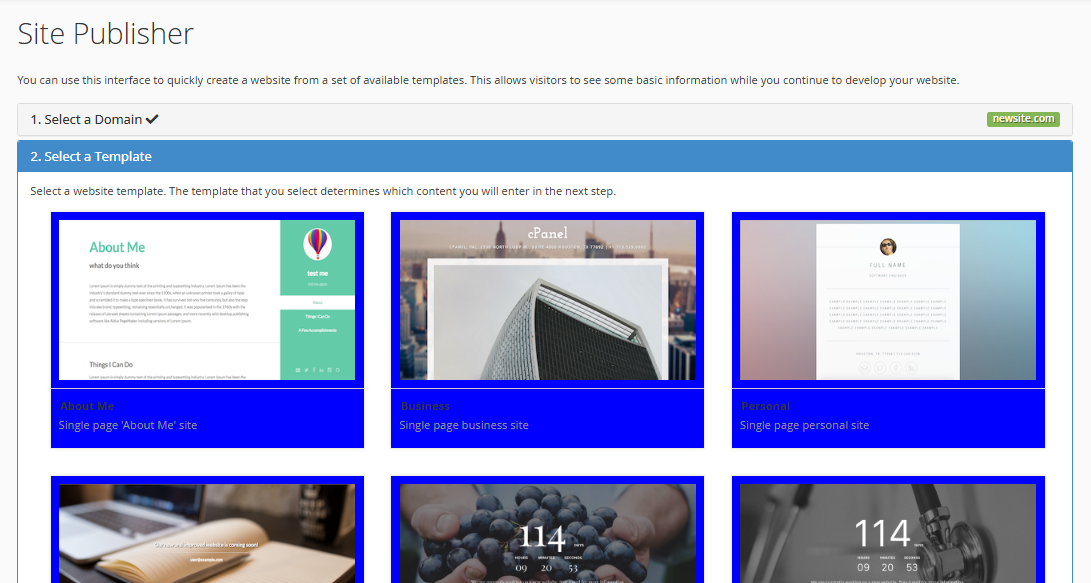
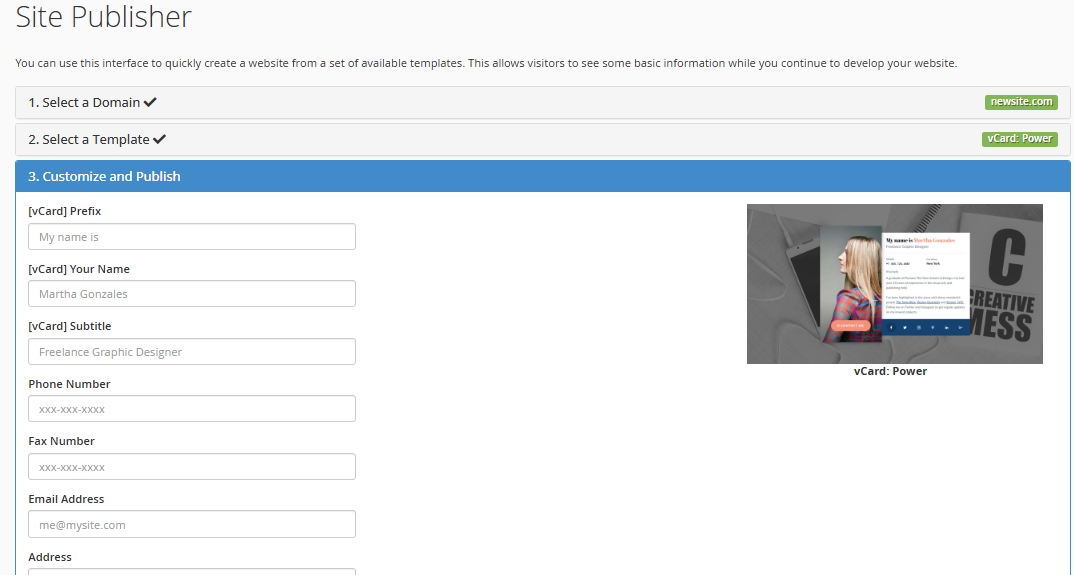
The Site Publisher tool is an easy-to-use feature that allows quick create a website using pre-designed templates. It is an ideal solution for clients who need a basic website while they continue to develop their site.
Using the Site Publisher
-
Select a Template: After entering the domain name, you can choose a pre-designed template that will form the basis of the website.
- The templates are categorized by type, including business, personal, and portfolio sites.
-
Customize the Site: After selecting the template, you can customize various sections, including:
- Business Name: Enter your company’s name.
- Tag Line: Enter a catchy tagline for your business.
- Description: Add a description of your company.
- About Us: Add information about your business, such as history and services.
- Contact Information: Enter your contact details such as:
- Street Address
- Phone Number
- Email Address
- Fax Number
- Business Hours: Specify your operating hours and any notes (e.g., weekends closed).
- Social Media Links: Link to your business’s social media accounts, such as Facebook, Twitter, and LinkedIn.
- Google Maps: Include a Google Maps link to show your physical location.
- Google Analytics: Add a Google Analytics Tracker ID to monitor website traffic.
-
Publish the Site: Once the customization is complete, click Publish to make the website live. The website will be automatically created with the selected template and details.

3. Sitejet Builder
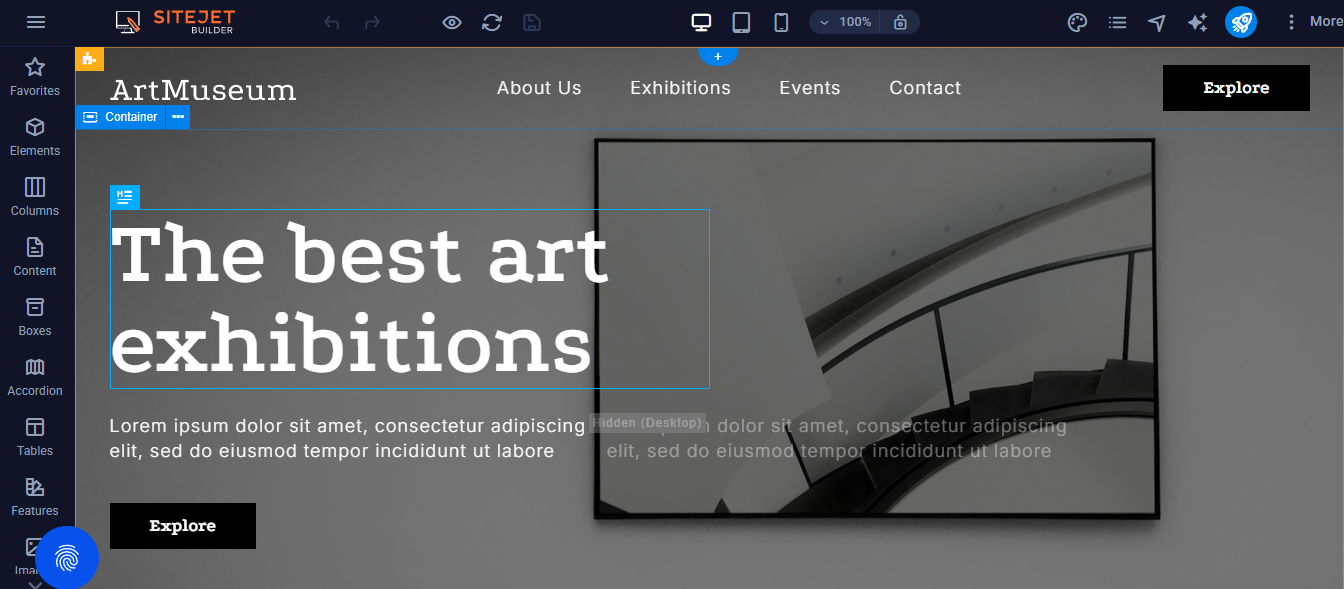
The Sitejet Builder is a drag-and-drop website builder that allows creating fully customized websites for clients. With Sitejet, users can quickly edit and build websites using templates, which can be tailored to meet specific client needs.
Using the Sitejet Builder
- Select a Template: Click Edit Site, and you will be redirected to a selection of website templates. You can choose a template that suits the client’s needs.

- Edit the Template: The builder allows you to drag and drop elements to customize the layout and design. You can:
- Add sections like headers, footers, image galleries, and text blocks.
- Modify colors, fonts, and styles.
- Insert contact forms, maps, and social media icons.
- Customize Content: You can easily add, edit, or remove content within the template, ensuring that the website is unique to the client’s business or personal needs.
- Publish the Site: Once the site is ready, press the Publish button to go live. Sitejet makes it easy to launch a custom website without needing to code.


4. Domains Tool
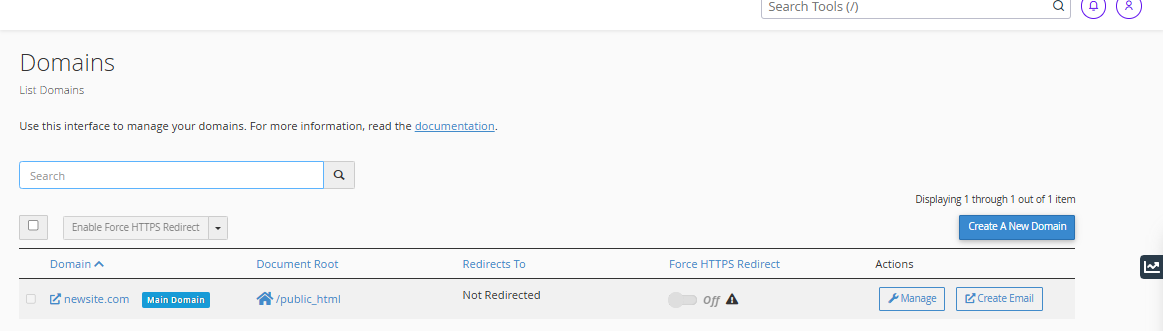
The Domains tool in cPanel allows users to manage domain names, including creating new domains, setting up redirects, and configuring HTTPS redirects.
Managing Domains
The Domains interface displays a list of all domains, including the following details:
- Domain: The domain name associated with the hosting account.
- Document Root: The directory where the domain’s files are stored.
- Redirect To: The destination URL where the domain will redirect, if applicable.
- Force HTTPS Redirect: Whether the domain forces an HTTPS redirect for secure connections.
- Actions: Options to manage or remove domains.

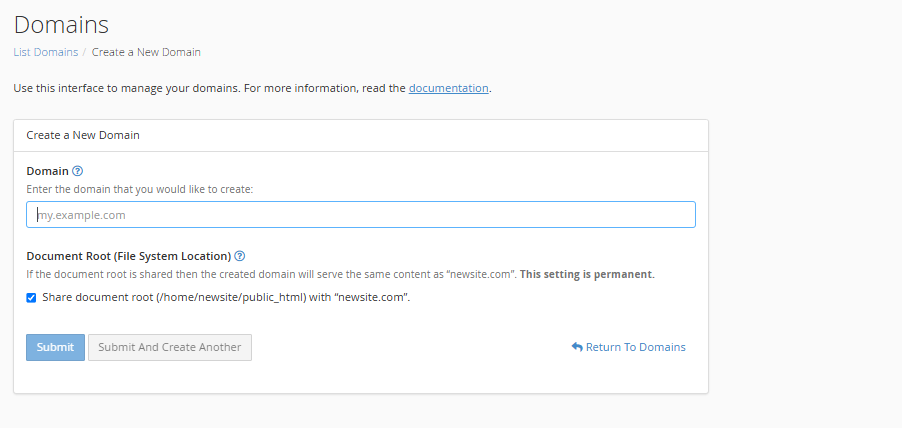
Adding a New Domain
To create a new domain:
- Click on the Create a New Domain button.
- Enter the domain name you want to create.
- Submit the form, and the new domain will be added to the list.

Once the domain is created, it will appear in the domain list. From there, you can manage DNS settings, configure redirects, and more.