
AI Appointment Schedulers
The AI Appointment Scheduler allows businesses to automate their booking process using smart, conversational scheduling tools.
Clients can configure available time slots, booking rules, confirmation messages, notification settings, and embed a scheduling widget directly onto their website.
This guide shows how to create, customize, and deploy your AI-powered Appointment Scheduler.
1. Accessing the Appointment Scheduler
After enabling the AI Business Tools Suite:
-
Log in to your dashboard.
-
Go to AI Tools.
-
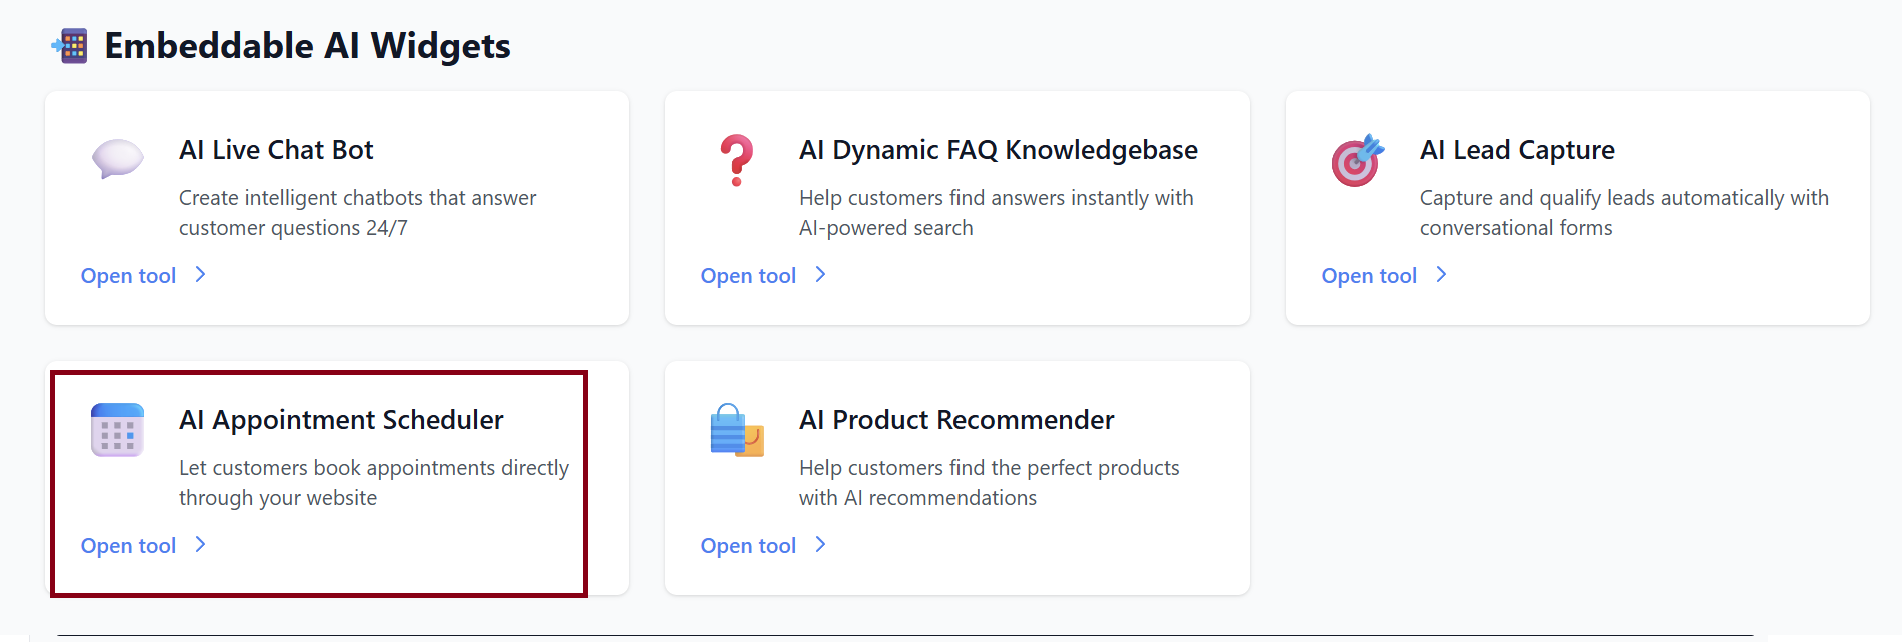
Select 📅 AI Appointment Scheduler.
You will see your scheduler dashboard where you can create and manage multiple scheduling widgets.
2. Creating a New Appointment Scheduler
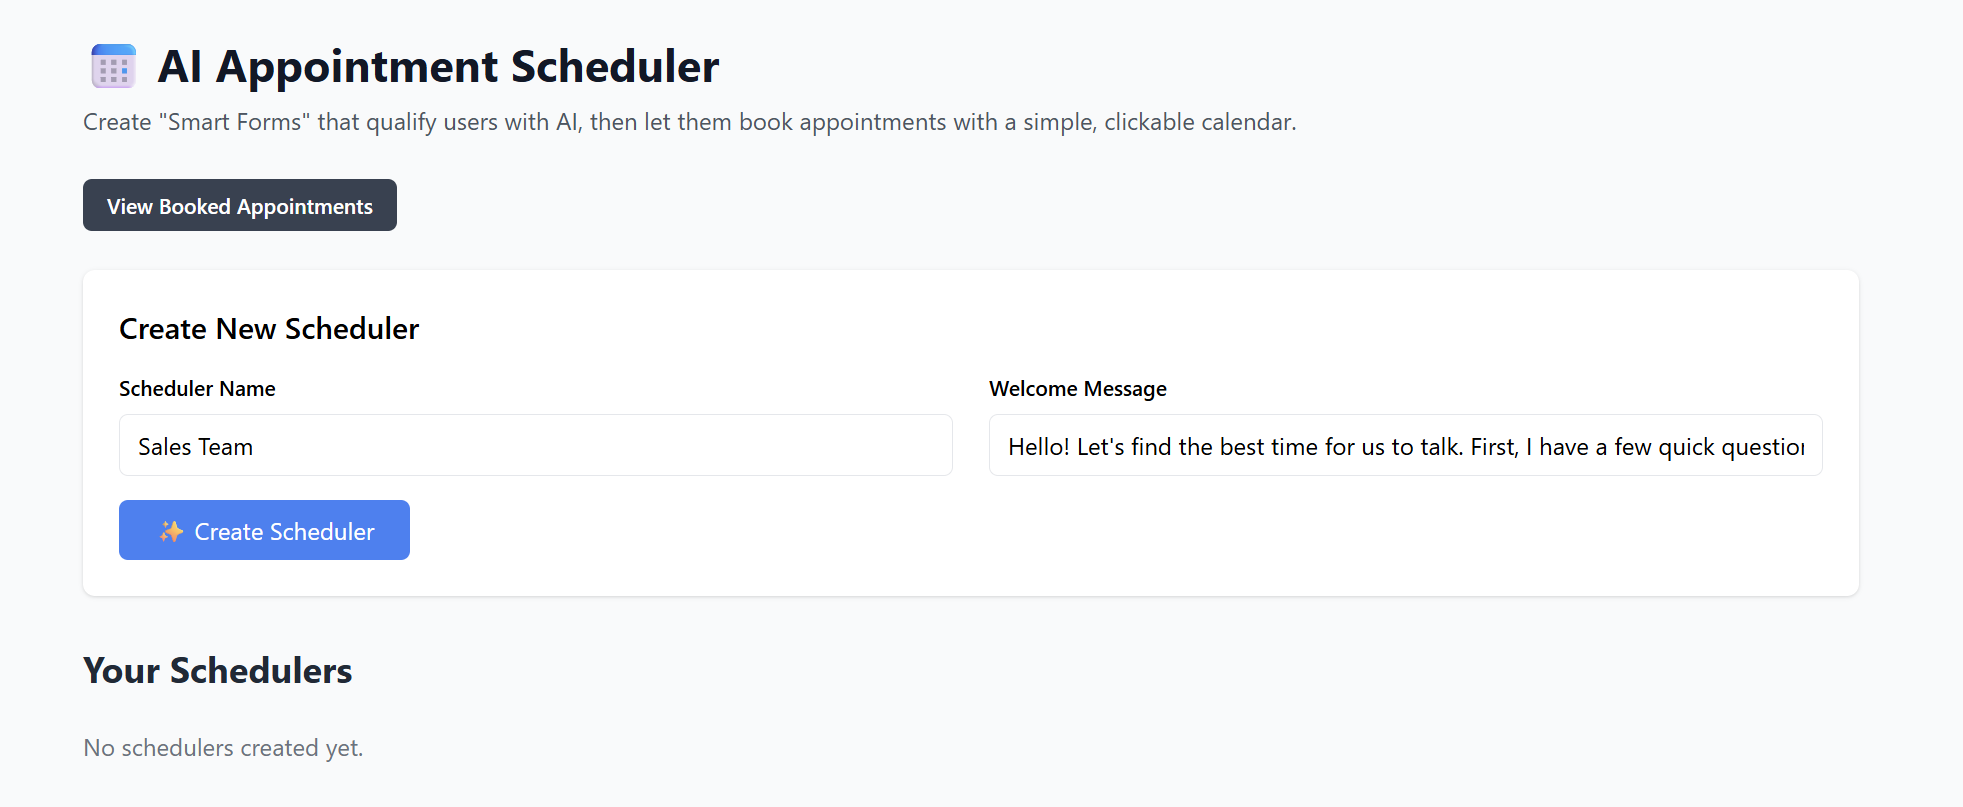
Basic Setup Fields
| Field | Description |
|---|---|
| Scheduler Name | Internal name for the booking tool (e.g., “Consultation Scheduler”). |
| Welcome / Header Message | Shown at the top of the scheduling window. |
After filling these fields, click: ✨ Create Scheduler
Your scheduler will now appear in your list of active tools.
3. Setting Your Availability
This is where you specify when clients are allowed to book appointments.
Common Availability Options
-
Days of the week (Mon–Sun)
-
Start and end times
-
Breaks or blocked-out hours
-
Recurring weekly schedule
-
One-time blackout dates (holidays, events)
Example:
| Day | Availability |
|---|---|
| Monday–Friday | 9:00 AM – 5:00 PM |
| Saturday | 10:00 AM – 3:00 PM |
| Sunday | Unavailable |
Make changes and click Save.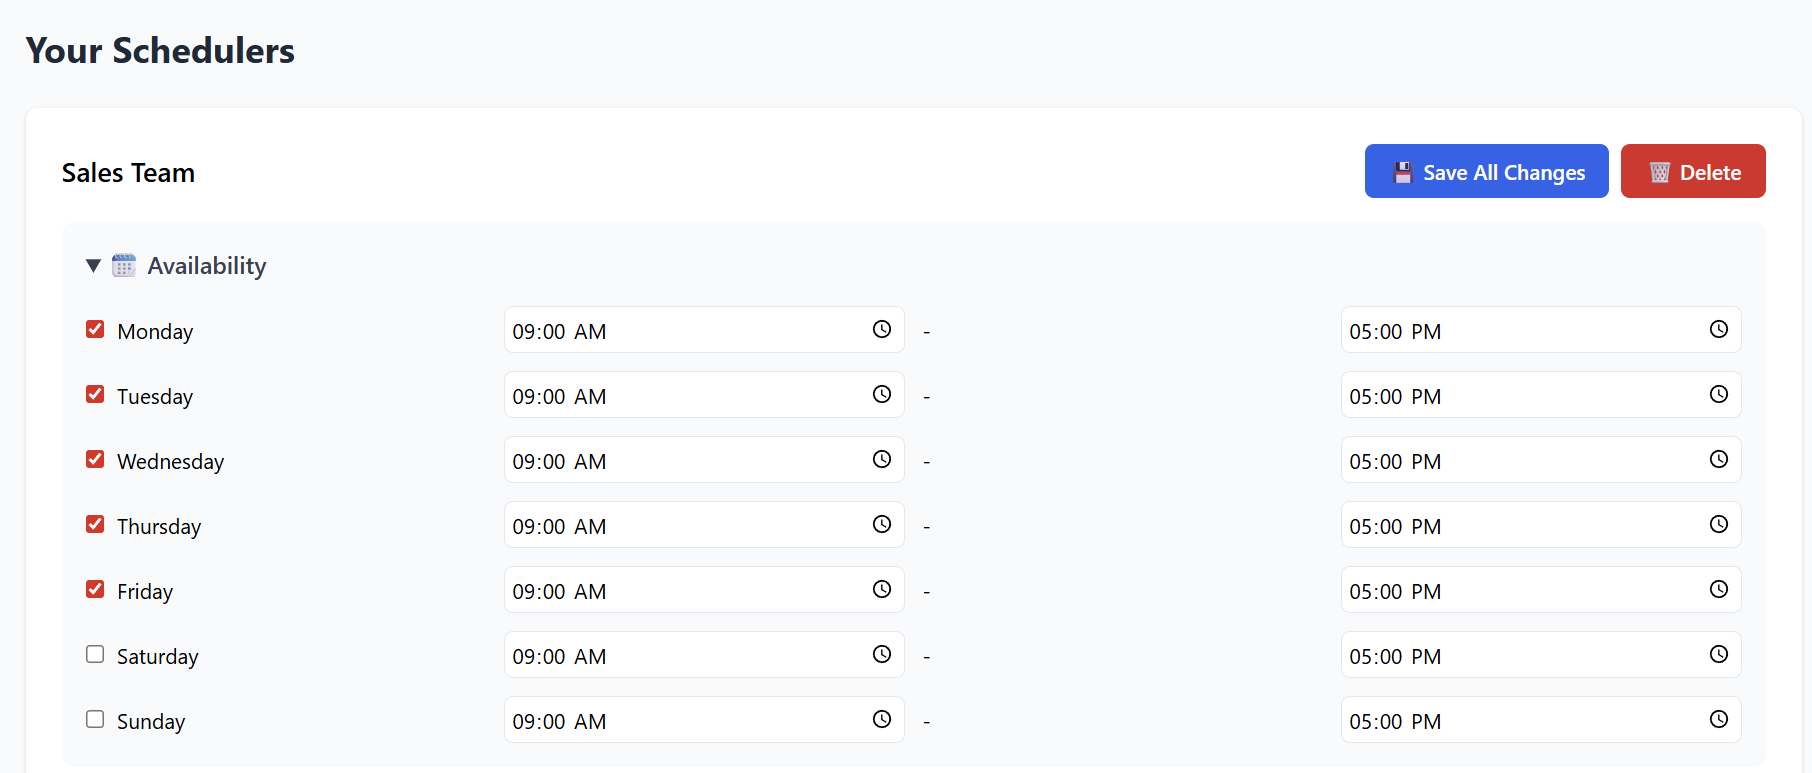
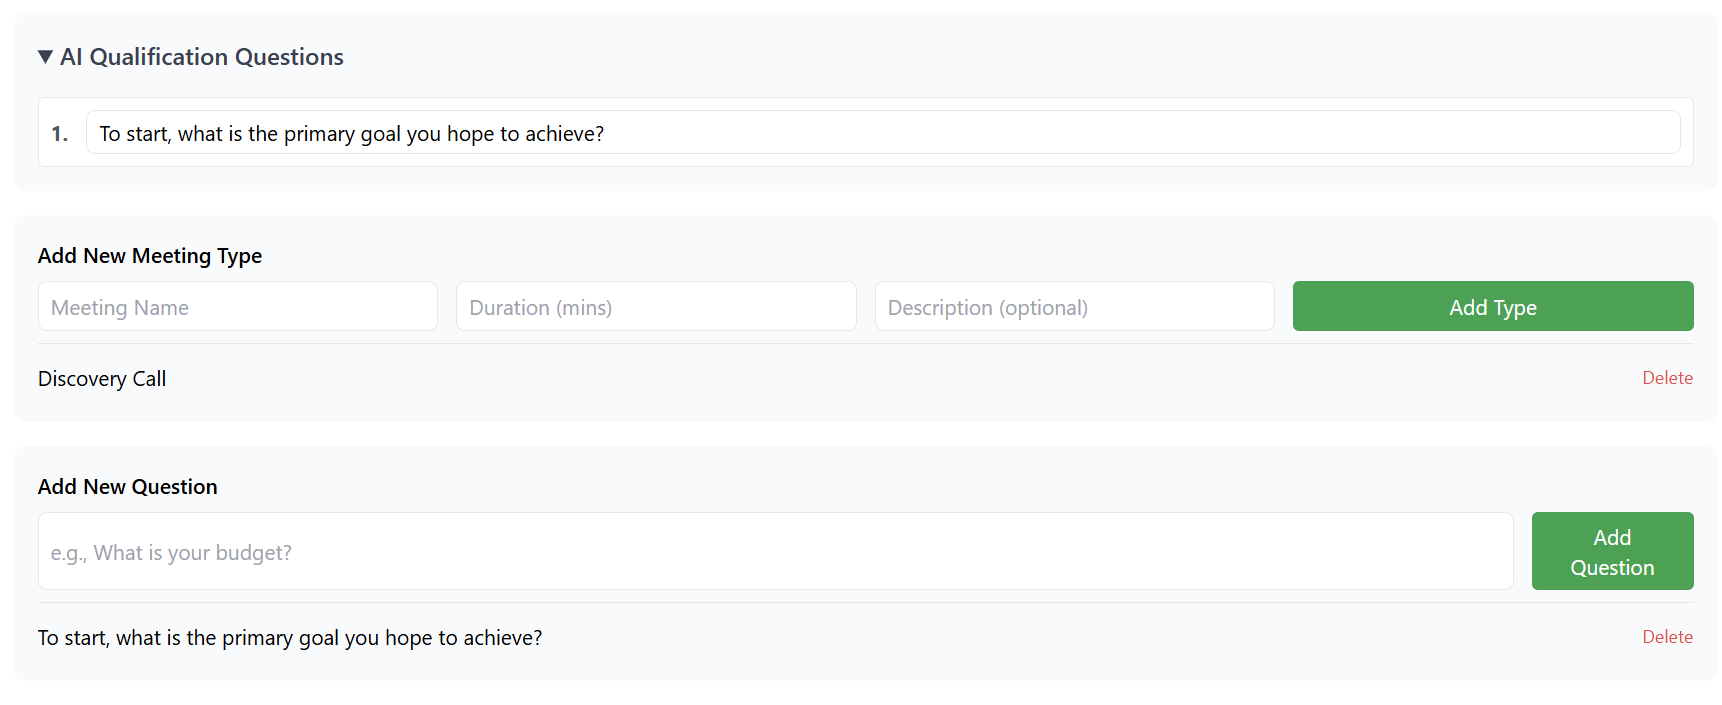
4. Configuring Appointment Types
You can offer different appointment types depending on your business needs.
Examples
-
15-minute Quick Call
-
30-minute Consultation
-
1-hour Strategy Session
-
Demo / Product Walkthrough
Each appointment type can include:
-
Duration
-
Description
-
Meeting location (Zoom, Google Meet, In-person, Phone call)
-
Custom confirmation message
After adding appointment types, ensure they are enabled.

5. Automated Confirmation & Notifications
The scheduler can automatically handle messaging.
Common Automated Messages
-
Appointment confirmation
-
Reminder email
-
Reschedule / cancellation notifications
-
Follow-up email (if enabled)
You can customize the wording of each message.
For example:
Confirmation Example:
“Your appointment is confirmed! We look forward to speaking with you.”
Be sure to click Save All Changes for messaging updates.
6. Booking Form Questions (Optional)
If needed, you can collect additional information before confirming an appointment.
Examples:
-
“What is your phone number?”
-
“What service are you interested in?”
-
“How did you hear about us?”
You can add as many form fields as needed:
-
Text input
-
Dropdown (if supported)
-
Email
-
Phone

7. Calendar Integrations (If available)
Depending on the system’s features, you may be able to connect:
-
Google Calendar
-
Outlook / Office 365
-
iCloud
-
Teams Calendar
This enables automatic syncing so booked appointments appear on your personal or business calendar.
If available, simply click Connect Calendar and follow the prompts.
8. Embedding the Scheduler on Your Website
Your appointment scheduler includes an embed snippet similar to:
Installation Steps
-
Copy the entire snippet.
-
Paste it inside your website’s <head> section.


Works on all platforms:
-
WordPress
-
Shopify
-
Wix
-
Squarespace
-
Custom HTML sites
After publishing, the scheduler will appear on your site as:
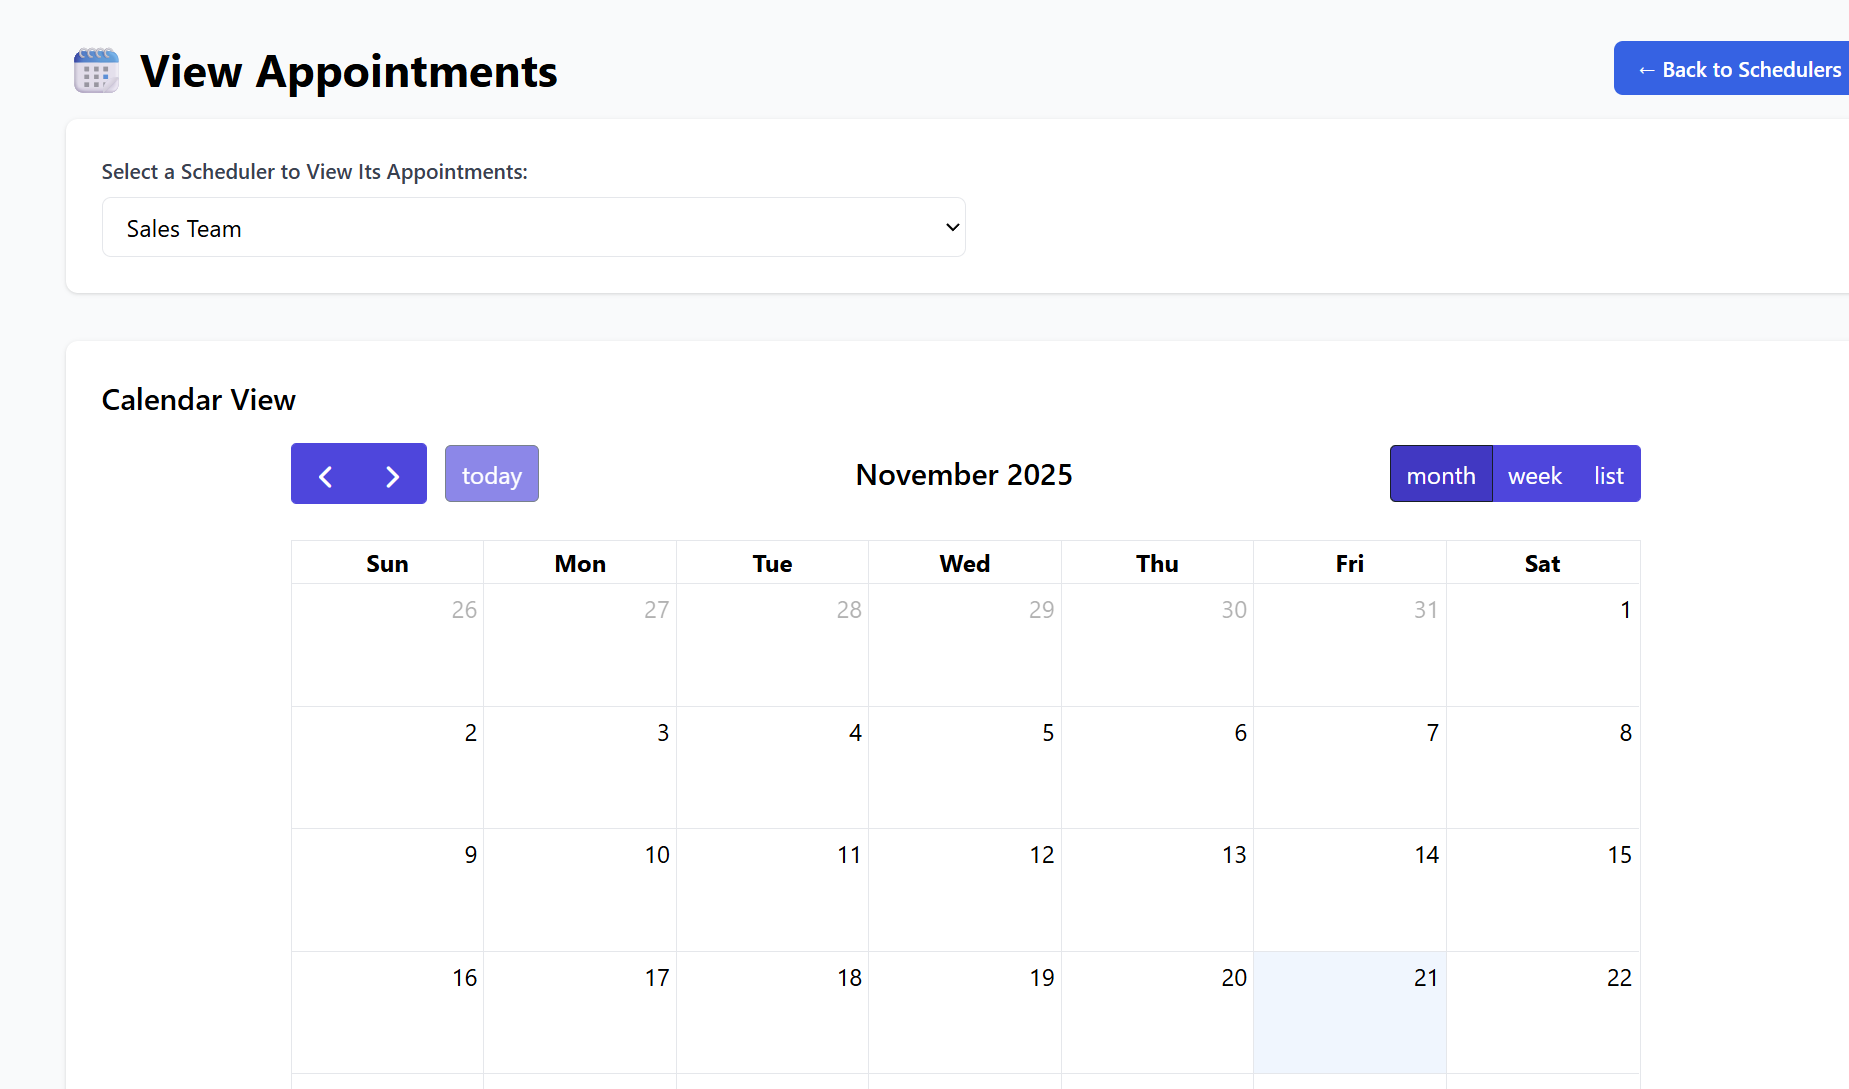
9. Managing and Viewing Appointments
From the dashboard:
-
Open your scheduler.
-
Go to Appointments or Bookings.
Here you can:
-
View upcoming bookings
-
Review customer details
-
Reschedule or cancel appointments
-
Export data (if supported)


10. Deleting a Scheduler
If you no longer need a scheduler:
-
Open the scheduler.
-
Click Delete.
-
Confirm removal.
The widget will immediately stop functioning on any websites where it was embedded.

Summary
| Feature | Description |
|---|---|
| Create Scheduler | Build fully automated booking tools. |
| Availability | Set weekly hours and blackout dates. |
| Appointment Types | Create multiple services with different durations. |
| Notifications | Automated confirmations & reminders. |
| Custom Questions | Collect info before booking. |
| Integration | Sync with external calendars (if available). |
| Embedding | Add to any website via simple HTML snippet. |
Your AI Appointment Scheduler is now ready to automate bookings and improve customer scheduling efficiency.