
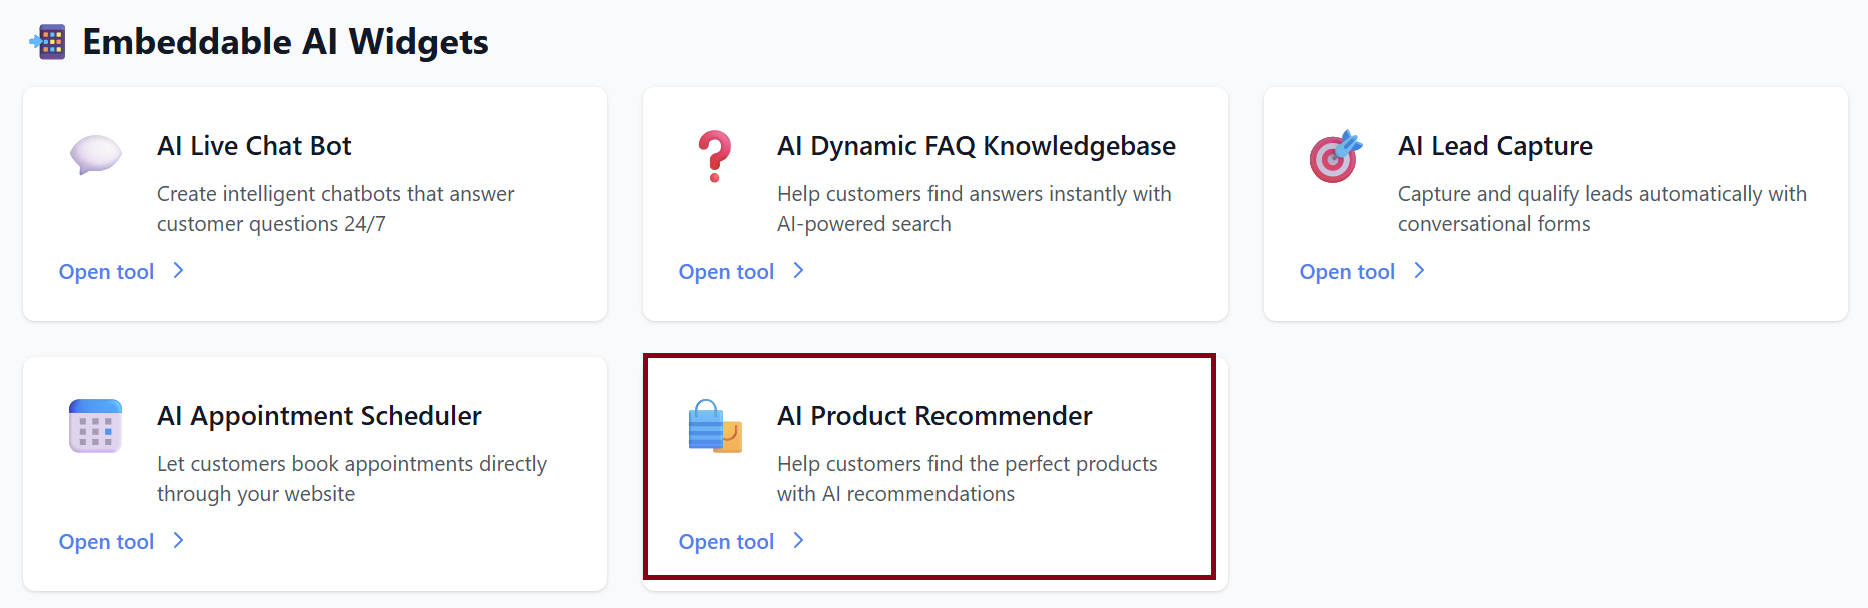
AI Product Recommender
The AI Product Recommender helps you add a smart, conversational shopping widget to your website. It recommends products based on customer preferences, improving conversions and helping customers make faster buying decisions.
This guide walks you through connecting your store, creating your widget, customizing it, and embedding it on your site.
1. Create a Product Recommender Widget
To start building your smart assistant, you will configure the following settings:
Widget Name: Give your recommender an internal or public name.
Example: Product Finder, Tech Assistant, Shop Smart Bot
Primary Color: Choose the widget’s main color to match your brand identity.
Welcome Message: This is the greeting customers see when the widget opens.
Example: “Find your perfect product!”
You can customize the tone to be friendly, energetic, or professional.
Widget Position: Choose where the widget appears on your website:
-
Bottom Right (default)
-
Bottom Left (if preferred)
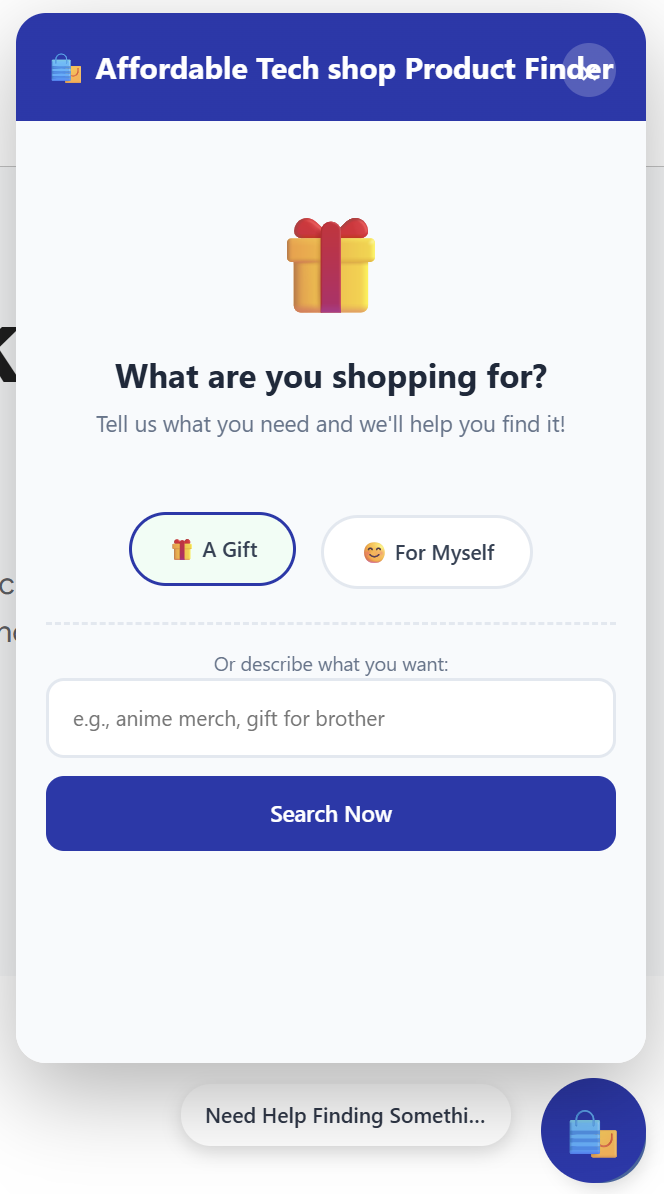
Show Text Bubble: Enable this option if you want a preview message above the widget icon, such as:
“Need help finding something?”
This increases engagement and button clicks.
System Prompt (Optional): This controls how the AI behaves. If left blank, the default shopping assistant prompt is used. You can add custom instructions like:
“You are a product expert for AffordableTechShop. Recommend only products from our catalog and ask clarifying questions first.”
Once all fields are set, click Create Widget to generate your AI Product Recommender.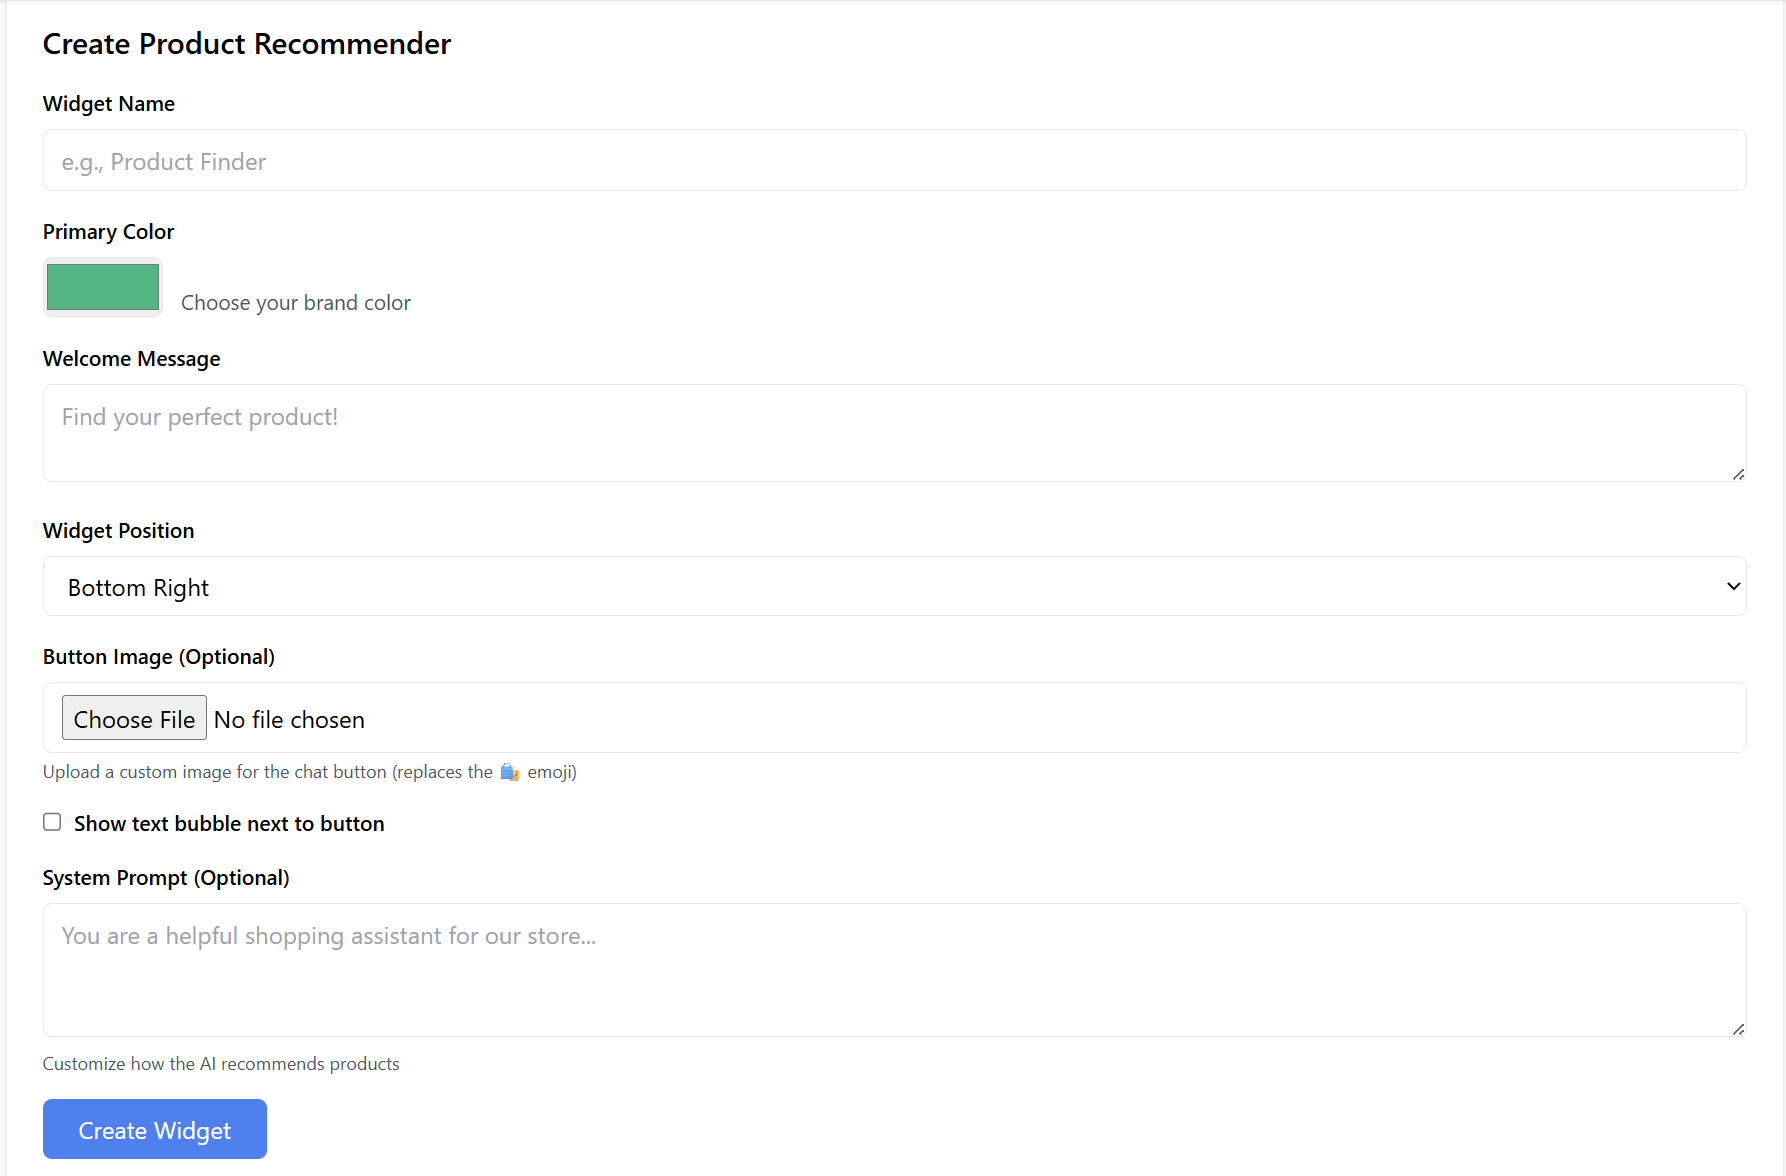
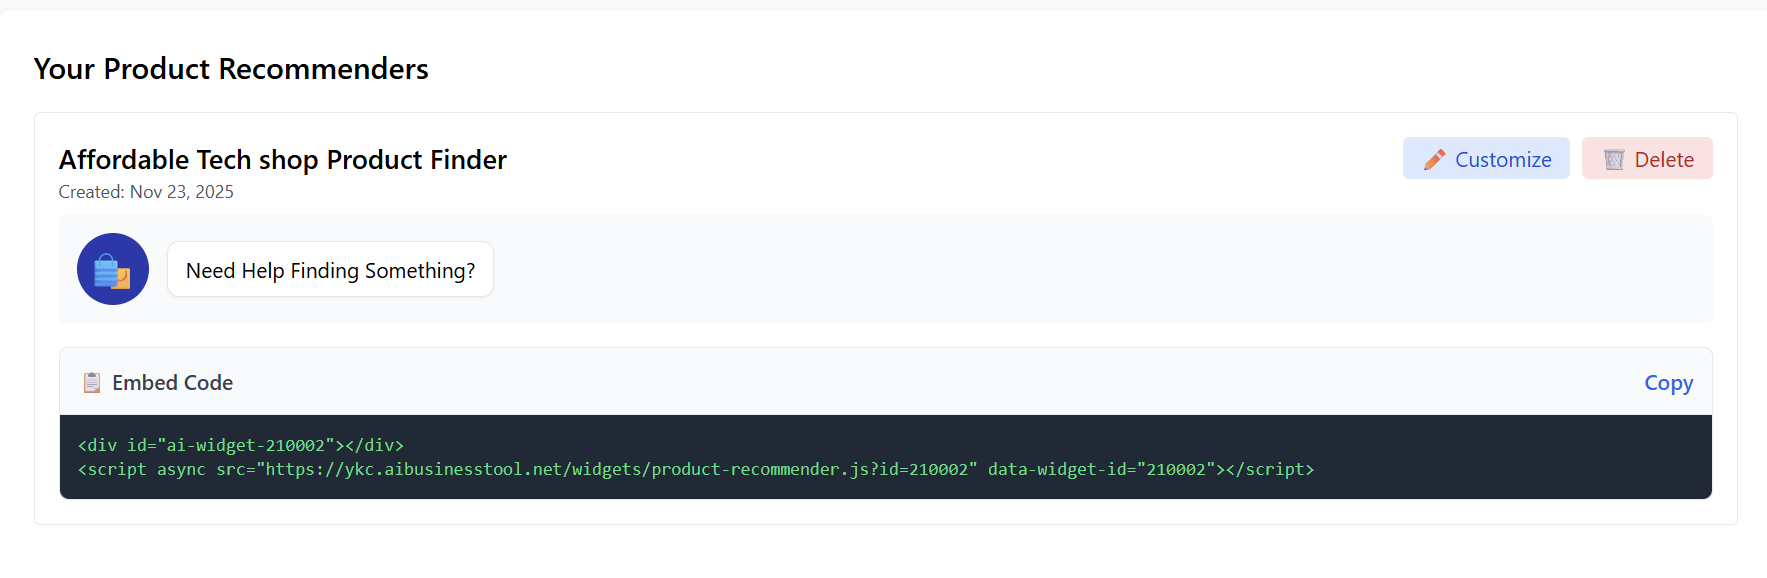
2. Manage Existing Widgets
Under Your Product Recommenders ( appears after creating the widget in step 1), you can manage all widgets you’ve created.
Example entry: Affordable Tech Shop Product Finder
Created: Nov 23, 2025
Options:
-
✏️ Customize – edit name, color, welcome message, prompt, position, etc.
-
🗑️ Delete – permanently remove the widget.
-
A live preview showing:
“🛍️ Need Help Finding Something?”
3. Connect Your Store
After creating a product recommendation widget, this step is enabled and you must connect your e-commerce platform.
Supported Platforms:
-
Shopify
-
WooCommerce

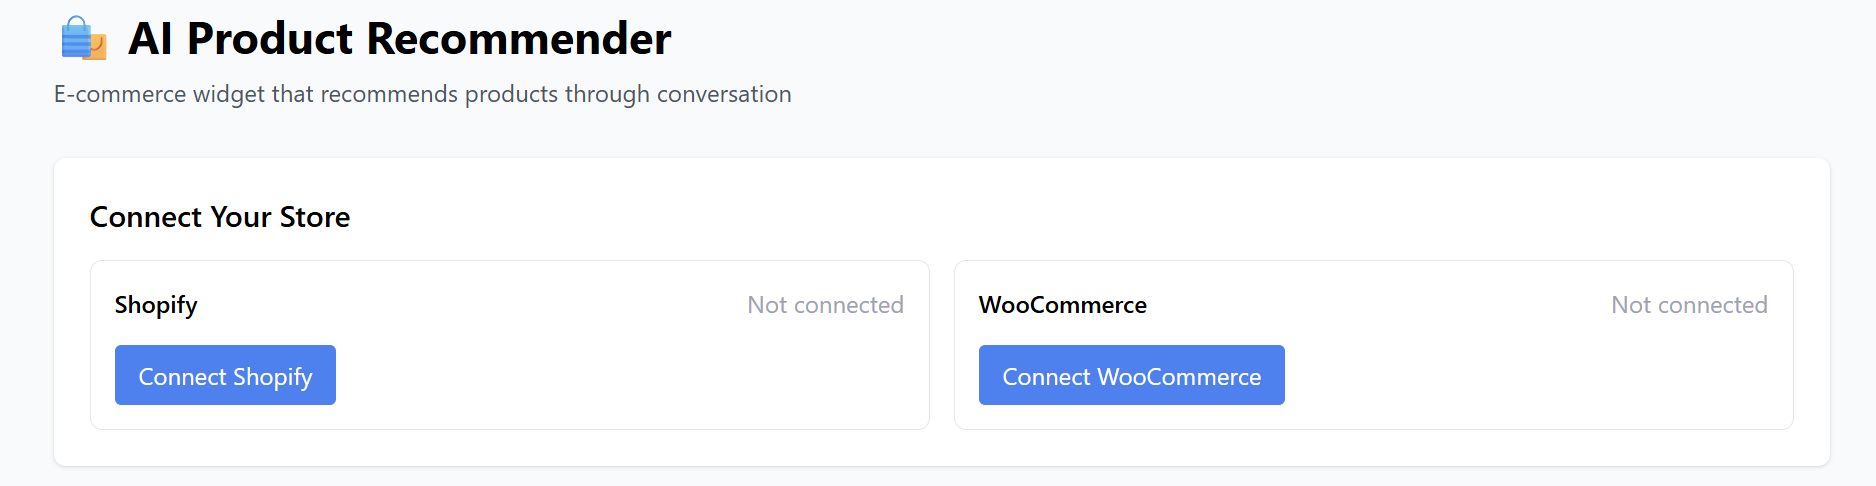
Steps to Connect:
-
Go to AI Product Recommender in your dashboard.
-
In the Connect Your Store section:
-
Select your platform.
-
Click Connect Shopify or confirm the WooCommerce connection.
-
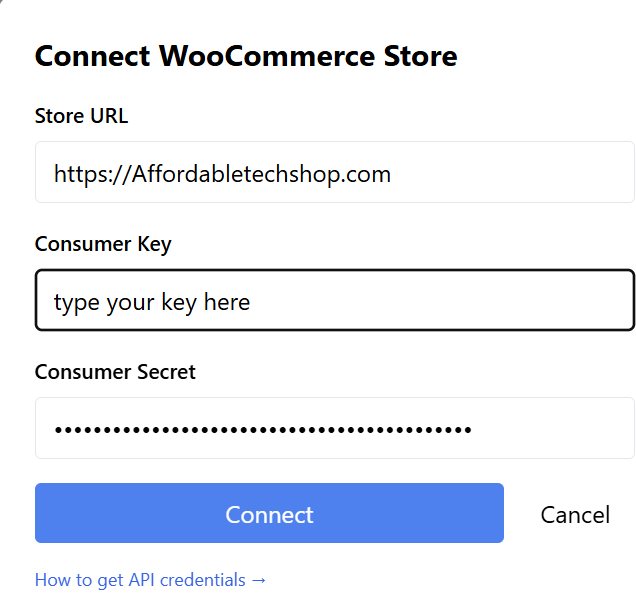
Example:
-
If WooCommerce was selected, got to WooCommerce settings -> Advanced. Get your Consumer key and secret key from 'REST API'.

Once you press 'Connect' the following appears: press 'Sync Now' to update on your website.
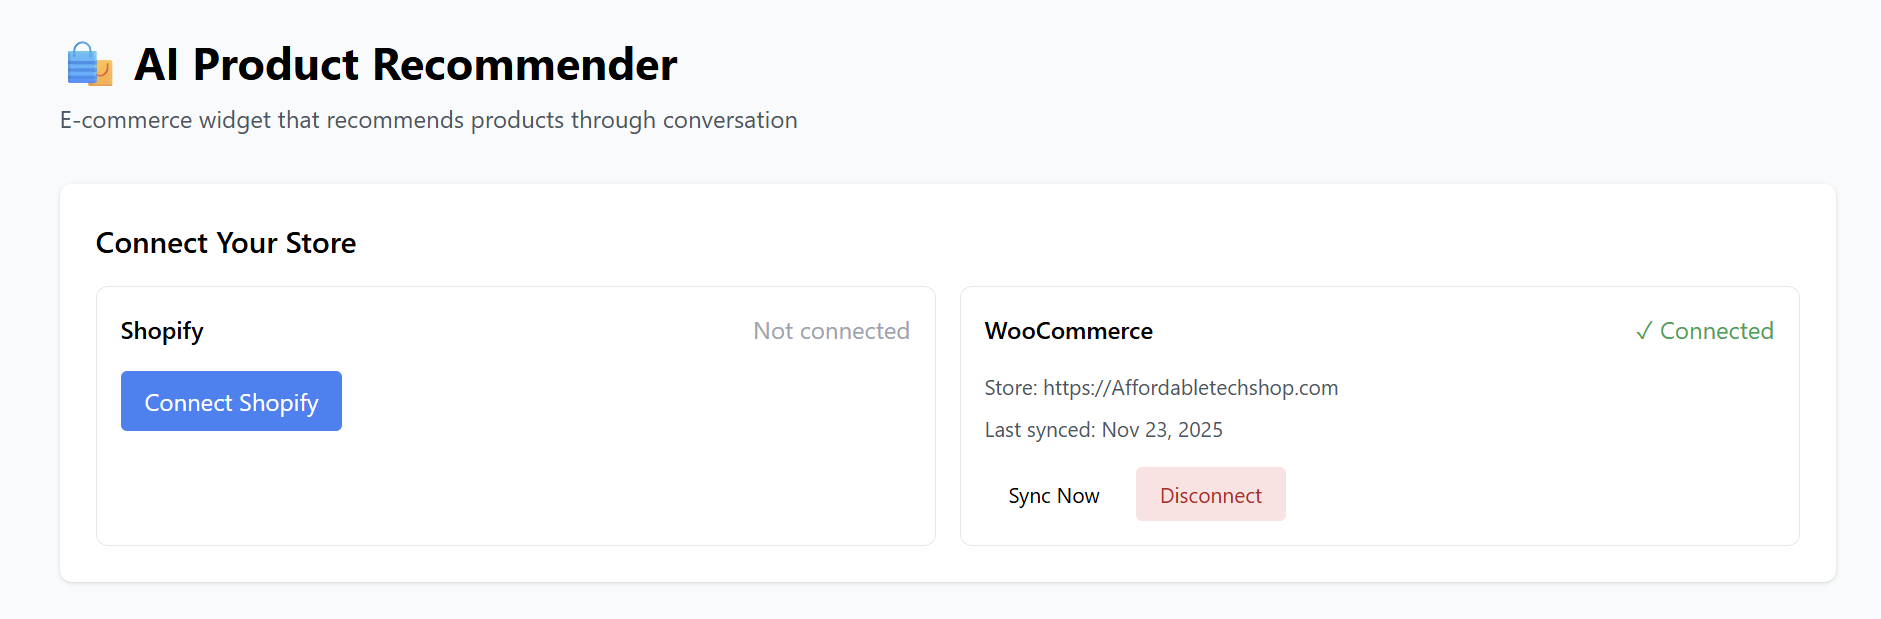


Additional Options:
-
Sync Now – updates your product catalog immediately.
-
Disconnect – removes the store connection.
4. Embedding the Widget on Your Website
Once created, the system generates an embed code.
Example:

To add the widget to your website:
-
Copy the embed code.
-
Paste it into your website's HTML before the closing
</body>tag. -
Save and publish your site.
For platforms like WordPress, paste it into:
Your AI Product Recommender will appear instantly.
Your AI Product Recommender Is Live!
You now have:
-
A connected and synced product catalog
-
A fully customized recommendation widget
-
AI-powered shopping assistance on your website
This tool helps customers quickly find the right products — increasing engagement and boosting sales.