
E-Commerce Shop Builder Deployment Guide
This step-by-step guide will help you activate and deploy the E-Commerce Shop Builder for your clients using ResellPortal.com.
1. Access the Resell Portal
2. Locate the E-Commerce Shop Builder Package
-
After logging in, you'll be directed to the dashboard.
-
In the dashboard, go to the Products (Activate Manual or Storefront Auto) section.
-
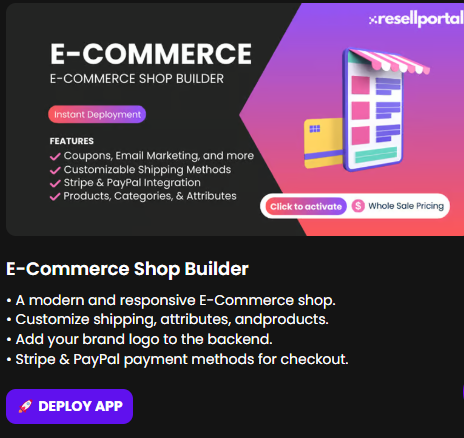
Search for E-Commerce Shop Builder.
-
Click on the product to view its details (Deploy App).

Step 3. Activate the App Package
-
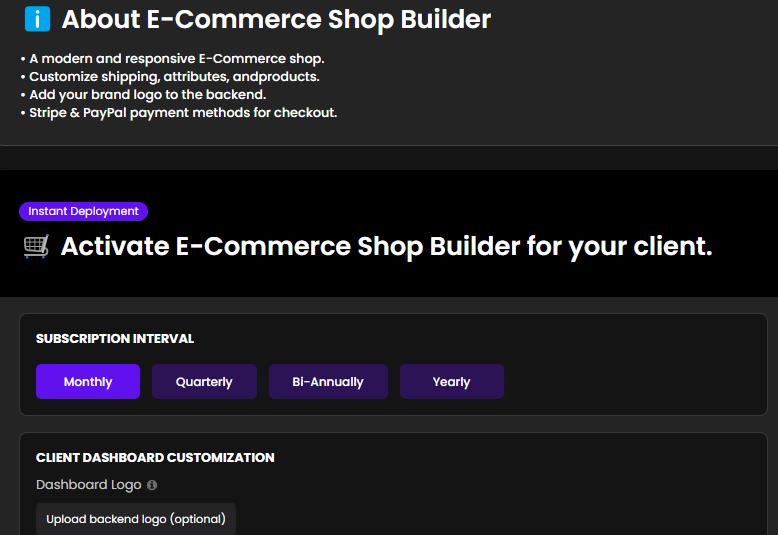
Within the product details page, click on the Activate or Deploy button.
-
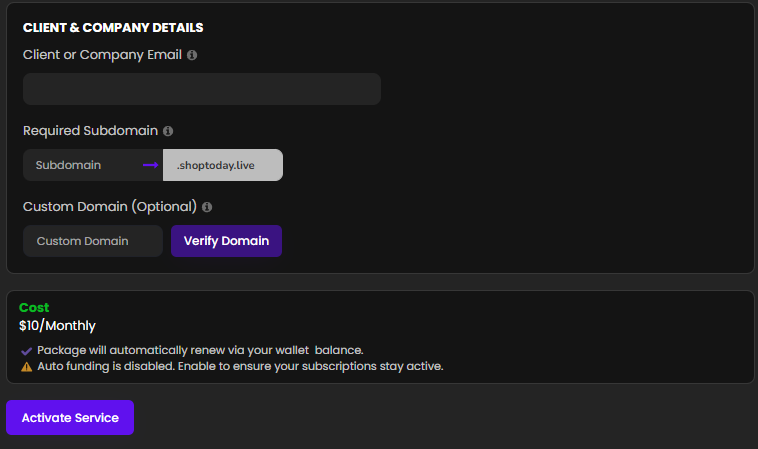
A prompt will appear asking for client-specific information:
-
Client Name: Enter the name of your client.
-
Domain Name: Specify the domain where the shop will be hosted.
-
Plan Selection: Choose the appropriate plan based on your client's needs.
-
-
Confirm the details and proceed with the activation.


4. Configure the E-Commerce Store
-
Once activated, you'll receive access credentials for the client's store.
-
Log in to the store's admin panel using the provided credentials.
-
Set up the store by:
-
Adding products and categories.
-
Configuring payment gateways (e.g., PayPal, Stripe).
-
Setting up shipping methods and tax rules.
-
Customizing the store's theme and layout.
-
5.Launch and Promote the Store
-
After configuration, preview the store to ensure everything is set up correctly.
-
Once satisfied, make the store live.
-
Utilize marketing tools within the platform to promote the store:
-
SEO optimization.
-
Email marketing campaigns.
-
Social media integrations.
-
Support and Resources
-
For any technical assistance, contact the support team via the Resell Portal's support section.
-
Access tutorials and FAQs within the portal to guide you through advanced configurations.
By following these steps, you can efficiently deploy and manage the E-Commerce Shop Builder for your clients. If you need further assistance or have specific questions, feel free to contact us at contact@resellportal.com !