
Getting Started with Document Signing Platform
Welcome to your Document Signing dashboard. This guide will help you navigate the interface, create your first document, and manage your signature workflows efficiently.
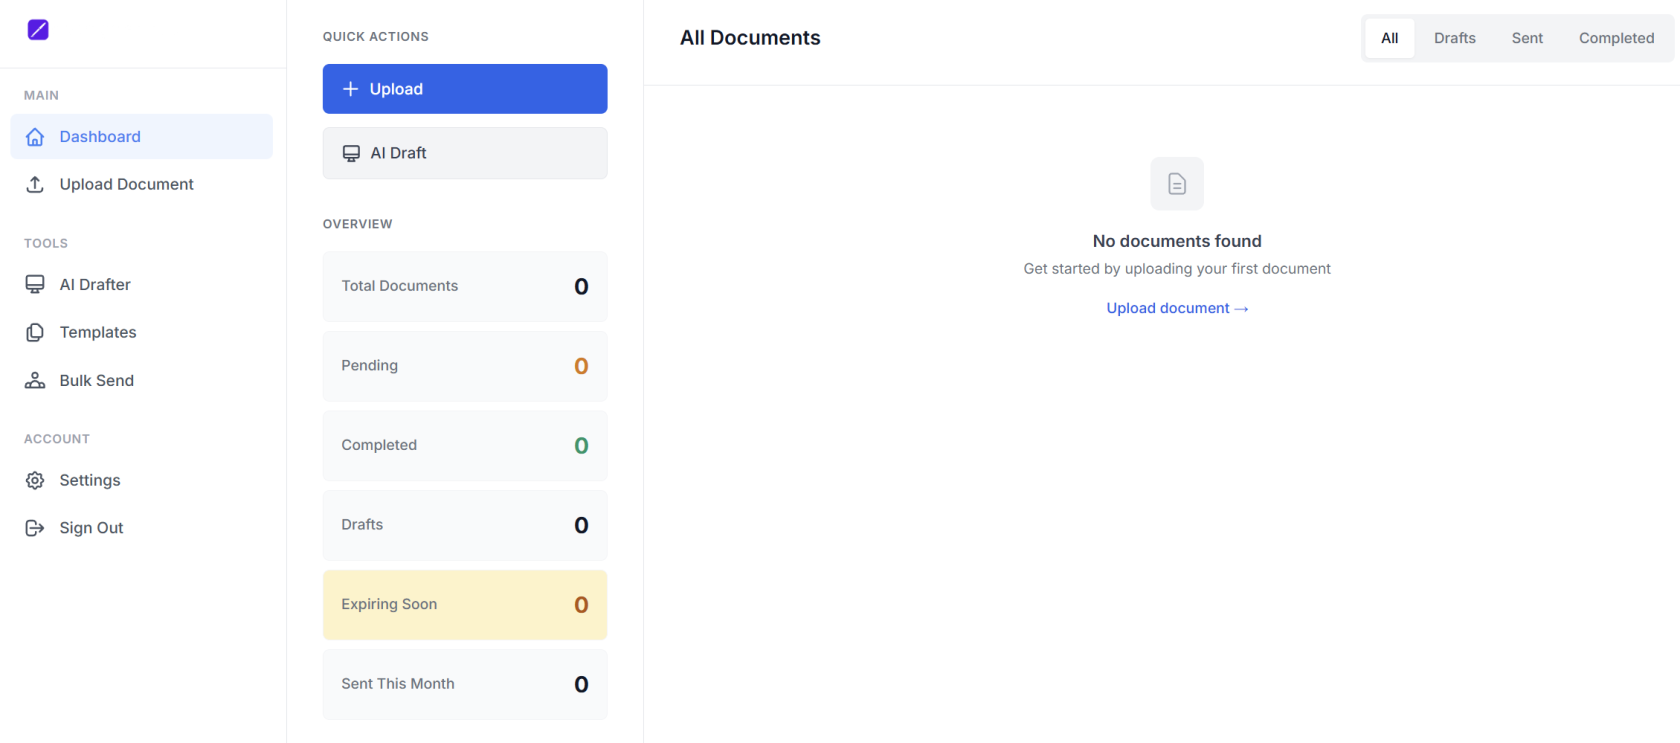
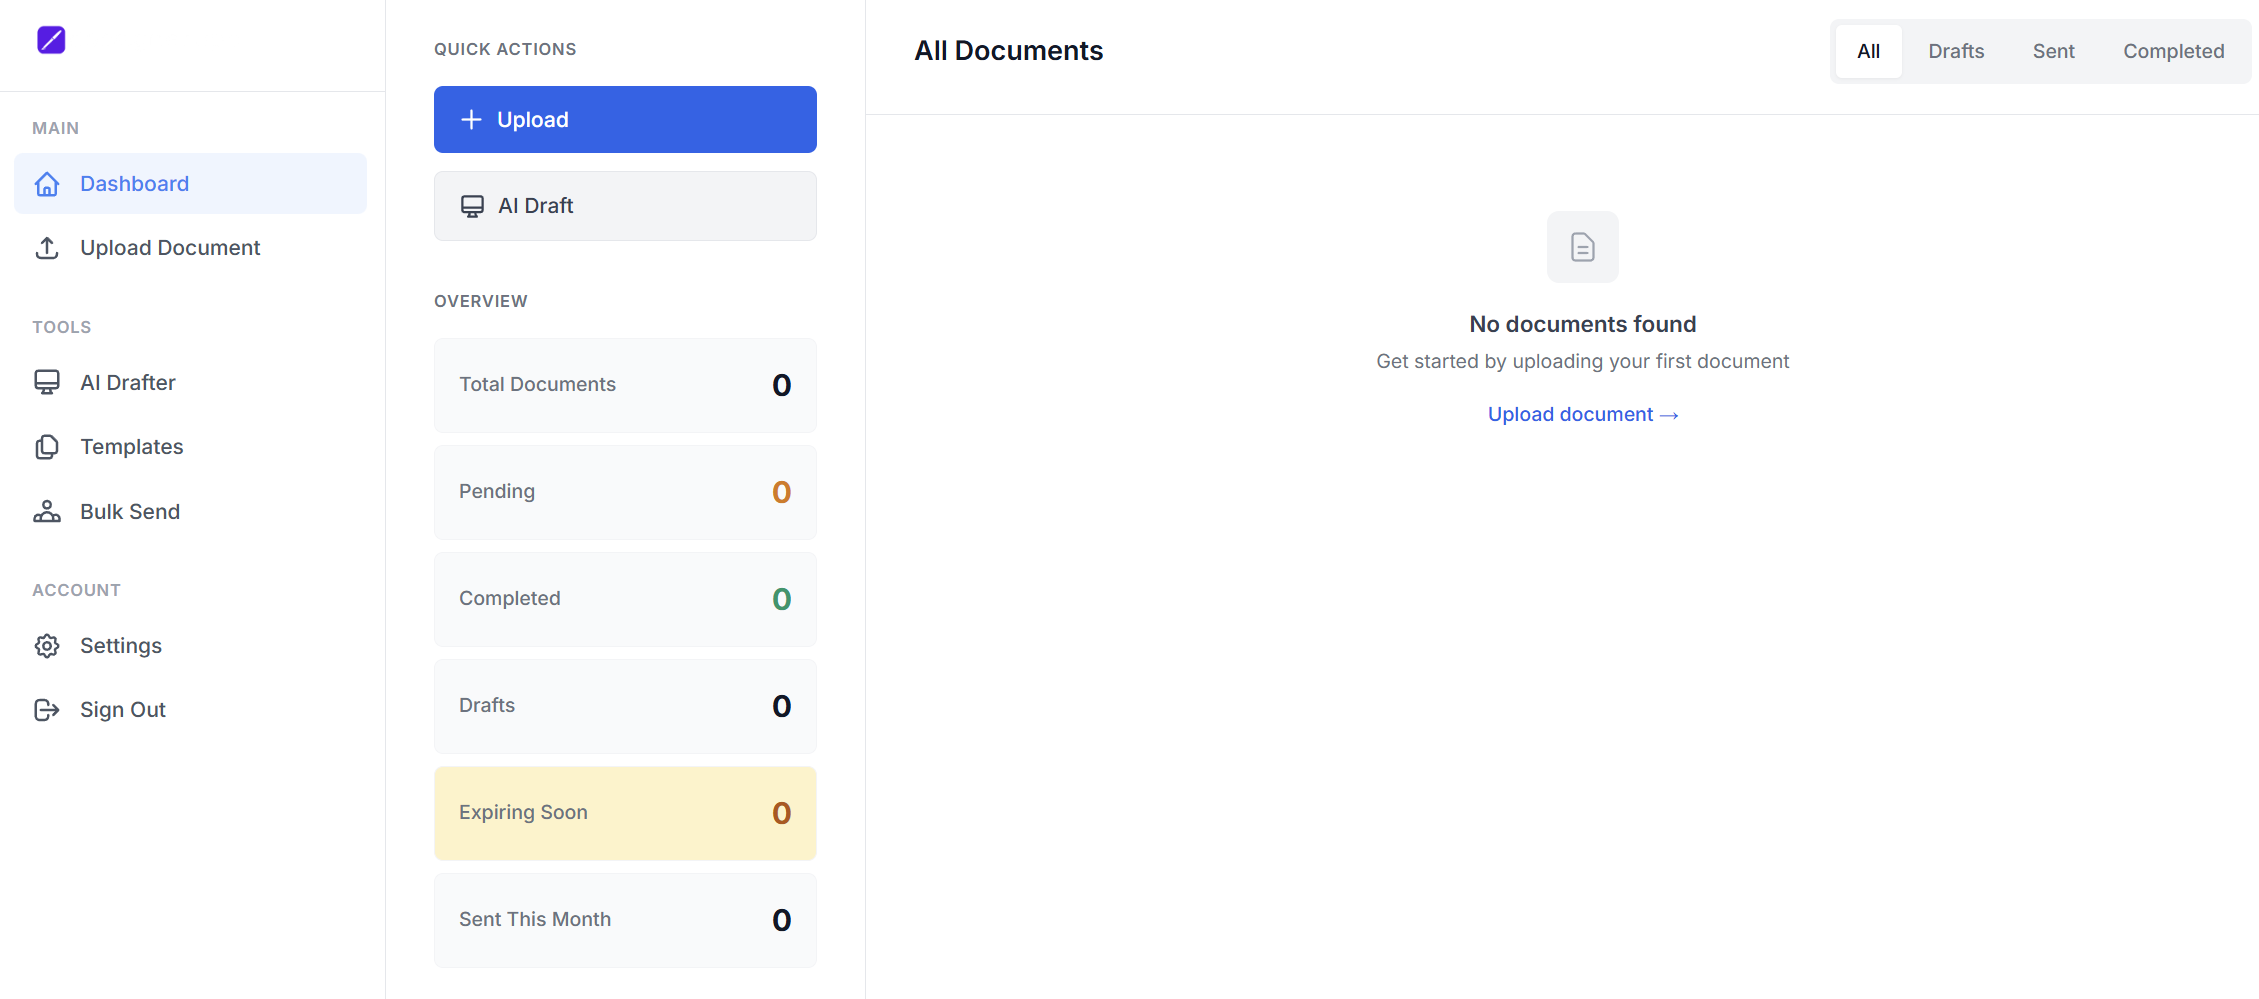
1. The Dashboard Overview
Once you log in, the Dashboard provides a bird’s-eye view of your document activity.
-
Quick Actions: Immediately jump to Upload or AI Draft.
-
Metrics: Track the status of your files:
-
Total Documents: Everything you’ve created.
-
Pending: Waiting for signatures.
-
Completed: Fully signed and finalized.
-
Expiring Soon: Documents nearing their deadline.
-
-
All Documents List: A filterable list (Drafts, Sent, Completed) to help you find specific files quickly.
2. Creating Documents
There are two ways to start a signing process:
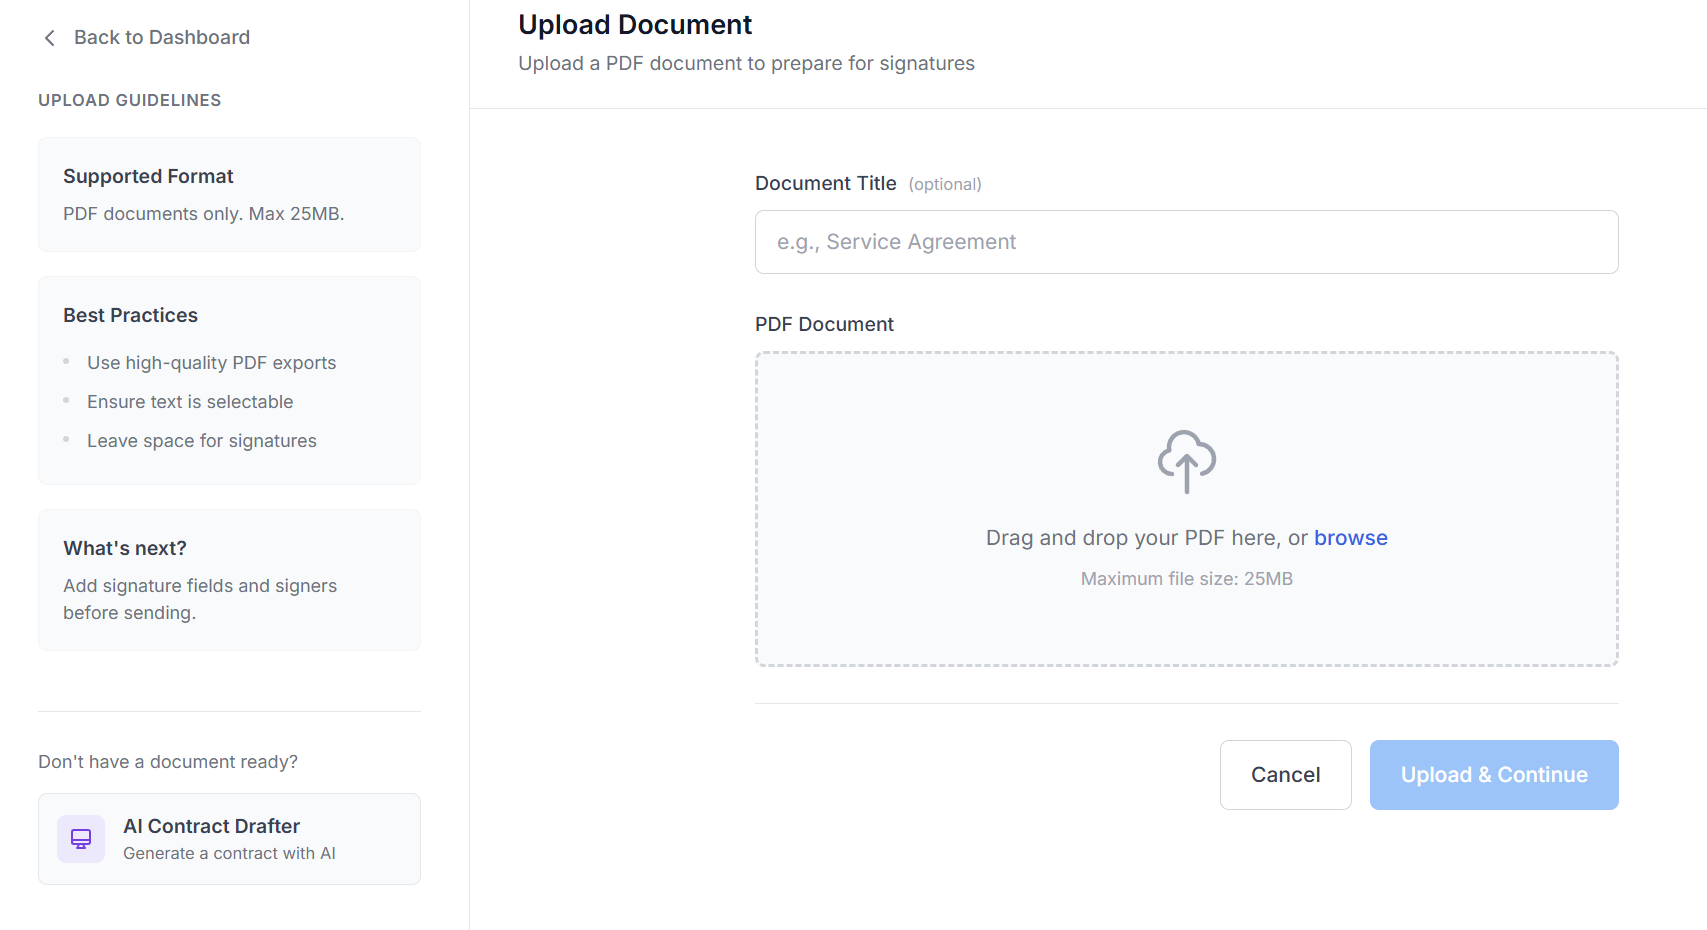
A. Uploading an Existing File
If you already have a contract ready (e.g., from Word or Google Docs):
-
Go to Upload Document.
-
Document Title: Give your file a recognizable name (e.g., "Service Agreement - Client X").
-
PDF Document: Drag and drop your file or browse your computer.
-
Requirement: PDF format only.
-
Max Size: 25MB.
-
-
Click Upload & Continue to proceed to the signature field placement.

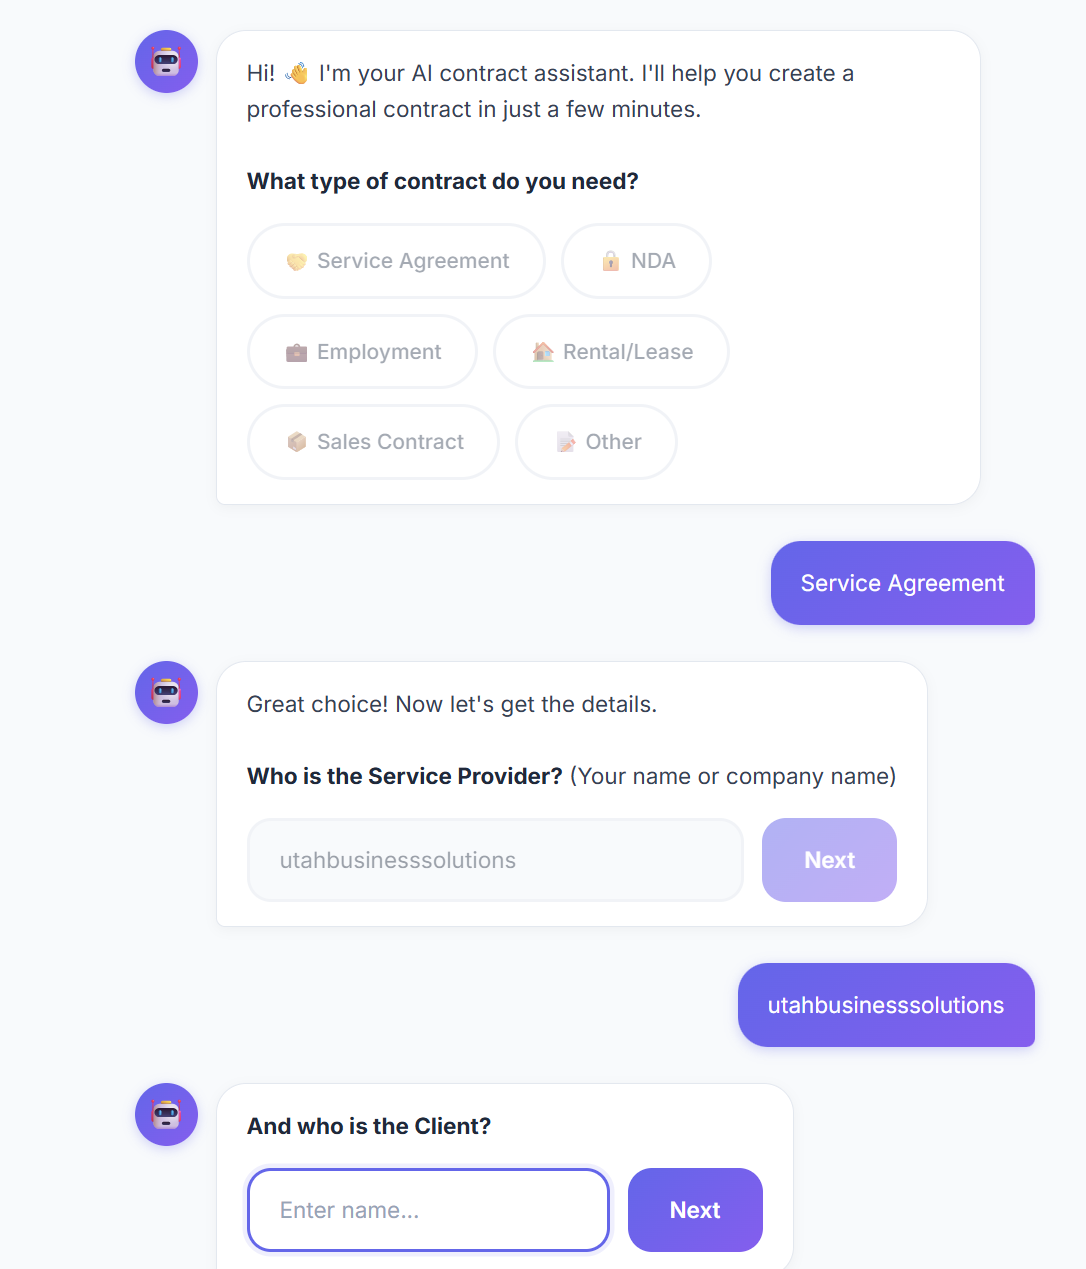
B. Using the AI Drafter
Don't have a document ready? Use the AI Drafter chatbot to generate one in minutes.
-
Select AI Drafter from the Tools menu.
-
The AI assistant will greet you. Select the type of contract you need (Service Agreement, NDA, Employment, etc.).
-
Follow the chat prompts to provide details.
-
The AI will generate a professional draft that you can download, edit, and use for signing.

3. Managing Your Documents
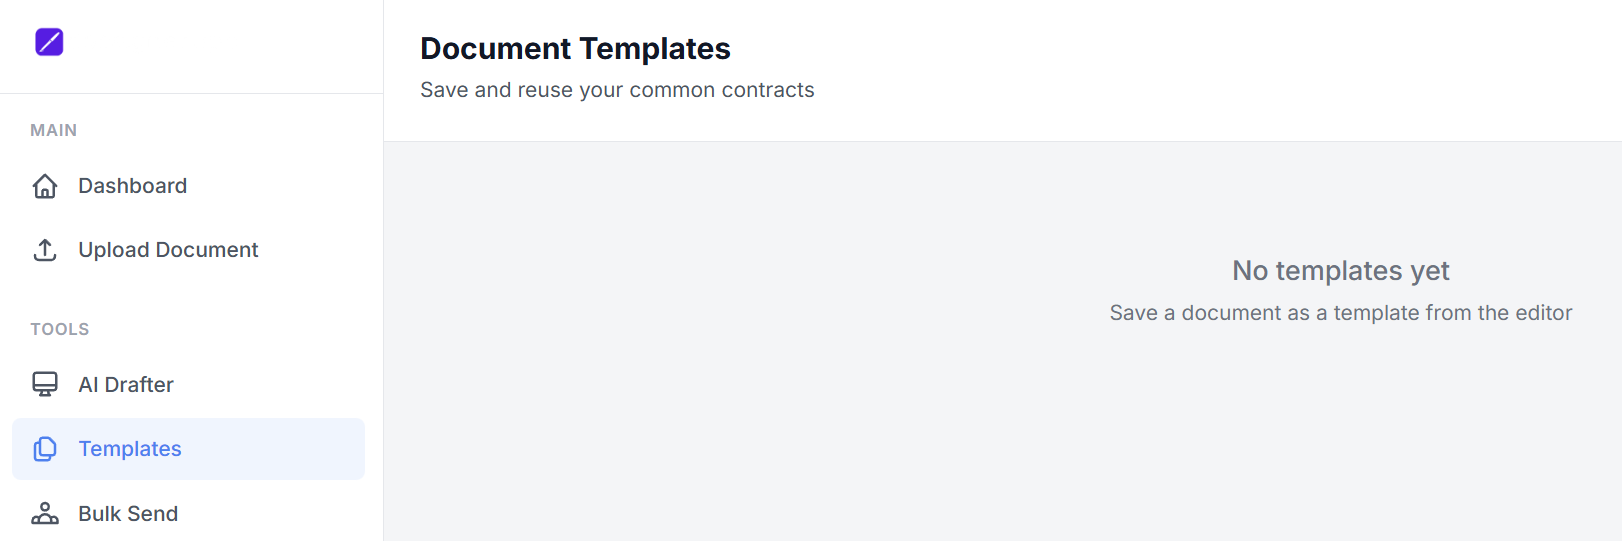
Templates
Once you have prepared a document with specific signature fields, you can save it as a Template. This allows you to reuse the same structure for different clients without having to re-add signature boxes every time.
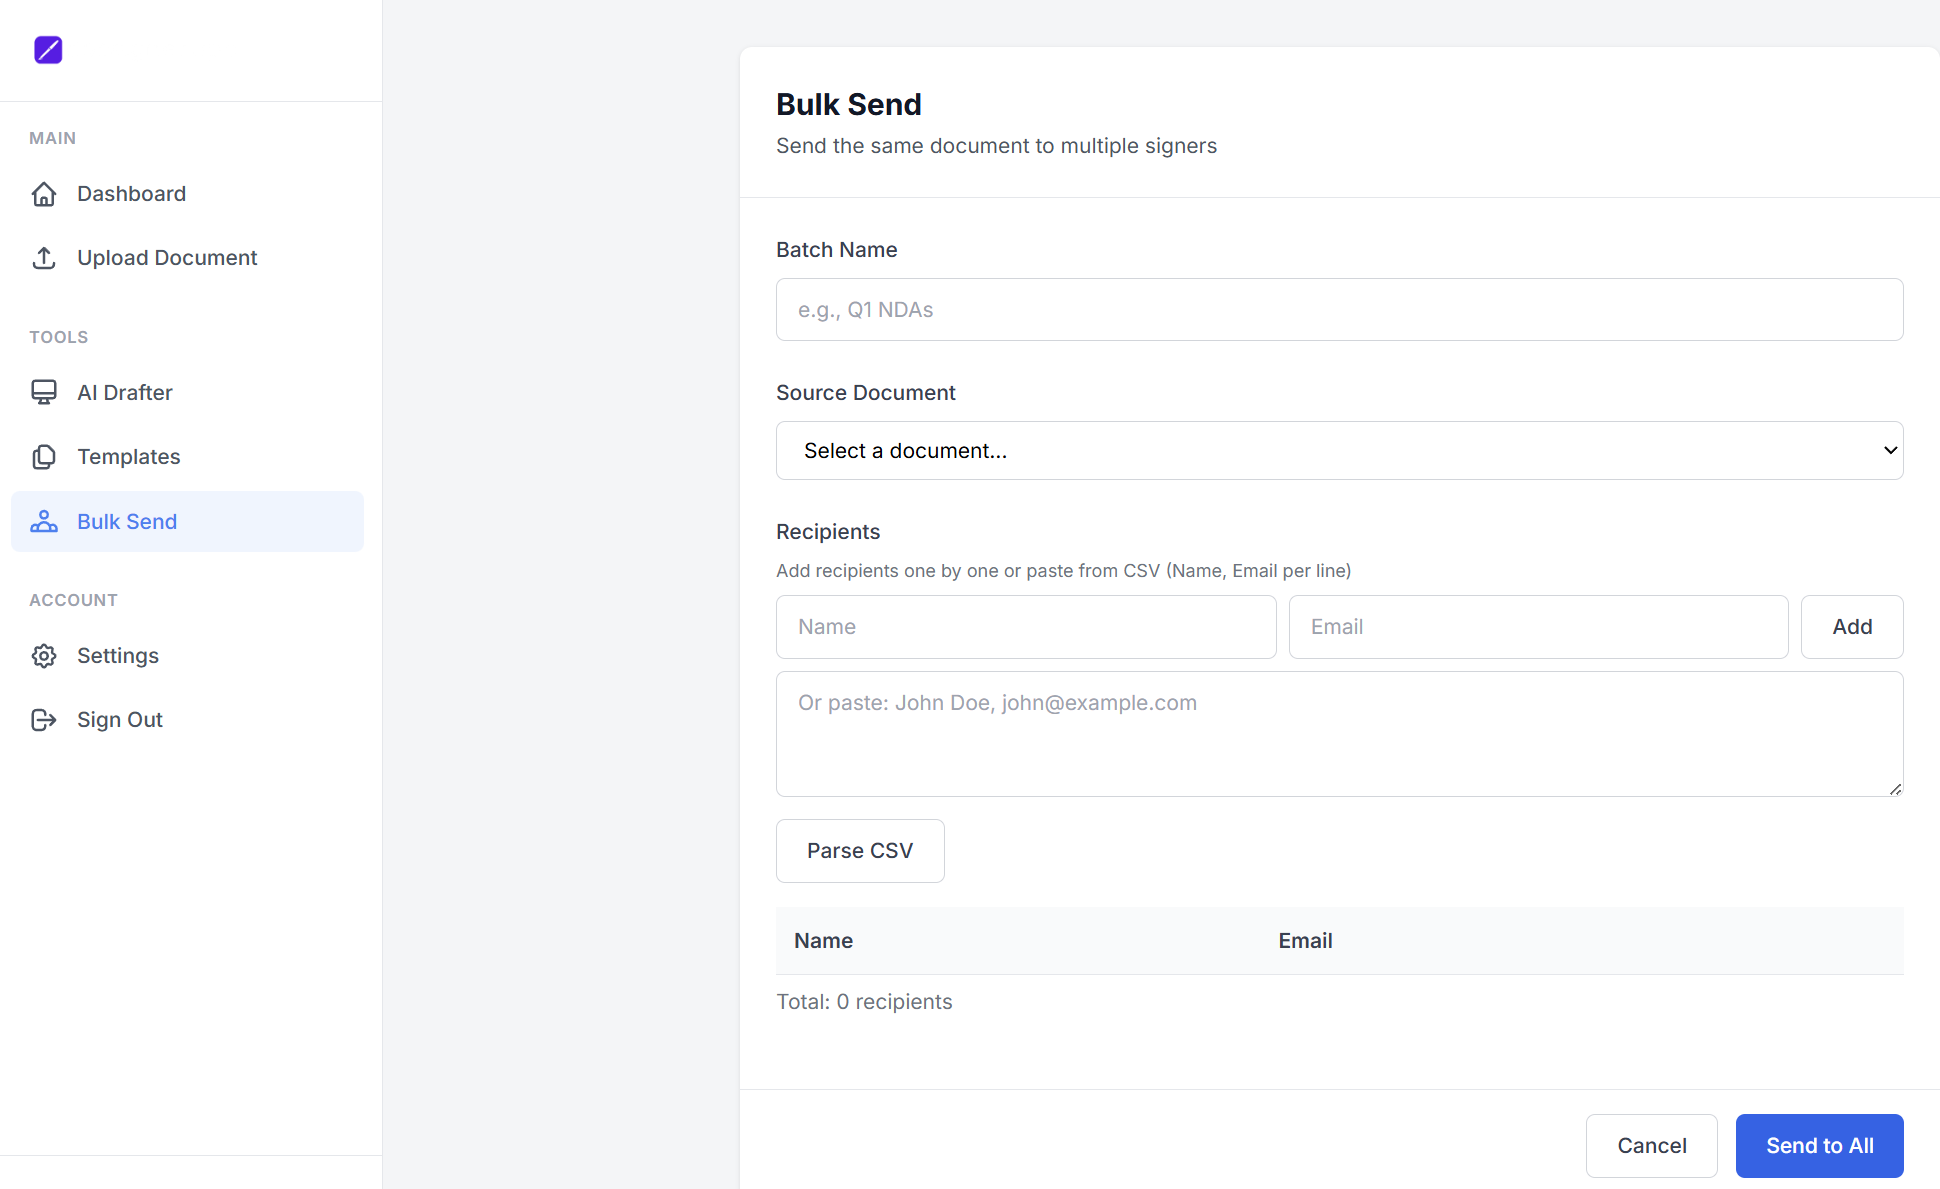
Bulk Send
The Bulk Send feature allows you to send a single document to dozens or hundreds of recipients at once.
-
Batch Name: Label your send (e.g., "Q1 Policy Updates").
-
Source Document: Select a previously created document or template from the dropdown.
-
Recipients:
-
Add them manually (Name & Email).
-
CSV Import: Paste a list (Format: Name, Email per line) and click Parse CSV.
-
-
Click Send to All to distribute the documents simultaneously.

4. Settings & Account Management
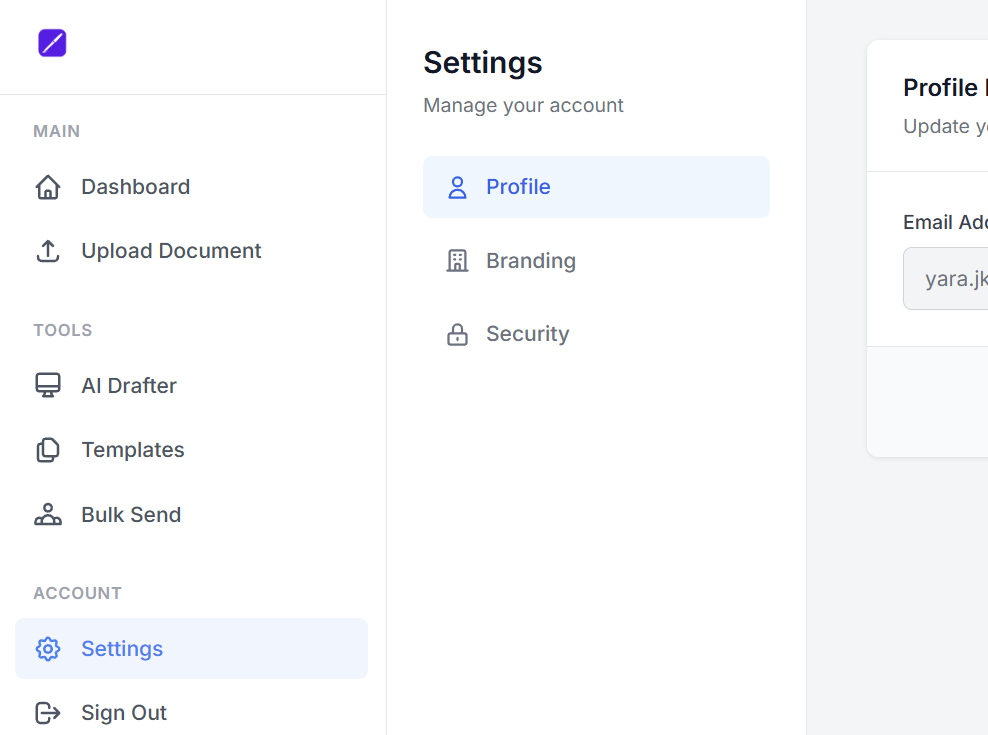
Access the Settings tab to customize your personal workspace:
-
Profile: Manage your primary email address for notifications.

-
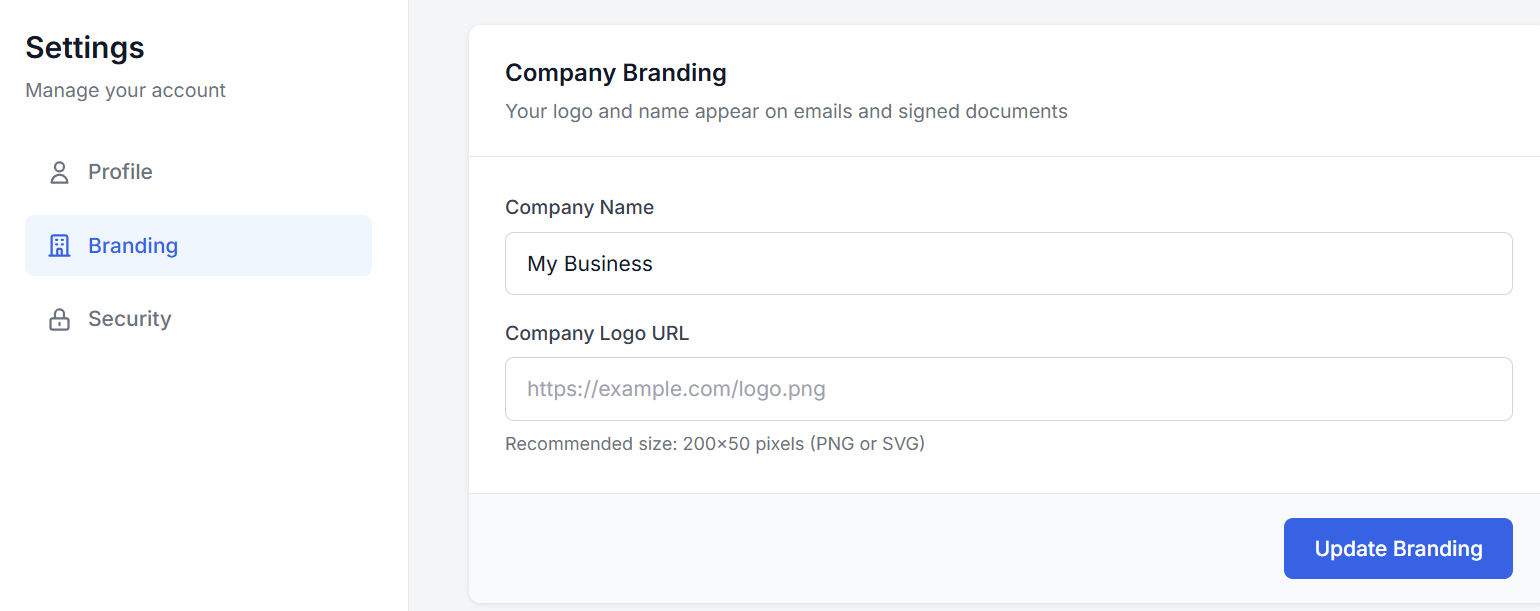
Branding: Set your Company Name and Logo URL. This ensures that the documents and emails your clients see look professional and consistent with your business.

-
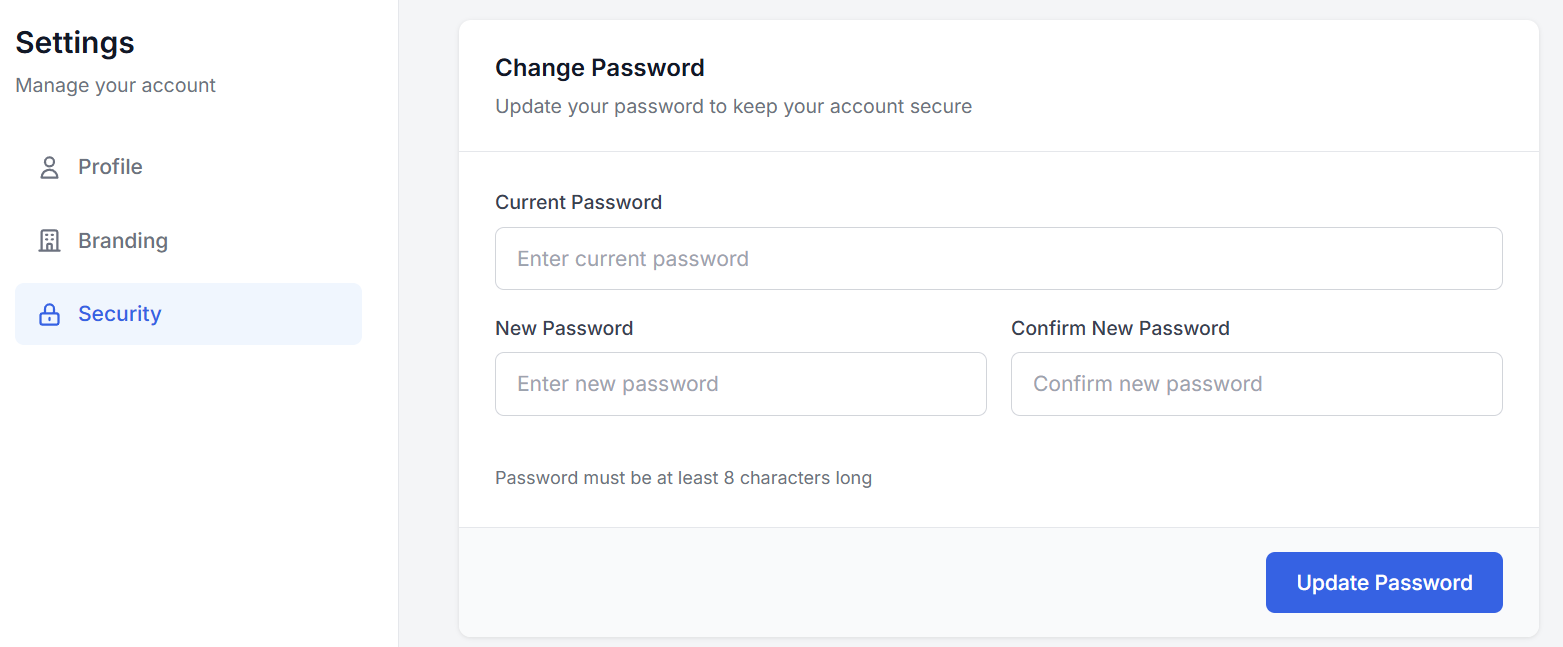
Security: Update your password regularly to keep your account safe.
-
Requirement: New passwords must be at least 8 characters long.
-
You will need to enter your current password to authorize any changes.
-

5. Helpful Tips
-
Signature Space: When uploading a PDF, ensure you leave enough white space at the bottom or on the signature page for digital stamps and signatures.
-
Selectable Text: For the best experience, use high-quality PDF exports where the text is selectable rather than a flat "image" scan.
-
Status Tracking: Check your Dashboard regularly to follow up on "Pending" documents that haven't been signed yet.