
Setting Up Your Document Signing Service
Welcome to the Document Signing Software setup guide. As a reseller, you can fully whitelabel the signature platform to reflect your own brand identity. Follow these steps to configure your branding, activate the service for your clients, and access the platform.
Step 1: Configure Your Whitelabel Branding
Before activating the service for any clients, you must set up your brand identity. This ensures that the login pagestopics and documents your clients see are branded to your agency.
-
Log in to your Reseller Dashboard.
-
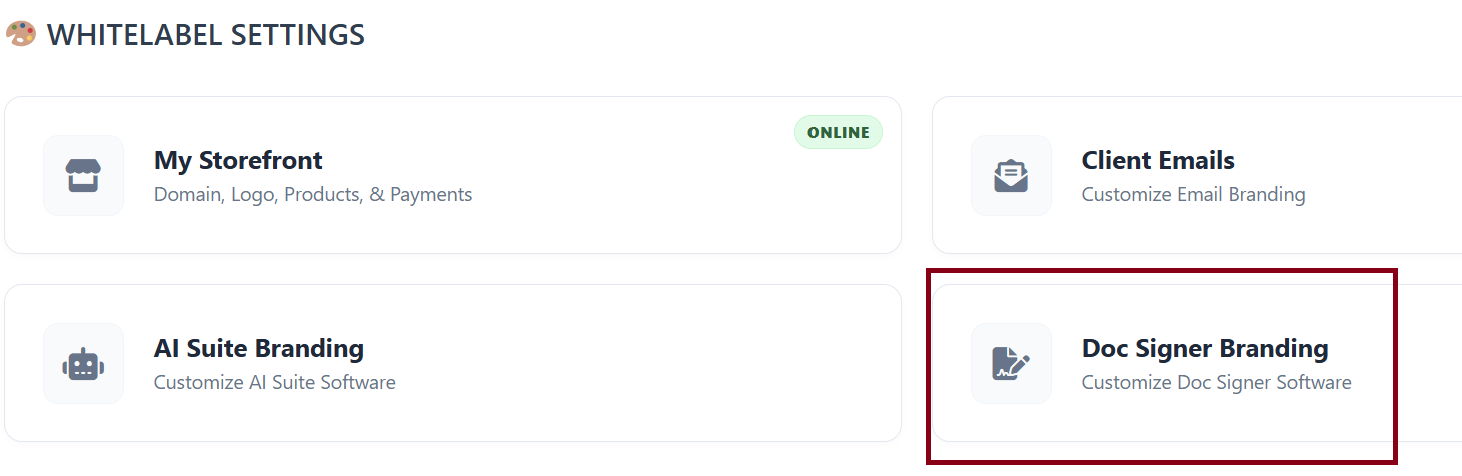
Navigate to Whitelabel Settings > Doc Signer Branding > Customize Doc Signer Software.
-
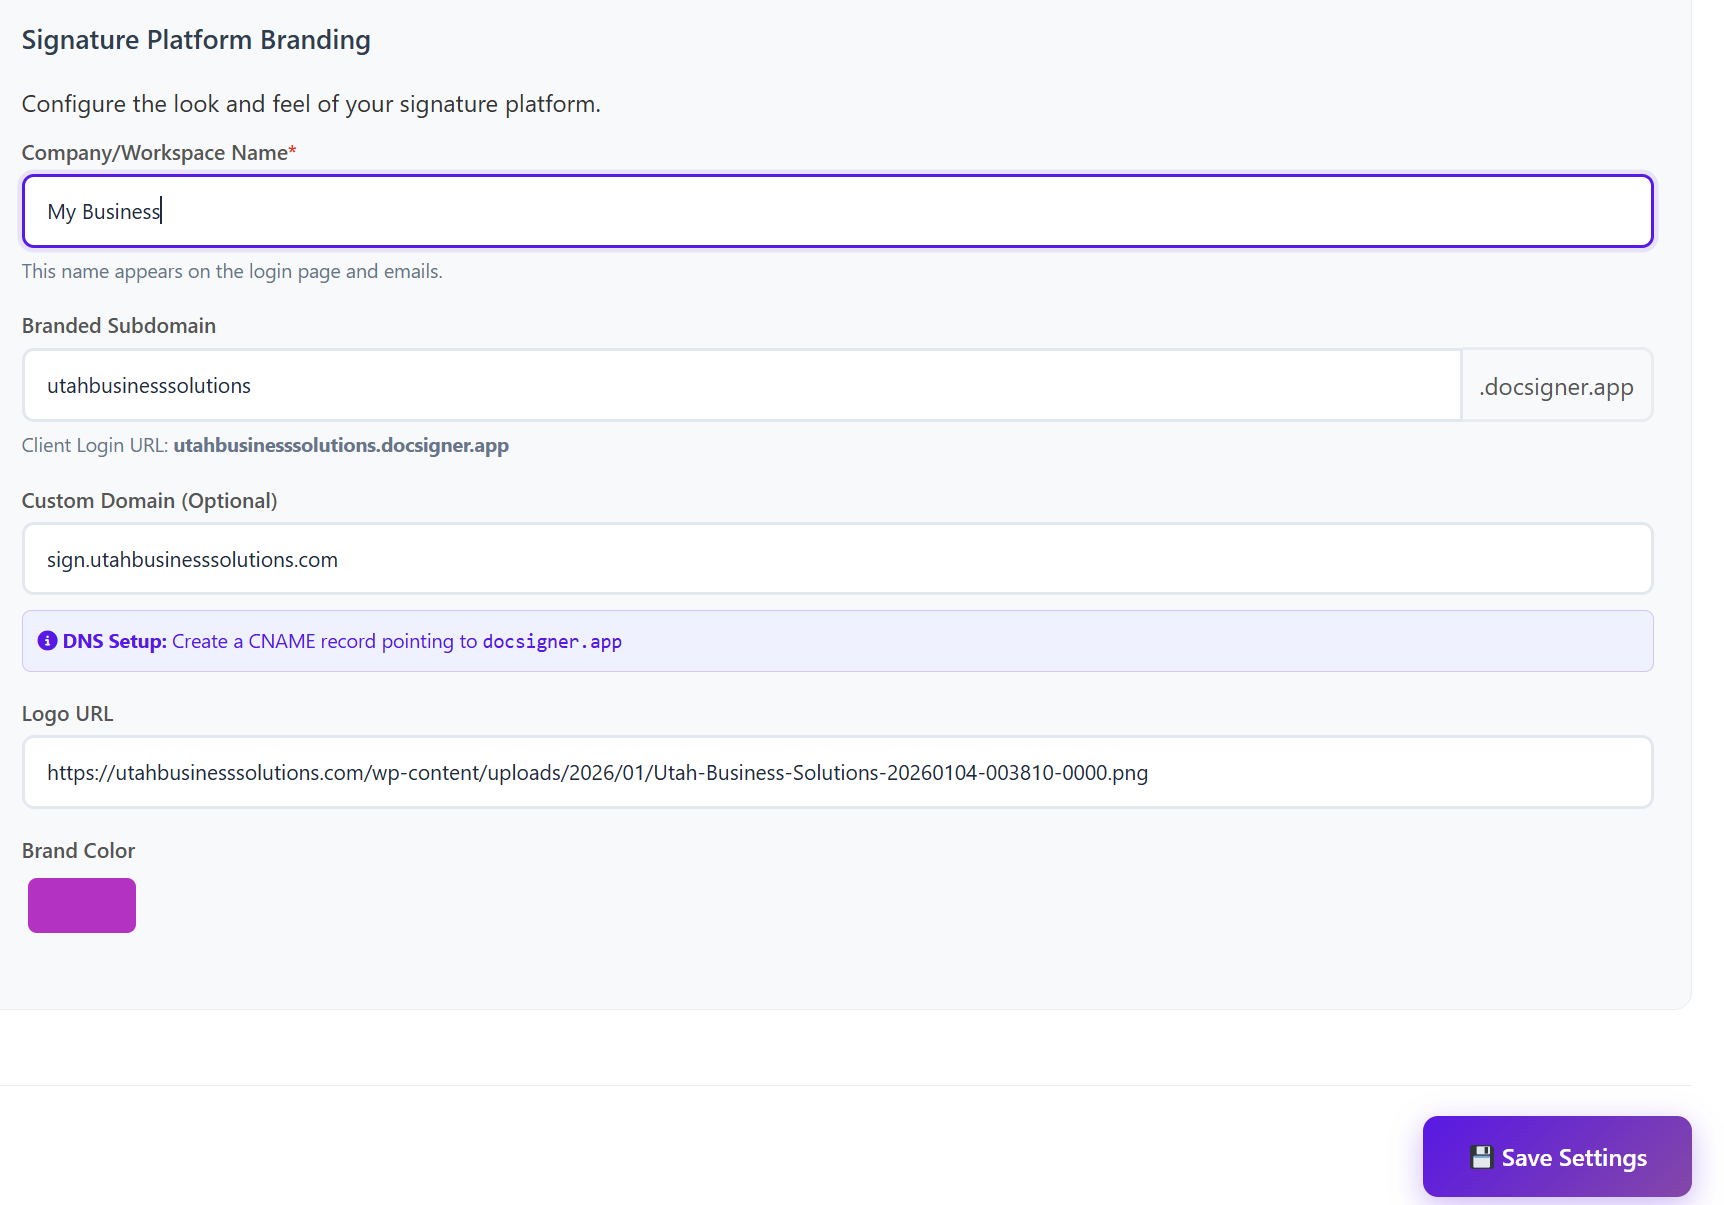
You will see the Document Signer Branding section. Fill in the following fields:
-
Company/Workspace Name: Enter your agency name (e.g., AppServicePortal). This name will appear on the login
pagetopic and in automated emails. -
Branded Subdomain: Enter your preferred prefix (e.g., your-agency). Your default login URL will be your-agency.docsigner.app.
-
Custom Domain (Optional): If you prefer to use your own domain (e.g., sign.yourdomain.com), enter it here.
-
Note: You must go to your DNS provider and create a CNAME record pointing to docsigner.app.
-
-
Logo URL: Provide a direct link to your transparent PNG or JPG logo (e.g., https://example.com/logo.png).
-
Brand Color: Use the color picker to select the primary theme color for your platform.
-
-
Click Save Settings.


Note: You will not be able to activate the service from marketplace to the client unless this step is done first.

Step 2: Preview Your Branding
To ensure everything looks correct:
-
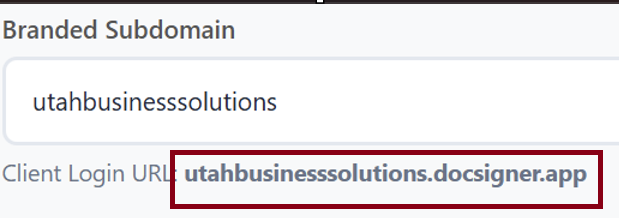
Locate the Client Login URL that was generated in the "Branded Subdomain" field.
-
Copy and paste this URL into a new browser tab.
-
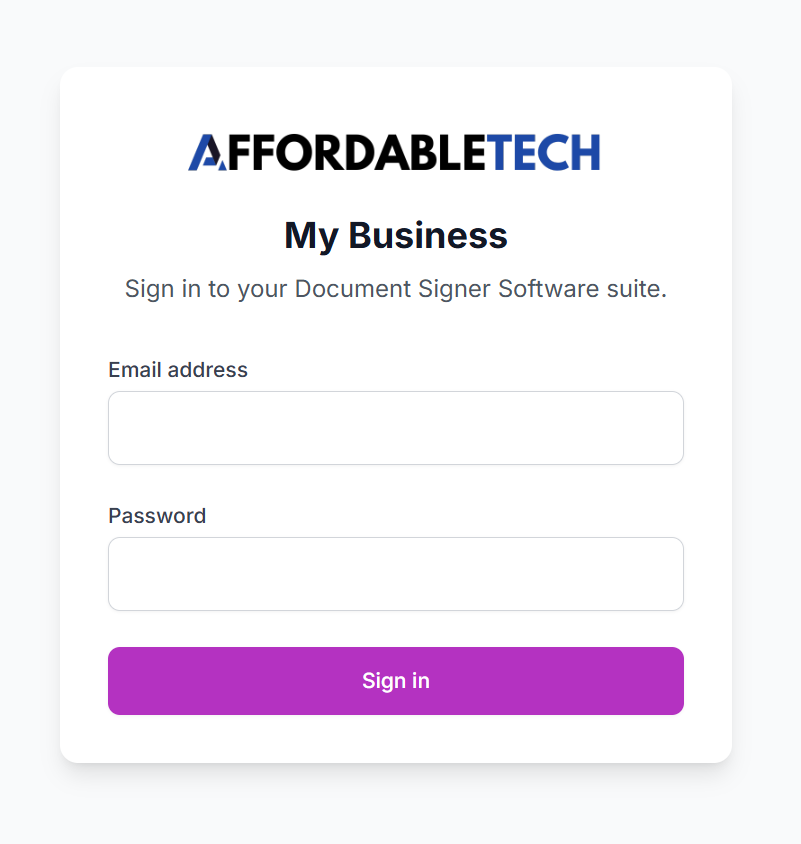
You will now see your customized login
pagetopic featuring your logo and brand colors.

Step 3: Activate the Service for a Client
Once your branding is set, you can provision the software for your customers.
-
Navigate to the Marketplace tab in your dashboard.
-
Find the Document Signing Software and choose to add it to either a New Client or an Existing Client.
-
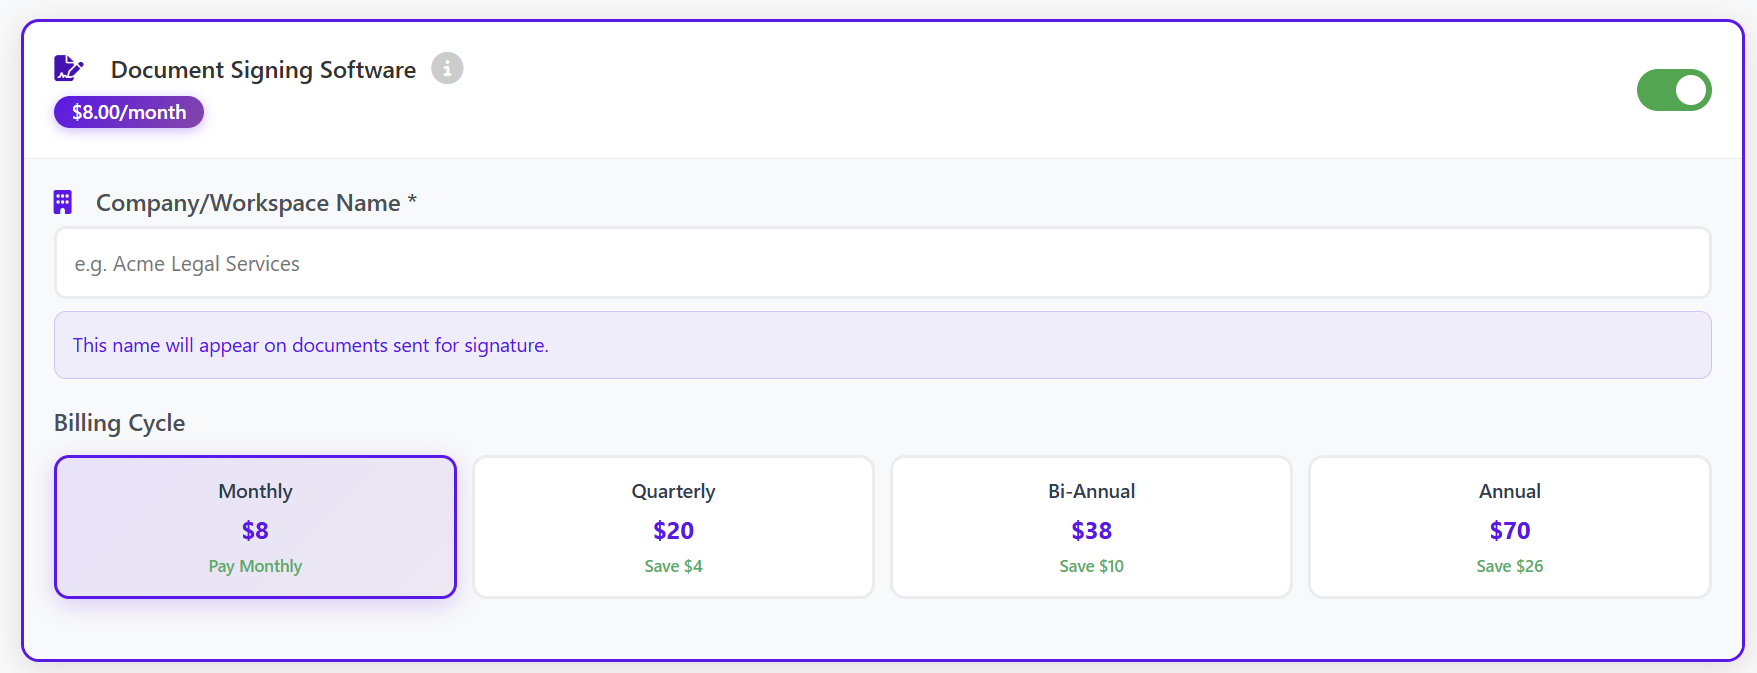
To activate the service, complete the following:
-
Company/Workspace Name: Enter the client's company name. This name will be displayed on the actual documents that will be sent out for signature.
-
Billing Cycle: Select the preferred billing frequency (Monthly, Quarterly, Bi-Annual, or Annual).
-
-
Confirm and activate.

Step 4: Accessing the Platform
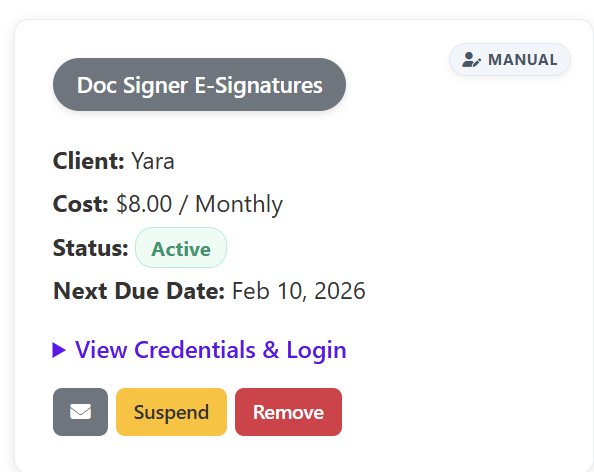
After activation, the service is managed within your "Services" tab.
-
Go to the Services tab.
-
Locate the Document Signing service for your client.
-
Here, you will find the Login Credentials (Username and Password) generated for that specific account.
-
To sign in, use the Branded URL you configured in Step 1 and enter the credentials found in the Services tab.

Summary Checklist for Resellers:
Configure branding in Whitelabel Settings.
(Optional) Set up CNAME for Custom Domain.
Verify the look and feel via the Branded Subdomain URL.
Activate the client via the Marketplace.
Retrieve login credentials from the Services tab.
Need Support?
If you encounter any issues during the setup of your whitelabel domain or DNS configuration, please contact our technical support team through your reseller help desk.