
Navigating ResellPortal: Getting Started
TheWelcome ResellPortal Dashboard isto your mainResell control panel. It gives you a real-time overview of your reseller account, your users, your product activations, and your recurring financial commitments.Portal! This chapterguide walkswill walk you through eachthe sectionessential offirst steps to set up your account and prepare your digital storefront for sales. Follow these instructions to get your reselling business up and running.
Getting Started
To understand how the dashboard,platform helpingworks, youit's understand the data presented so you can better manage your operations and support your clients.

1. Reseller Statistics Overview
Upon logging into your ResellPortal account, the first section you'll see is a high-level summary of your key performance indicators. This section includes:
Total Active Users
This number reflects how many end users are actively connectedimportant to yourfamiliarize reselleryourself account.with Theseits arethree usersmain who have accessed or utilized any software you've activated for them.
Use this to monitor:components:
-
GrowthYourinReseller Dashboard: This is yourclientcentralbasehub for managing your entire business. From here, you can oversee clients, track your profits, and configure your store settings. The page you are currently on is part of your dashboard. -
EngagementYour Public Storefront: This is the professional, customer-facing website where your clients will browse andusagepurchasetrendsproducts and services. While we host the storefront, it is branded with your company's identity, not ours. -
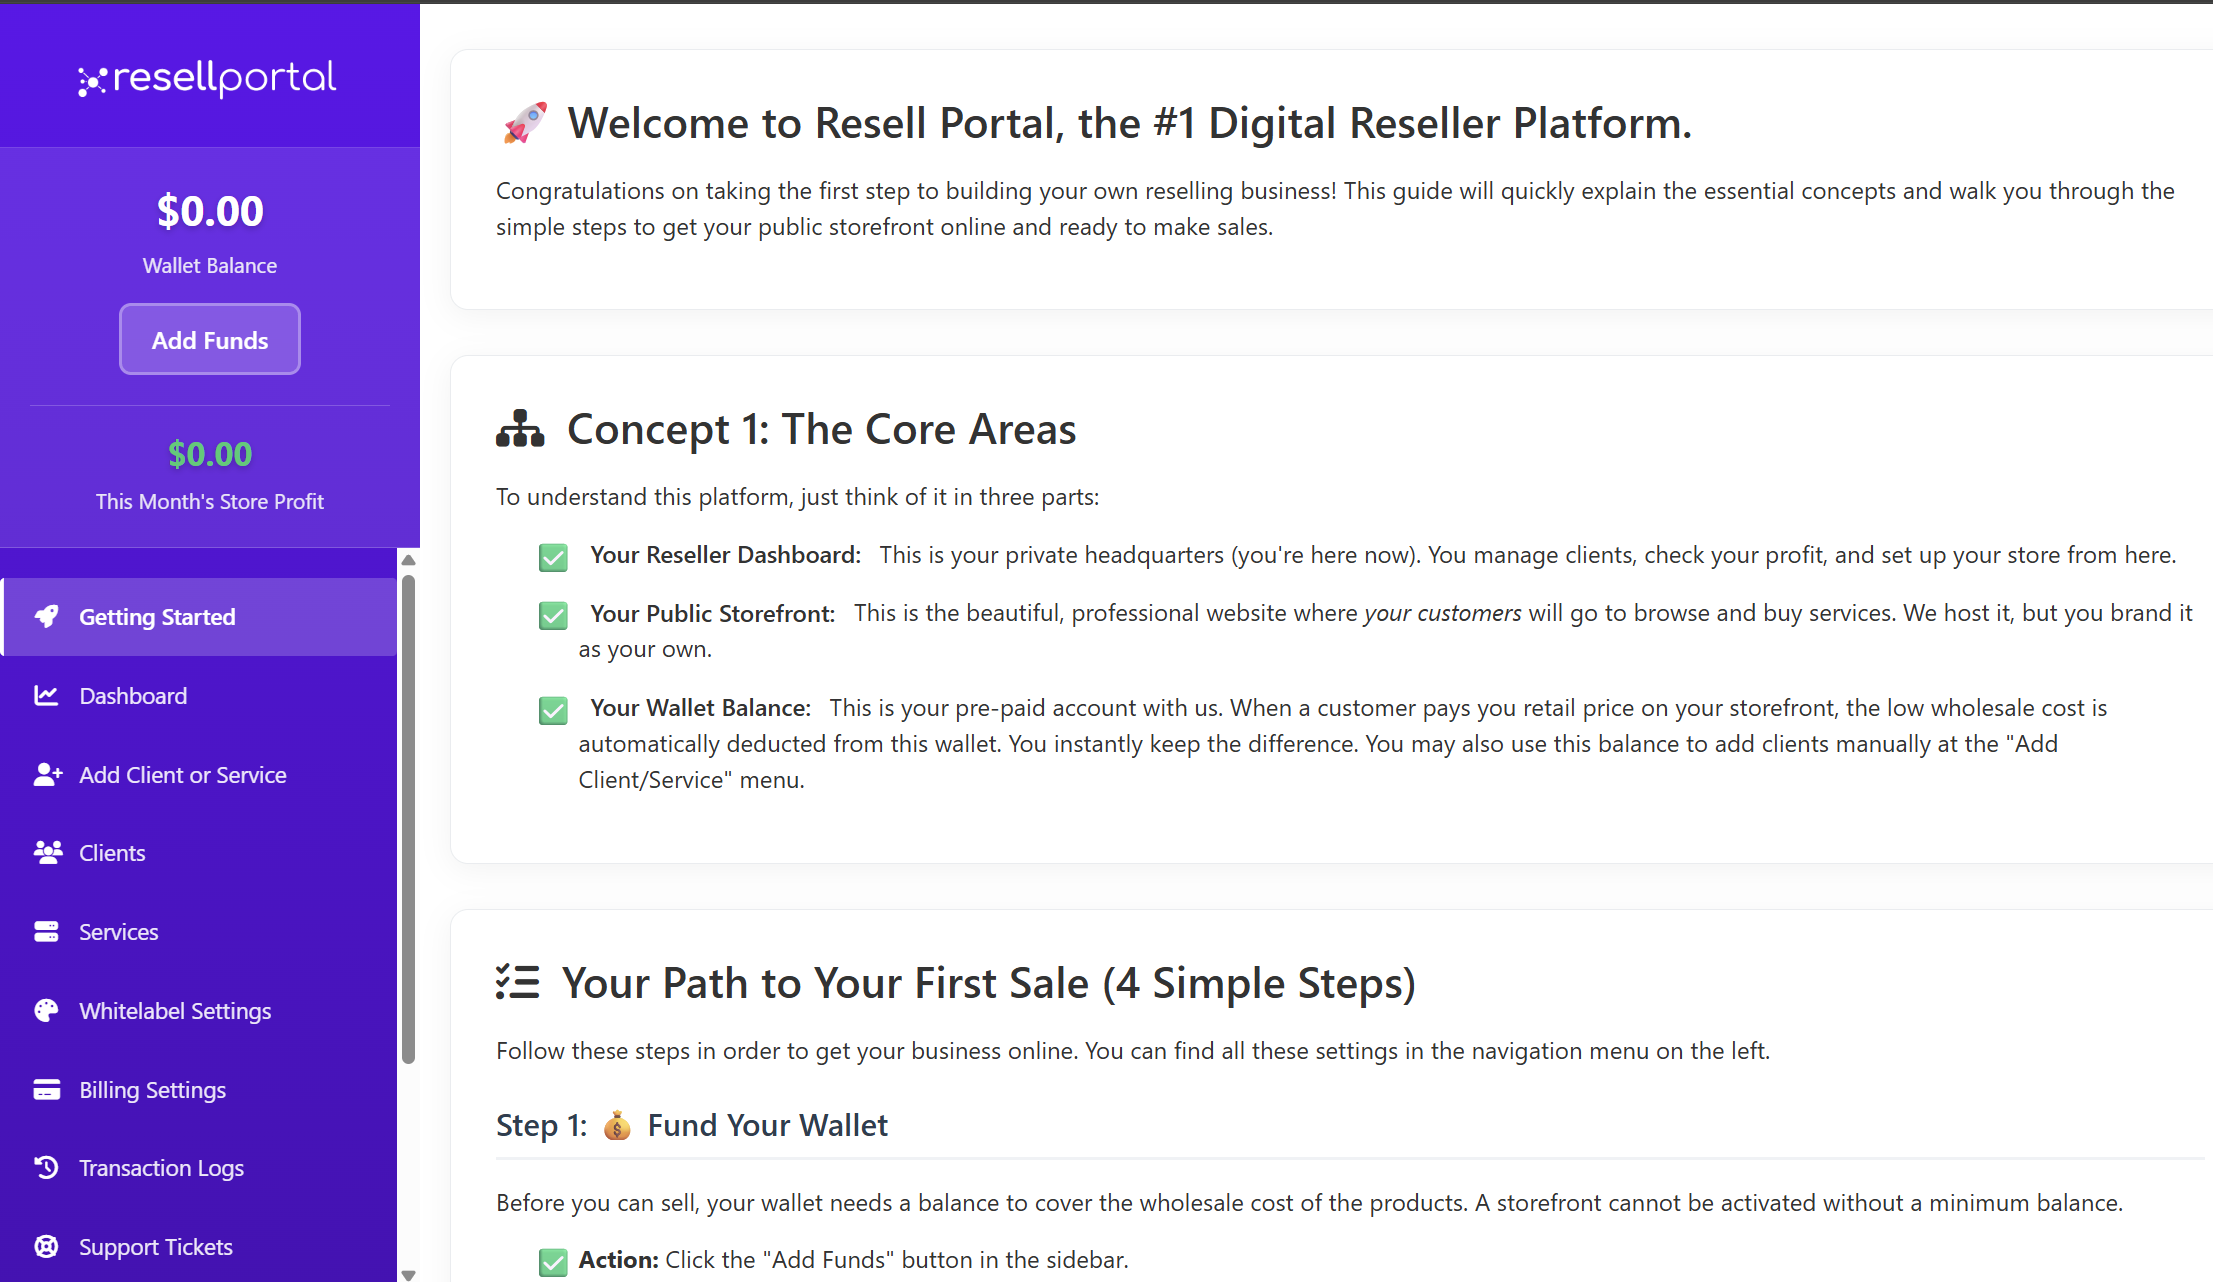
DemandYour Wallet Balance: This is a pre-paid account used to cover the wholesale cost of the products you sell. When a customer makes a purchase on your storefront, the wholesale price is automatically deducted from this wallet, and you instantly receive the difference as profit. You can also use this balance to manually add services forsupport or renewalsclients.
TotalLaunch ActiveYour Software
Business
ThisTo showslaunch howyour manybusiness softwareand begin making sales, follow these four essential steps. You can find all the necessary settings in the navigation menu on the left side of your dashboard.
Step 1: Fund Your Wallet
Before you can offer products areto currently deployed undercustomers, your resellerwallet license.needs Thisa includesbalance anyto AIcover Businessthe Tools,wholesale utilitycosts. apps,A orstorefront othercannot solutions you’vebe activated forwithout clients.
Useminimum this to:balance.
-
TrackClicksoftwarethedeployment"AddvolumeFunds" button located in the sidebar on the left. -
IdentifyRecommendation:high-demandAproductsminimum of $20.00 is required to activate your storefront, but we suggest starting with at least $50.00 to ensure smooth initial operations.
Step 2: Brand Your Store & Choose Your Domain
This step focuses on customizing your storefront to reflect your brand. This is what your customers will see.
-
Navigate to the Whitelable Settings page - first section Storefront & Branding.
-
EnsureMostallImportant:deploymentsUploadareyouraccountedcompany logo and select a unique domain for your storefront. This can be a custom domain you own or a subdomain provided by us (e.g., your-store.appserviceportal.com). This URL is how your customers will find you.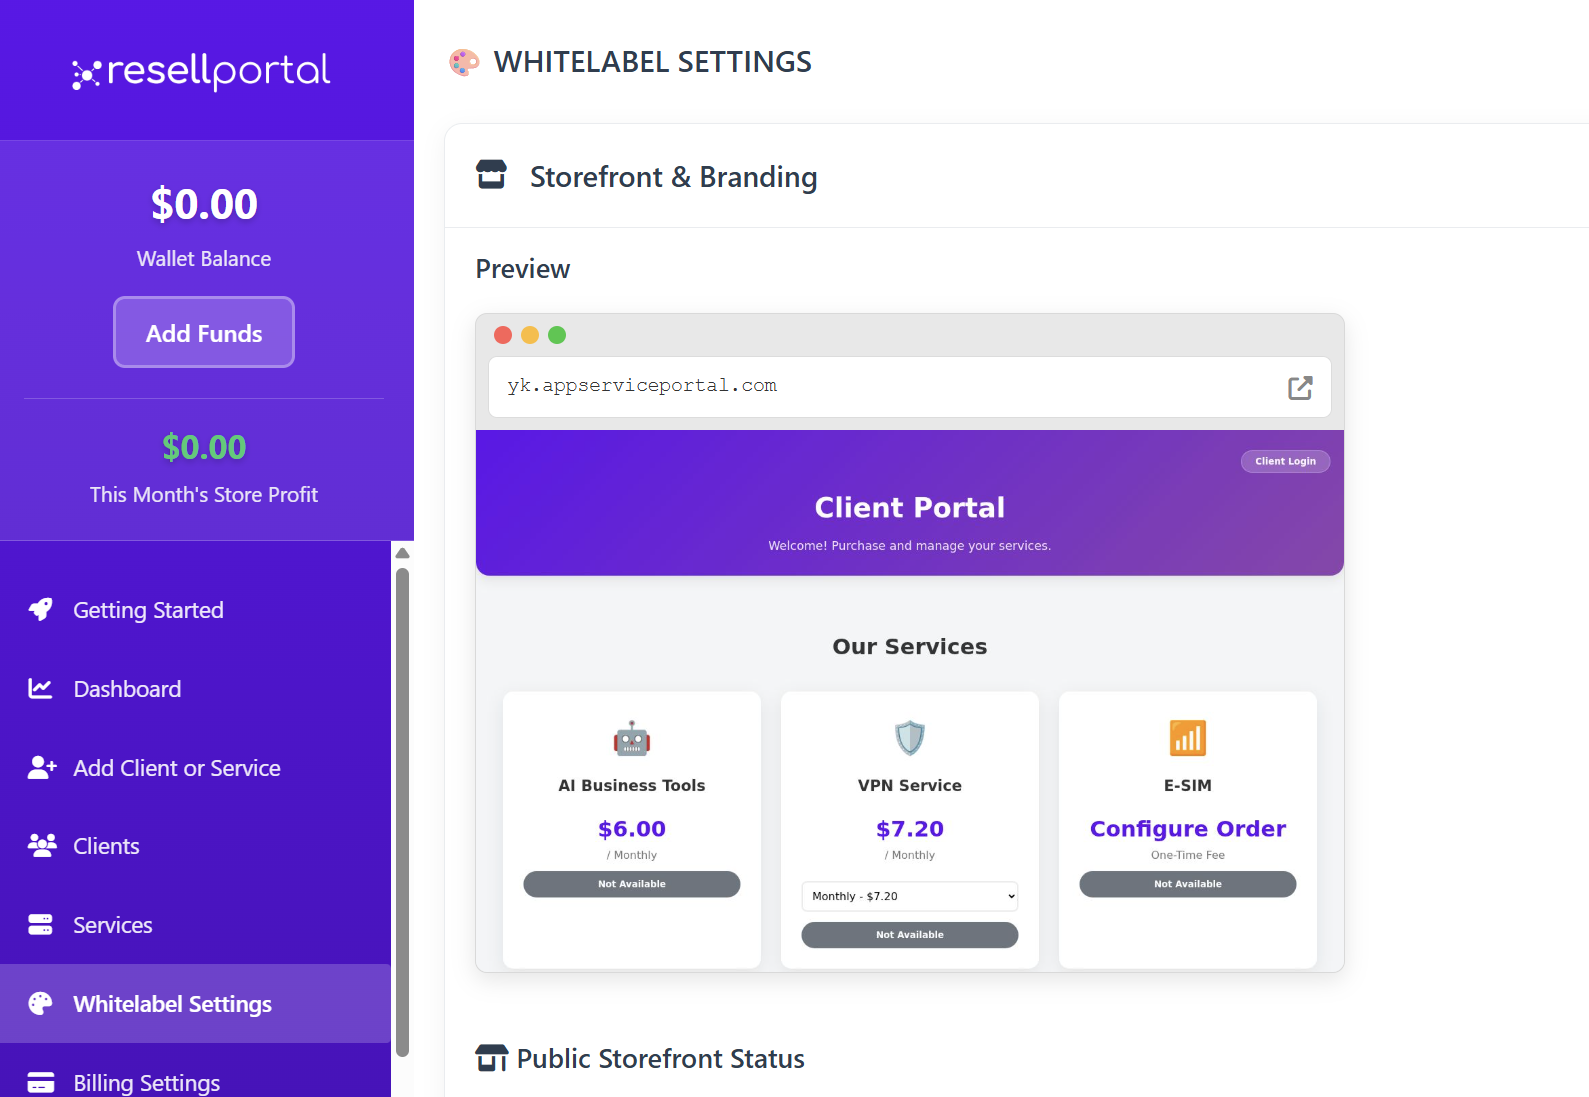

Balance
Step 3: Connect a Payment Gateway
YourTo currentget availablepaid balanceby onyour thecustomers, platform.you This is the credit usedneed to activateconnect newa servicespayment orprocessor. renewWhen existinga ones.
Important:buys from your storefront, their payment will go directly into your own Stripe account. We never handle your customers' money.
-
AlwaysOnensuretheyourStorebalance&isBrandingsufficientsectionbeforeunderactivatingWhitelabelnewpage,tools.find and click the "Connect with Stripe" button. -
LowNote:balanceStripemayispreventaactivationleadingor renewal of servicesplatform forclients.secure online payments. If you don't have a Stripe account, you will be prompted to create one for free during this process.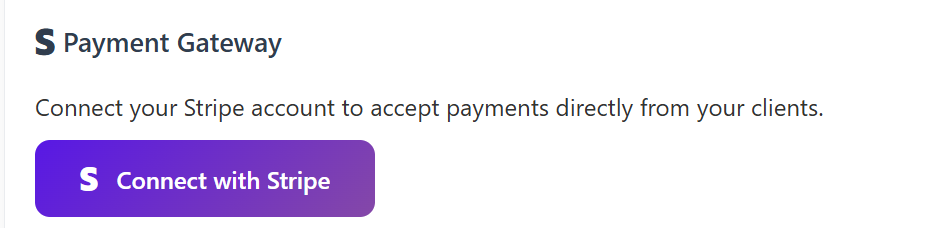

2.Step Recurring4: CostsSet BreakdownYour Profit Margin
TheThis secondis sectionwhere providesyou andetermine overviewyour pricing and profitability. You have complete control over the retail prices by setting a profit margin, which is the percentage you add on top of yourour recurringwholesale financial commitments as a reseller. It breaks down your active subscriptions by billing interval:costs.
-
MonthlyStorefrontRecurring&CostsBranding section-> use the "Your Profit Margin" slider to set your desired margin. -
QuarterlyExample:RecurringIfCostsa product has a wholesale cost of $6.00 and you set a 100% profit margin, the price on your storefront will be $12.00. When a customer purchases it,
6.00isdeductedfromyourwallet,andyouinstantlyearnanetprofitof 6.00isdeductedfromyourwallet,andyouinstantlyearnanetprofitof Bi-Annual Recurring Costs
Yearly Recurring Costs
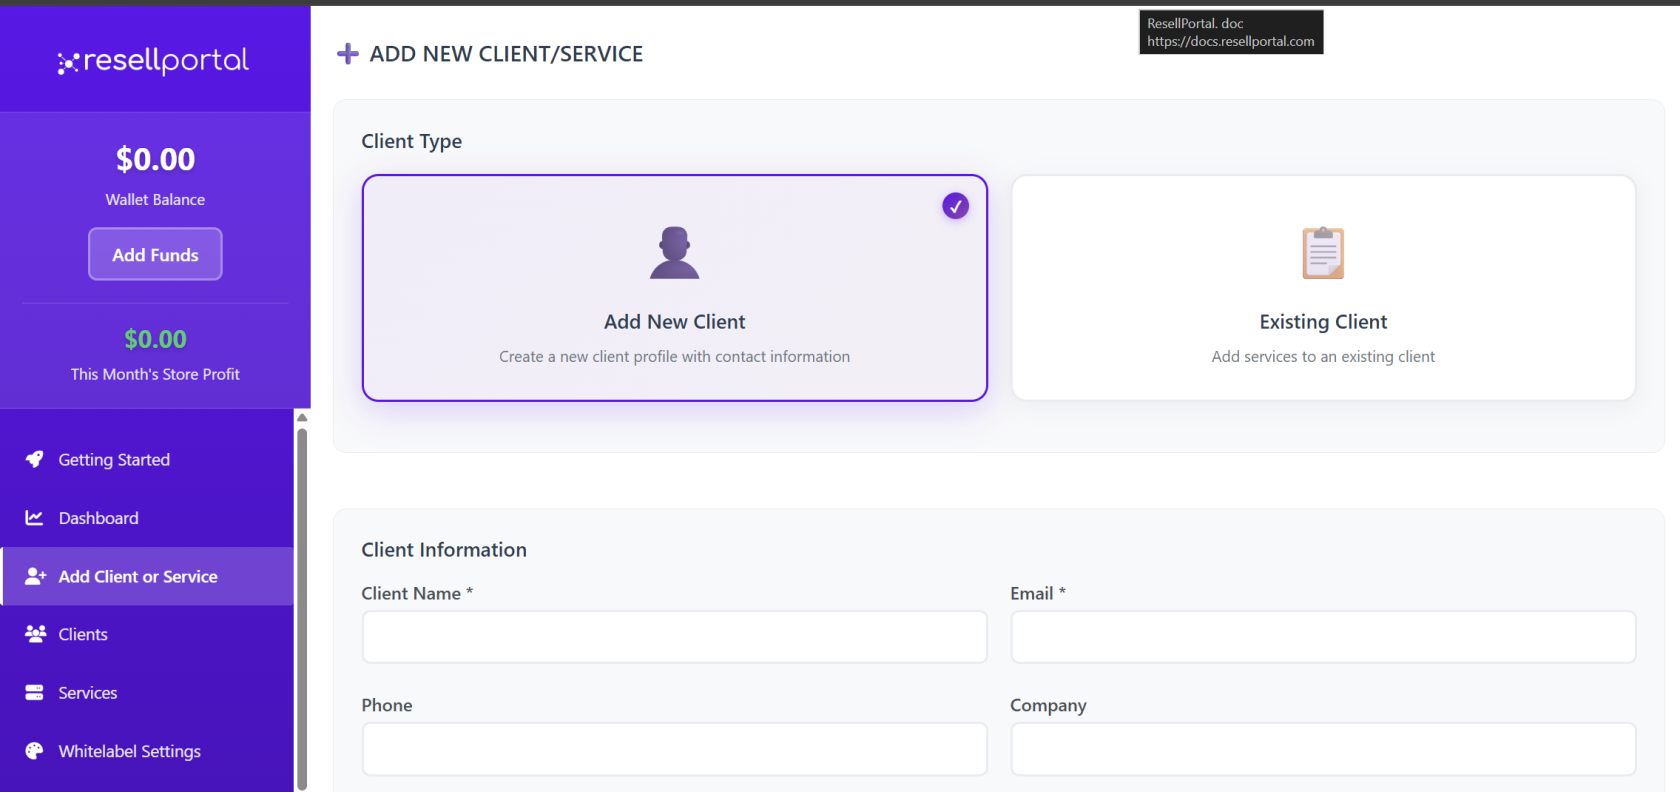
What About Manual Orders?
EachIf ofyou theseneed categoriesto lists:manually create an order for a client—for instance, if they pay you in cash or you want to provide a service to a friend—you can do so easily.
-
The
createnumberAddofClient/Serviceproductspageorallowsusersyouundertothatmanuallyplana - client
and activate any service for them. The
associatedwholesale costperforbillingthecycleservice will be deducted from your wallet balance.

UseYou're thisReady to:to Go!
ForecastOnce upcomingyou charges
Planfour budgetsteps, your storefront will be live and top-ups
Identifyorders. long-termYou vs.can short-term revenue streams
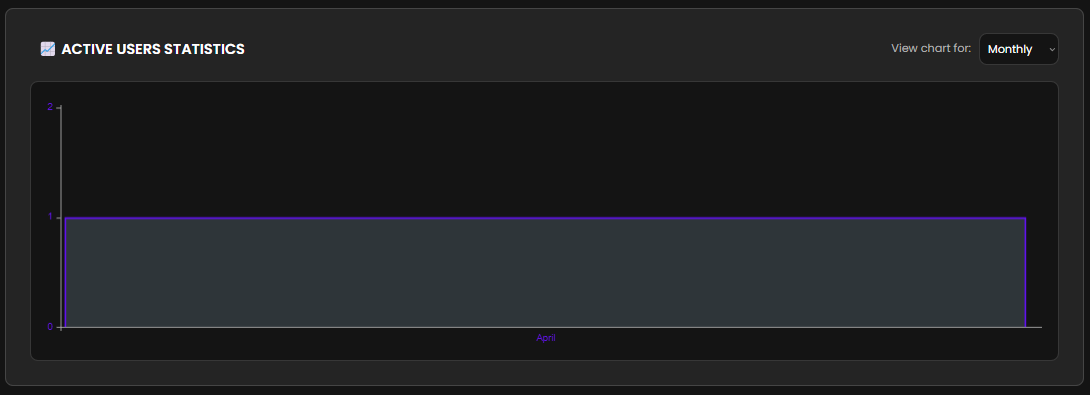
3. Active Users Statistics Graph
This section presents a visual graph displaying user activity over time. It provides insights into:
Daily or monthly trends in user engagementPeaks or drops in active usageHistorical growth offind youruseruniquebasestorefront URL on the "Store & Branding" page.Now you are all set! Click the "Take Me to My Dashboard" button to continue exploring your Resell Portal.

How to use it:
Analyze spikes in activity after promotions or product launchesIdentify potential churn periodsMonitor the impact of new activations
The graph may support filters such as time ranges (last 7 days, 30 days, 6 months) to help you zoom in or out as needed.
4. Activated Products List
The final section of the dashboard provides a detailed list of all products you’ve activated under your reseller account. This includes:
Product name (e.g., AI Business Tool, AI Writer, AI Chat, etc.)Activation dateAssigned client (email or account)Status (active, paused, expired)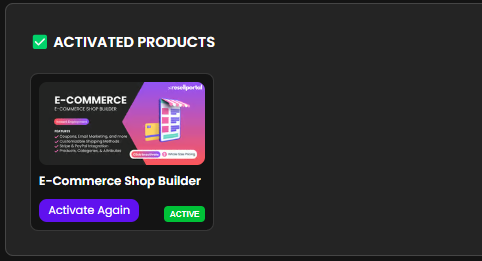

Why it’s important:
Offers a quick way to track which products are liveHelps with renewal and billing managementUseful for auditing and support tickets
You can click into each product (if available) to see additional details or take action (such as renewing or deactivating the service).
Final Tips for Resellers
Check your dashboard regularlyto stay ahead of renewals and client activity.Use the dashboard as asales tool—monitor what’s in high demand and tailor your marketing accordingly.Thebalance and recurring cost sectionshelp you avoid surprise charges and keep your account running smoothly.Export or document key stats monthly if you need to report performance internally.