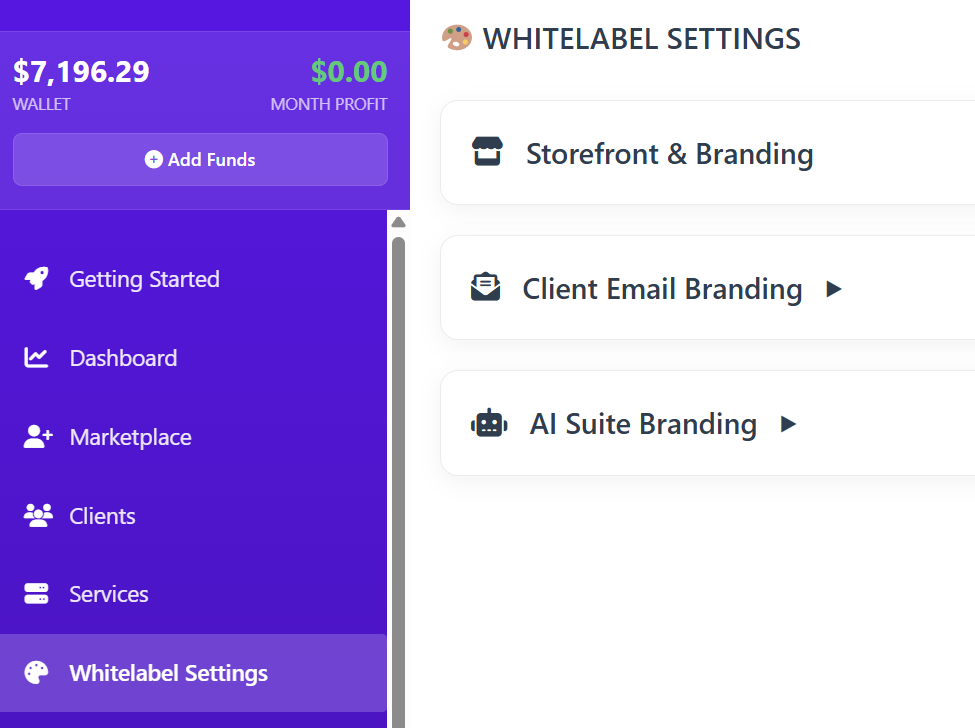
White Label Settings User Guide
The Whitelabel Settings allow you to remove the "Resell Portal" branding and replace it with your own. This ensures your clients see your brand name, logo, and colors throughout their entire journey—from browsing your store to receiving support emails.
There are three main sections to configure:
-
Storefront Branding: Your public-facing shop.
-
Client Email Branding: Communications sent to your customers.
-
AI Suite Branding: The login and dashboard for AI-specific tools.

1. Storefront Branding
This section controls your public website where customers browse and purchase services.
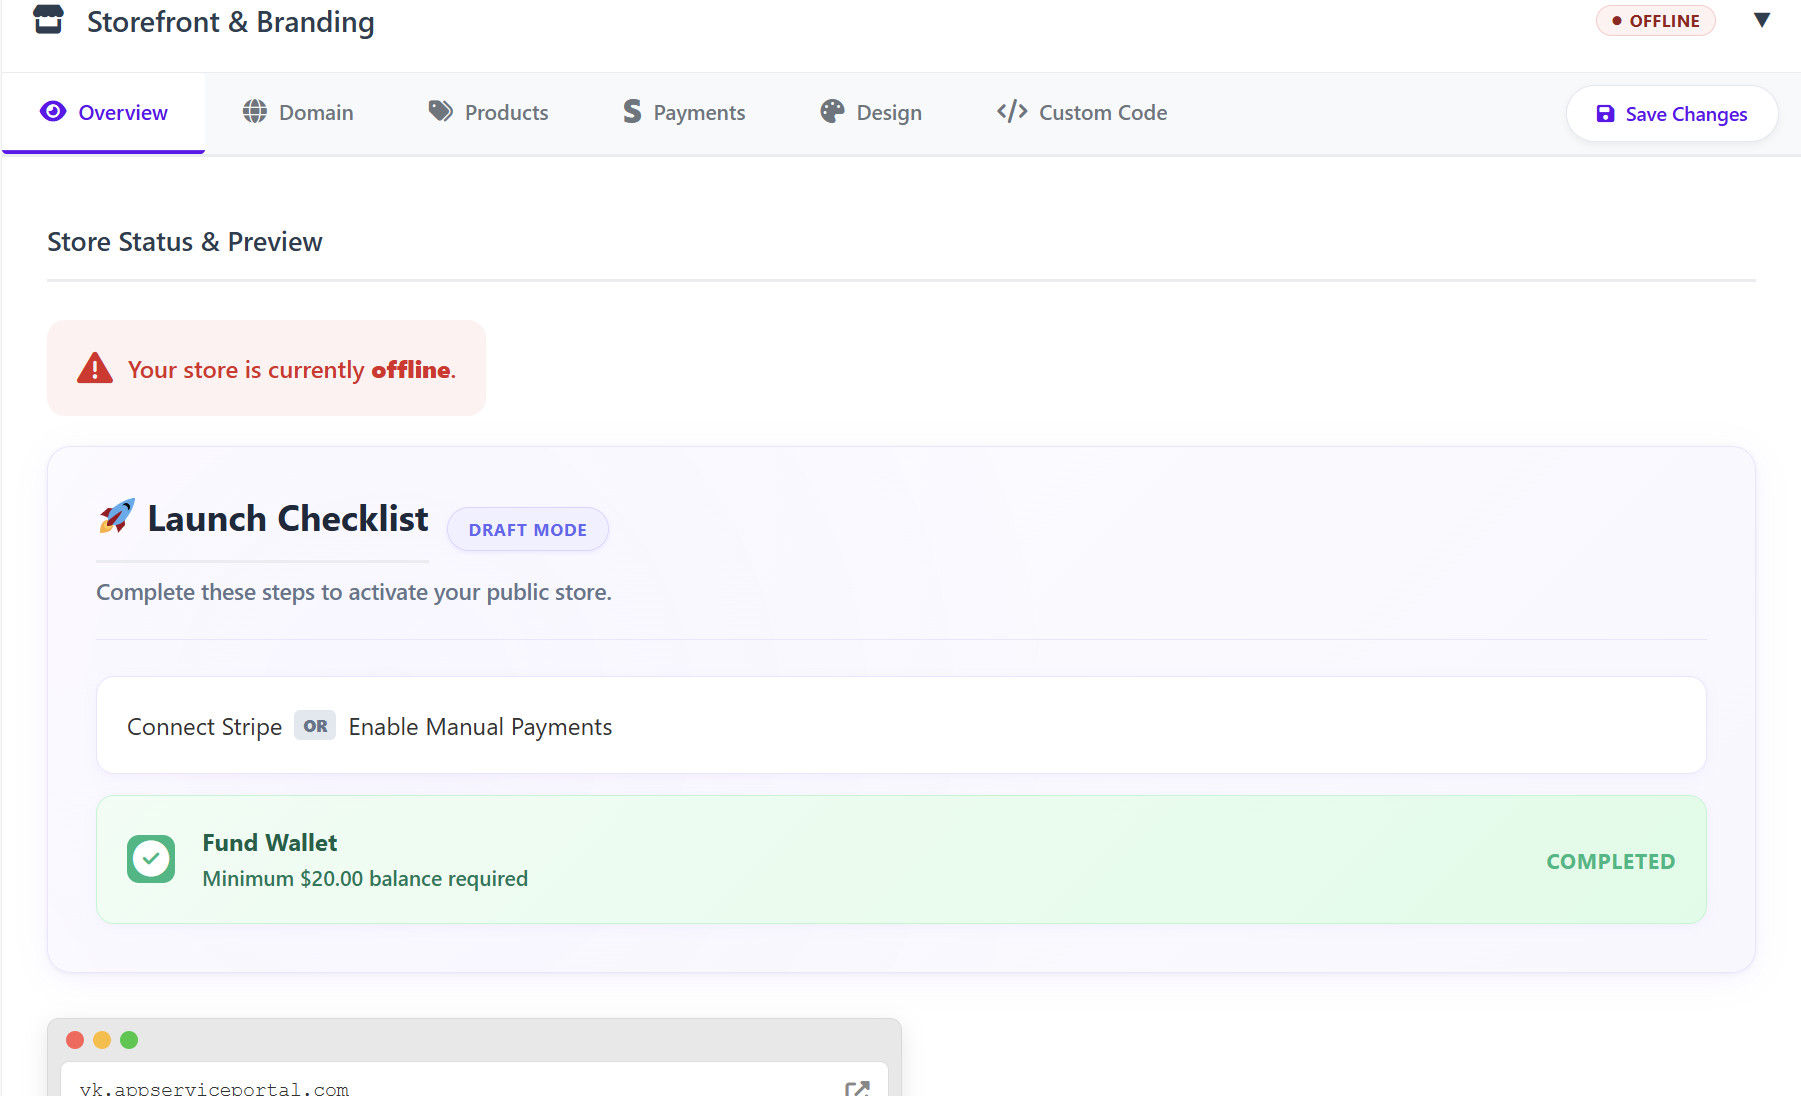
A. Overview Tab
The Overview serves as your command center. Before your store can go live, you must complete the Launch Checklist:
-
Connect Stripe or Enable Manual Payments: You must have a way to collect money.
-
Fund Wallet: A minimum balance of $20.00 is required in your reseller wallet to activate the storefront.
-
Store Status: Displays whether your store is in "Draft Mode" (offline) or "Live."
-
Preview: Once online, you can see a live preview of your site here.

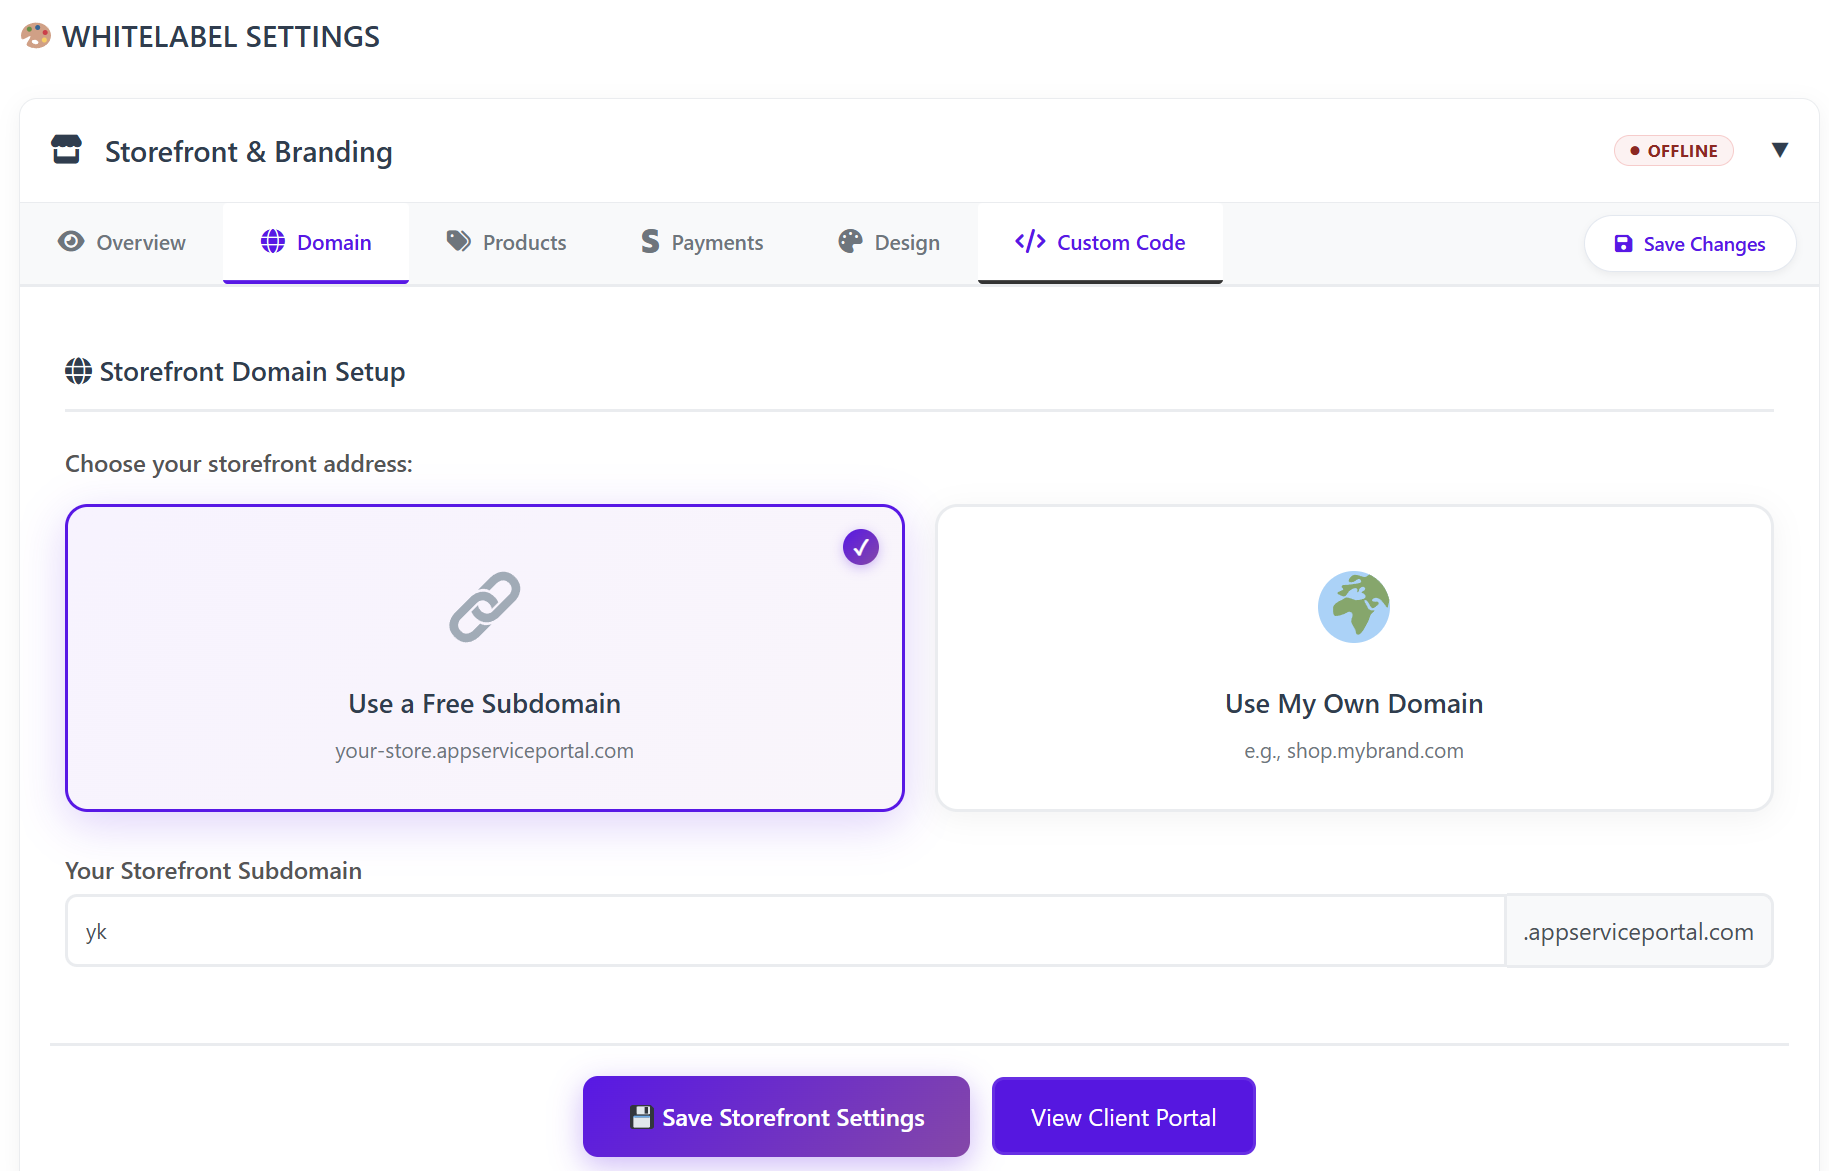
B. Domain Tab
Decide where your customers will go to visit your store:
-
Free Subdomain: Use a complimentary address like yourbrand.appserviceportal.com.
-
Use My Own Domain: Connect a professional domain (e.g., shop.yourbrand.com) to increase brand authority.

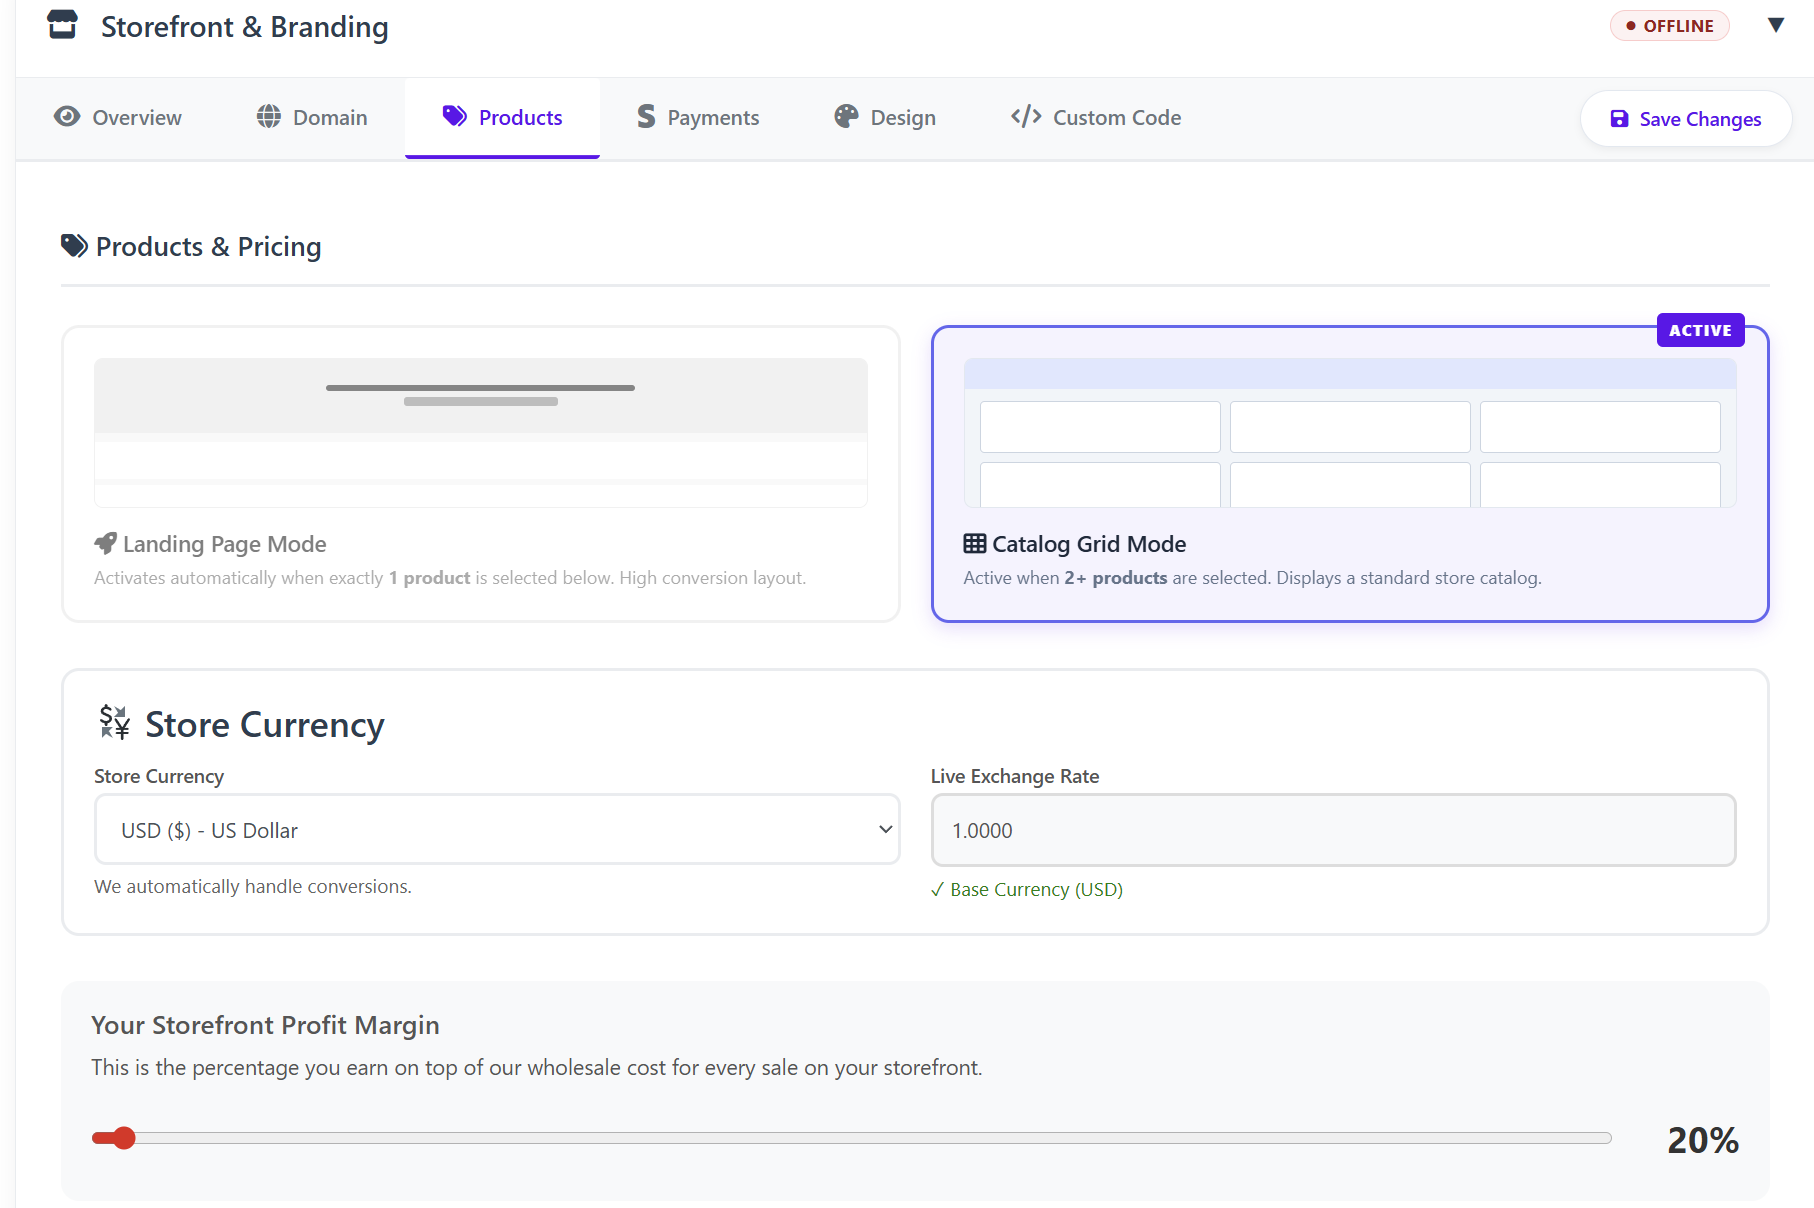
C. Products & Pricing Tab
Control what you sell and how much profit you make.
-
Display Modes:
-
Landing Page Mode: Automatically activates if you select only one product. Best for high-conversion single-service sales.
-
Catalog Grid Mode: Activates when two or more products are selected. Displays a standard store layout.
-
-
Store Currency: Set your preferred currency. The system handles live exchange rate conversions automatically.
-
Profit Margin: Enter the percentage you wish to earn on top of the wholesale cost (e.g., 20%).
-
Inventory Management: Use the toggles to enable/disable services like VPN, E-SIM, SEO, or Web Design. You can drag and drop items to change their display order.


D. Payments Tab
Set up how you receive funds from your customers.
-
Stripe Connect: The fastest way to automate payments. Connect your Stripe account to receive credit card payments directly.
-
Manual Payment Options: Use this for Bank Transfers, Crypto, or apps like CashApp.
-
Note: Orders placed via manual payment remain "Pending Approval" until you manually confirm receipt of funds in your dashboard.
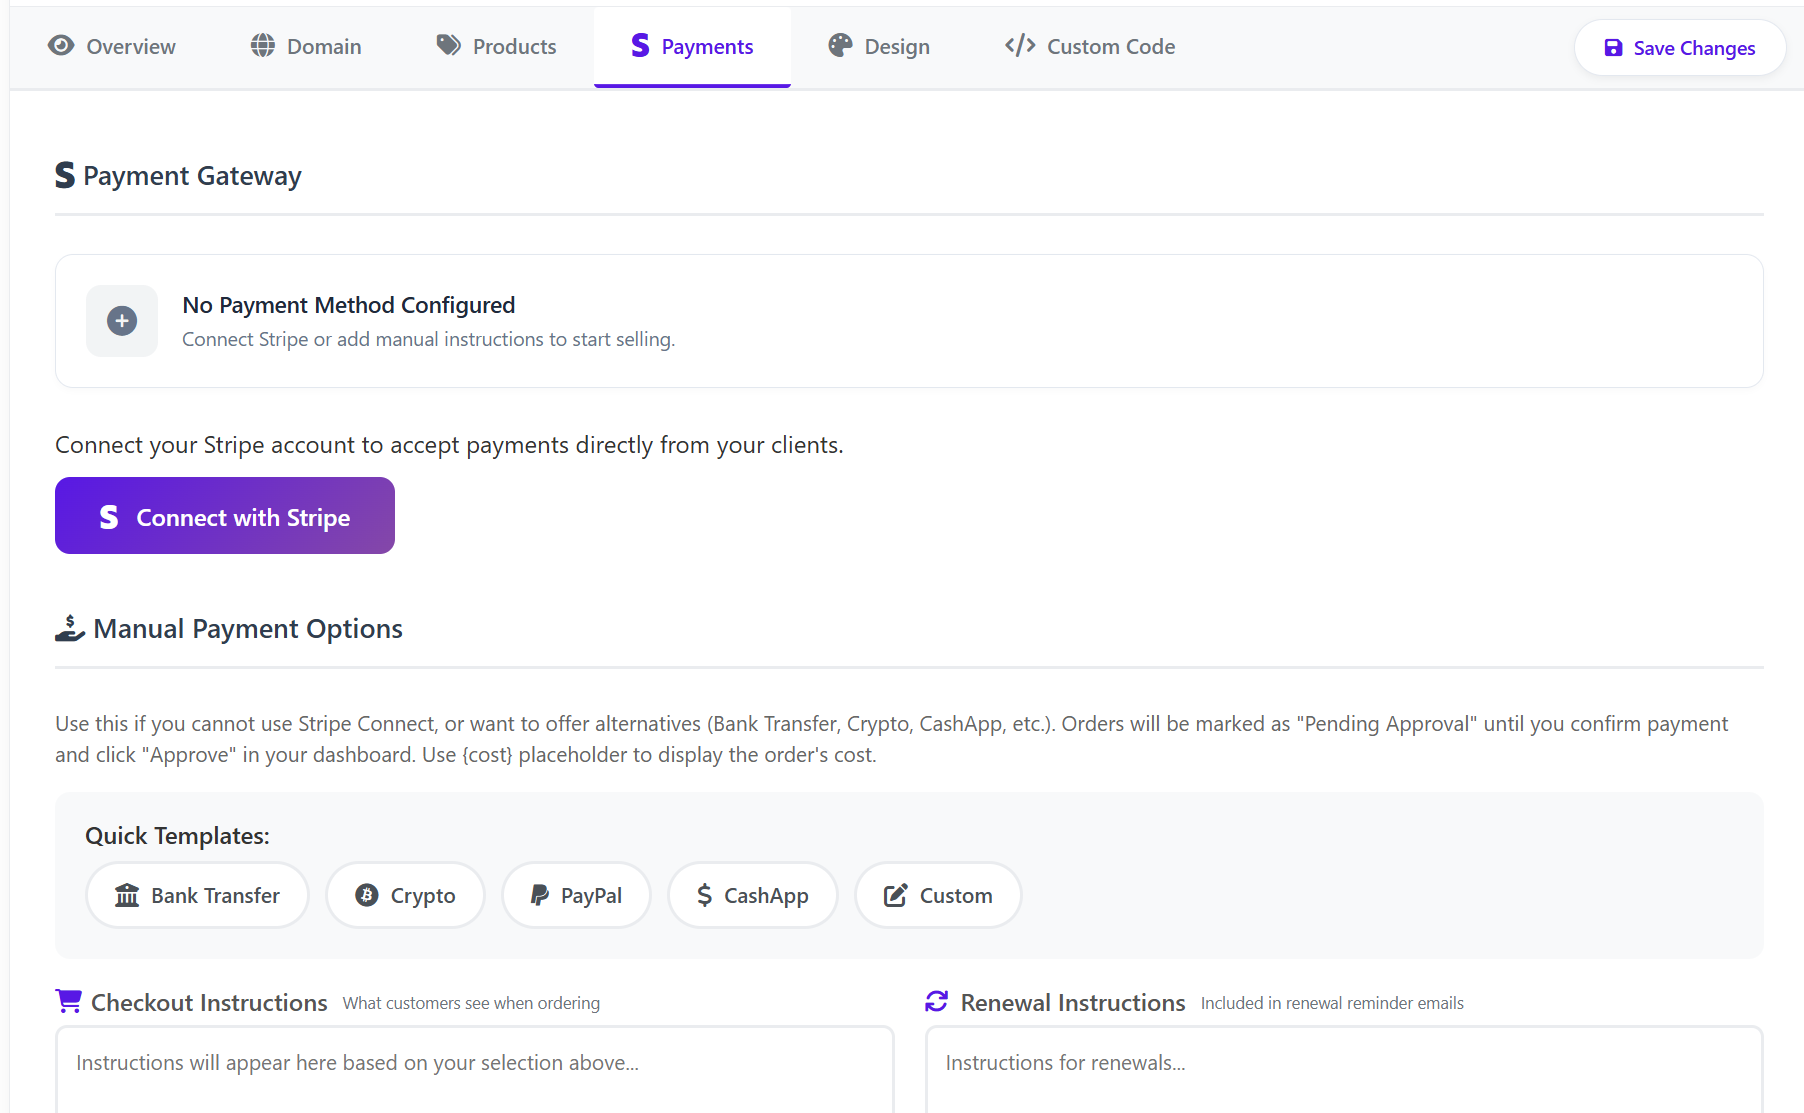
Pro Tip: Use the {cost} placeholder in your instructions to automatically show the customer the exact amount they need to pay.
-

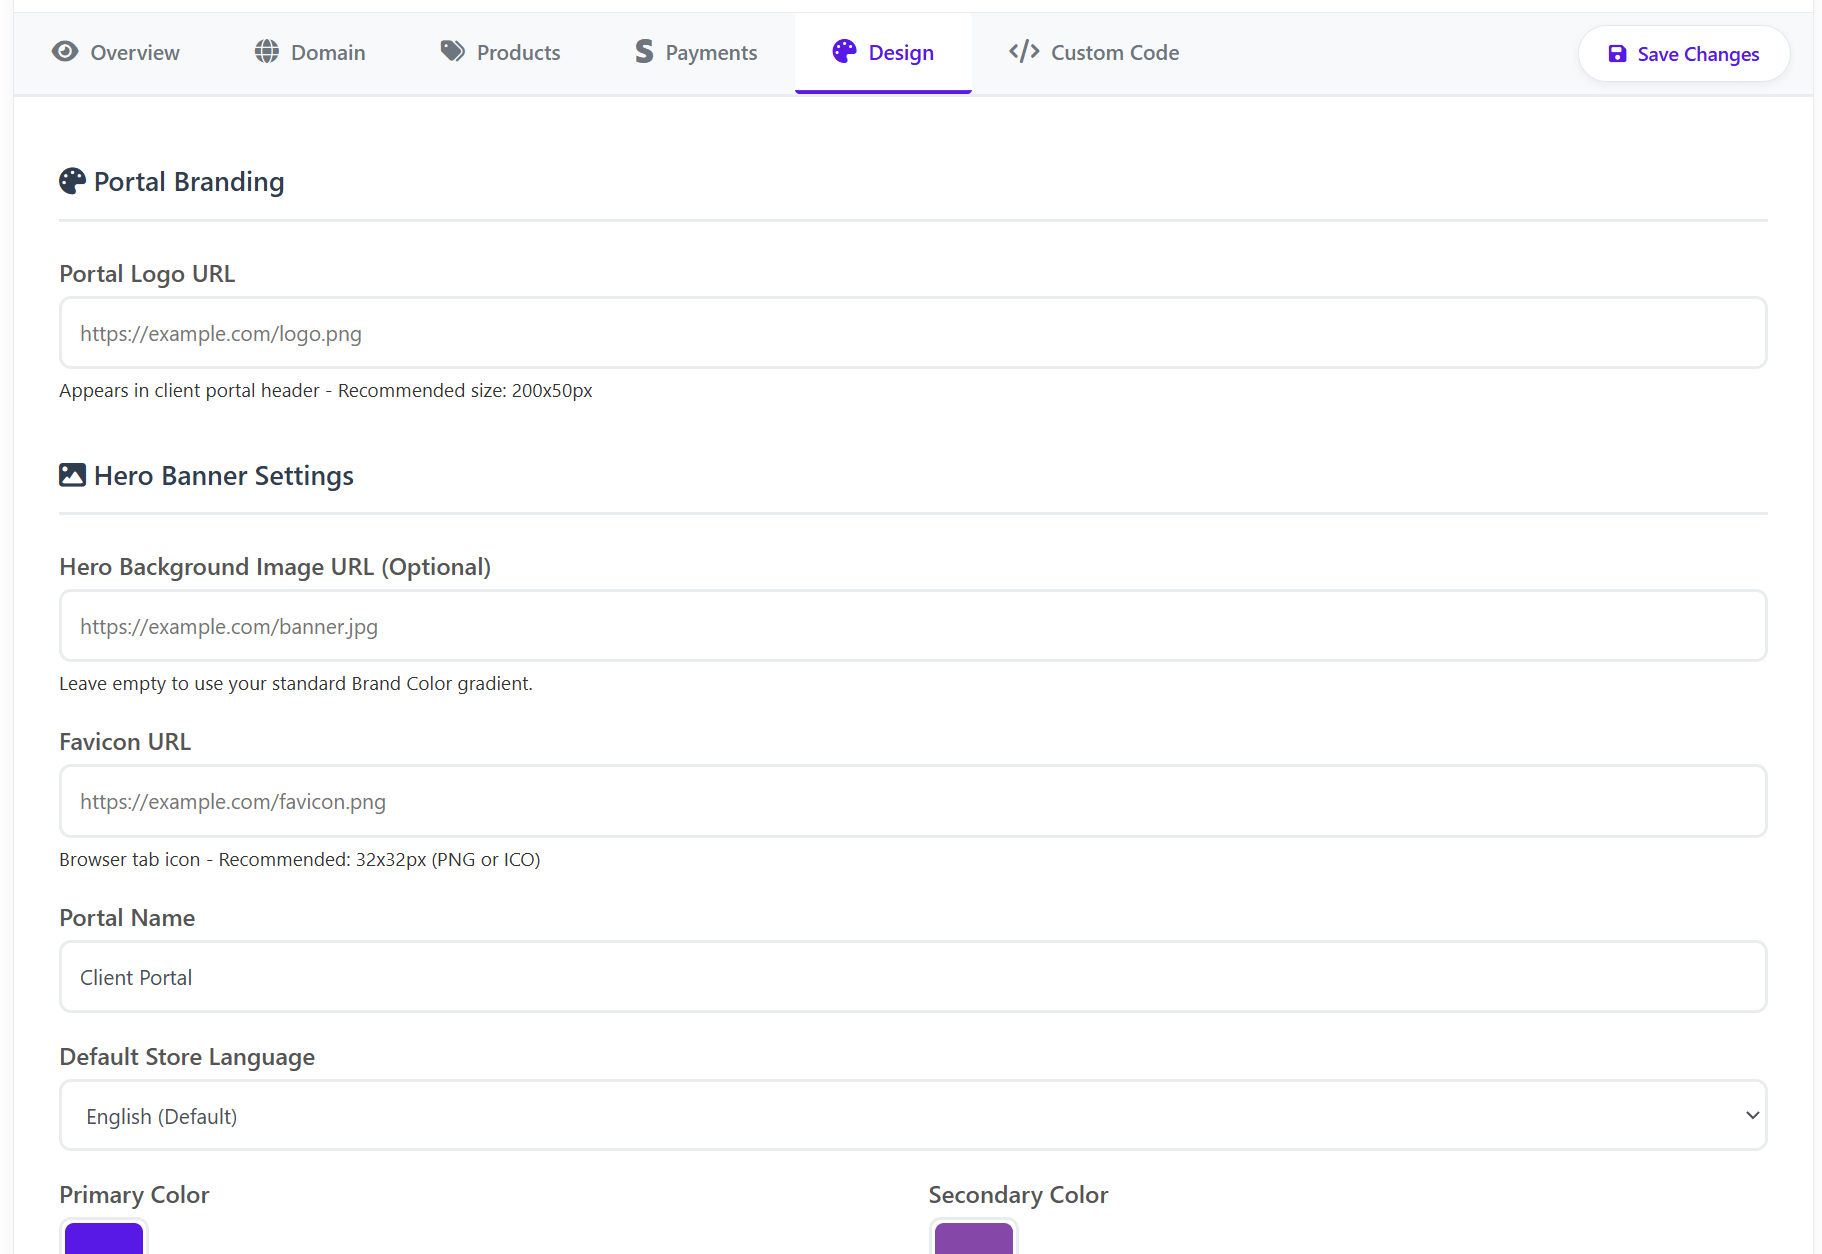
E. Design Tab
Customize the visual "look and feel" of your portal.
-
Logos & Favicons: Upload your company logo (200x50px) and a favicon (32x32px) for the browser tab.
-
Hero Banner: Upload a custom background image or keep it clean with your brand color gradient.
-
Color Scheme: Set your Primary and Secondary colors. These will be applied to buttons, links, and the navigation bar.
-
Navigation Links: Add custom links to your header, such as "Contact Us" or "Portfolio."


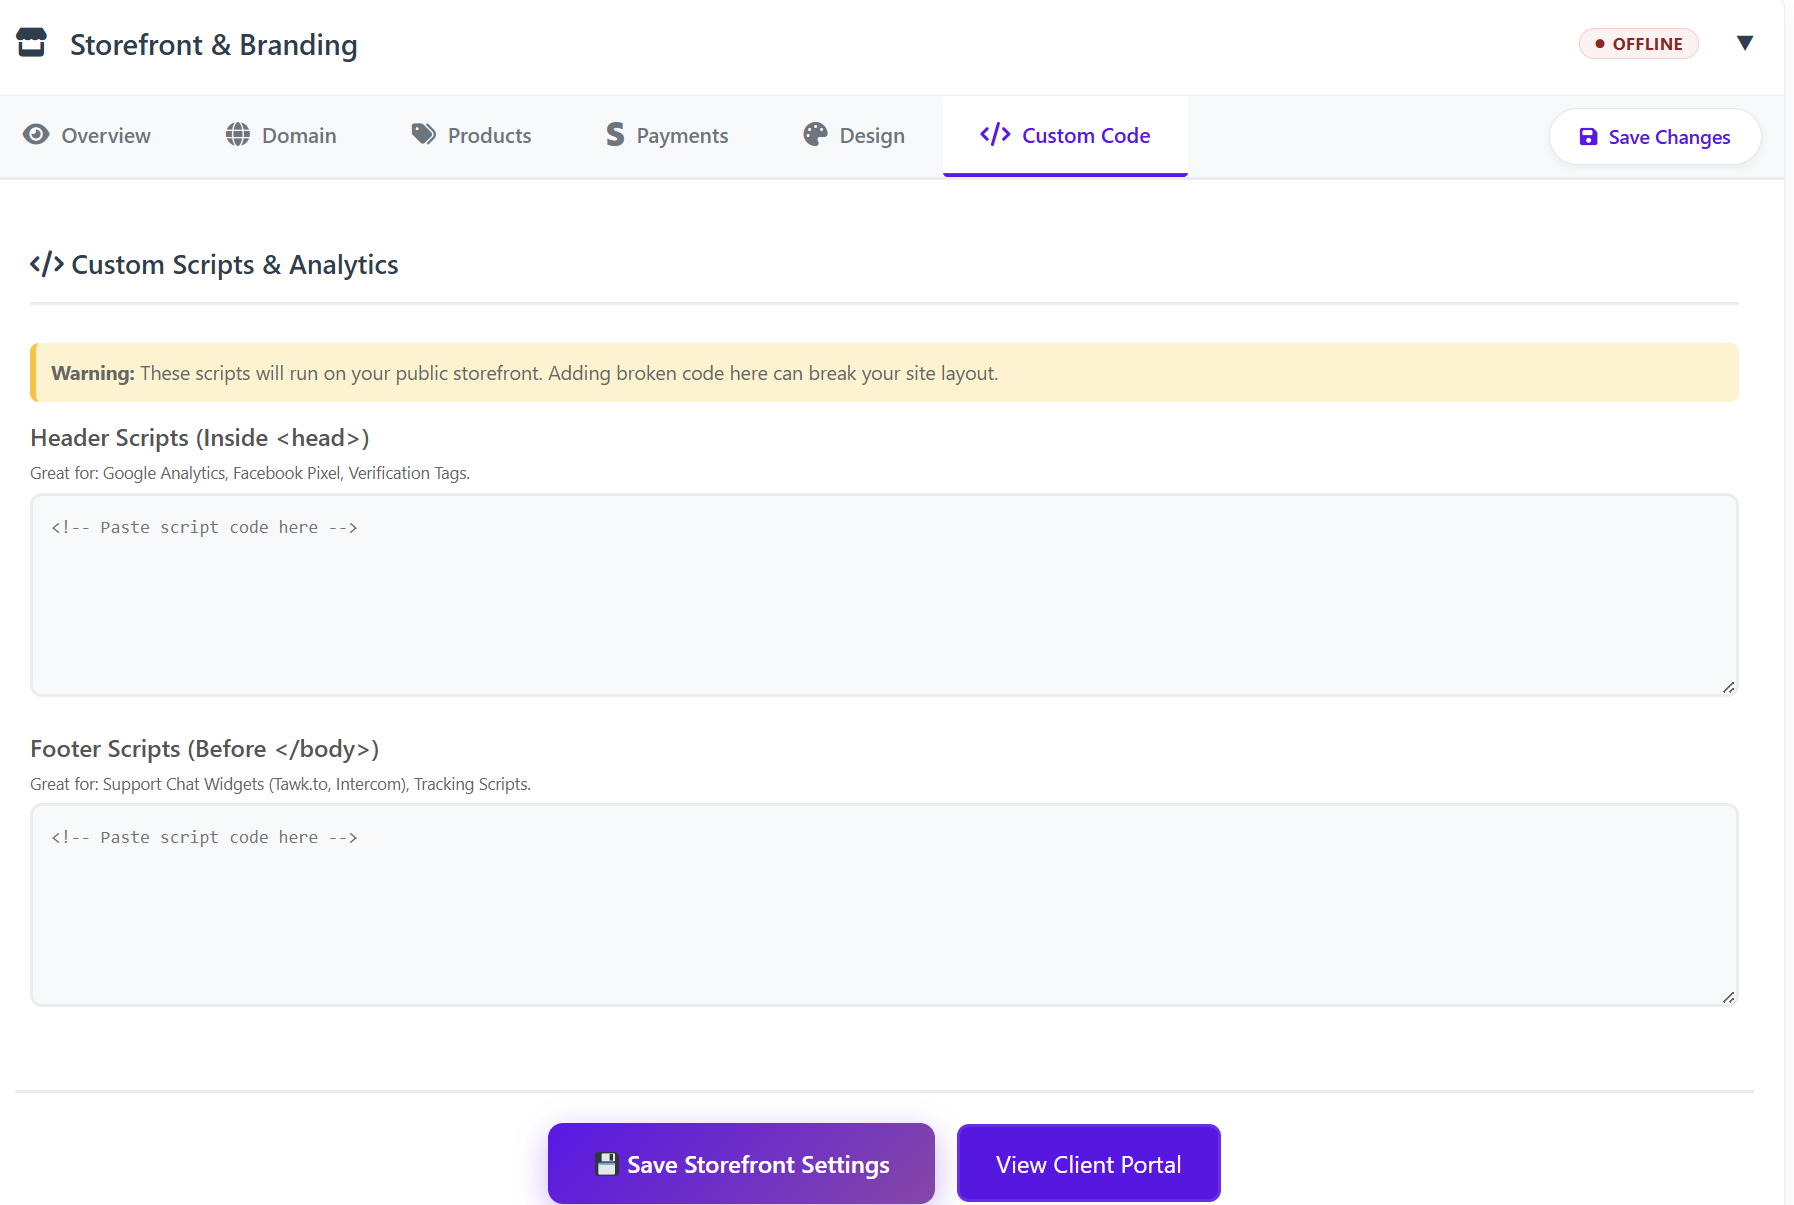
F. Custom Code Tab
For advanced users who want to add tracking or extra features.
-
Header Scripts: Best for Google Analytics, Facebook Pixel, or domain verification tags.
-
Footer Scripts: Best for live chat widgets (like Tawk.to or Intercom) and tracking scripts.

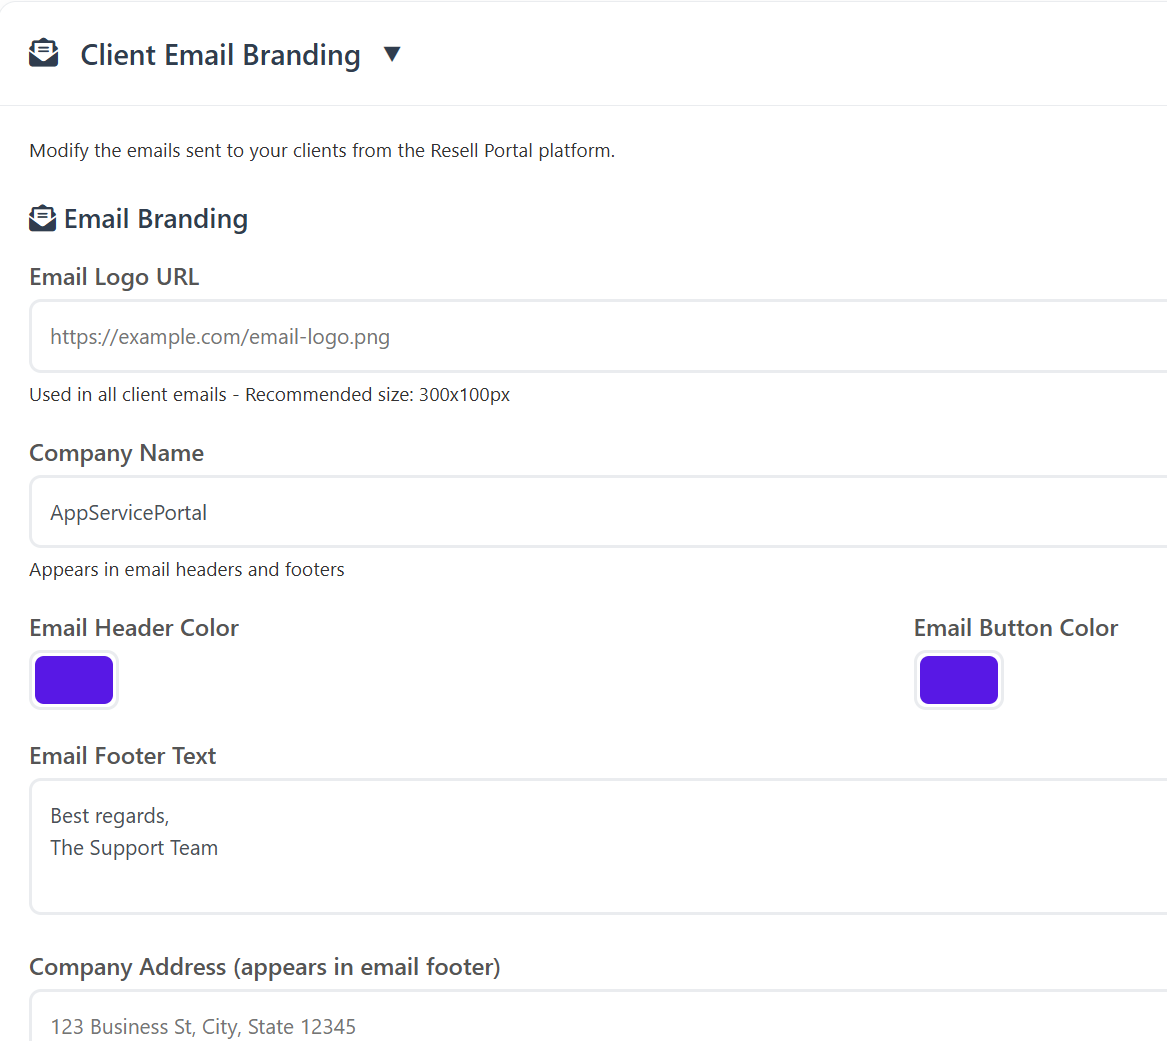
2. Client Email Branding
This section ensures that every automated email your client receives (order confirmations, renewal reminders, etc.) looks like it came from you.
-
Email Visuals: Upload an Email Logo (300x100px) and set the Header and Button colors to match your brand.
-
Company Info: Set your "From" Name and the physical address that appears in the email footer for legal compliance.

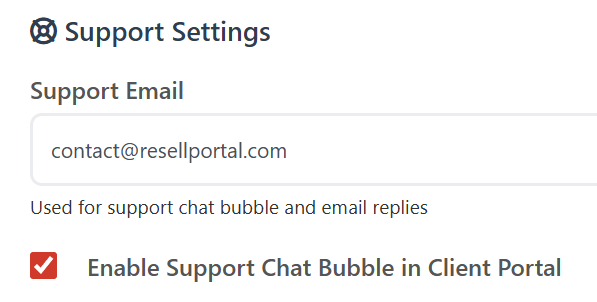
-
Support Settings: Provide a Support Email. This address is used for the support chat bubble and as the "Reply-To" address for emails.

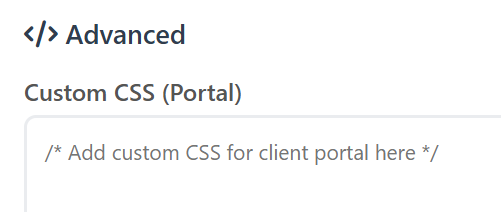
-
Advanced CSS: If you have technical skills, you can add Custom CSS to further style the client portal interface.

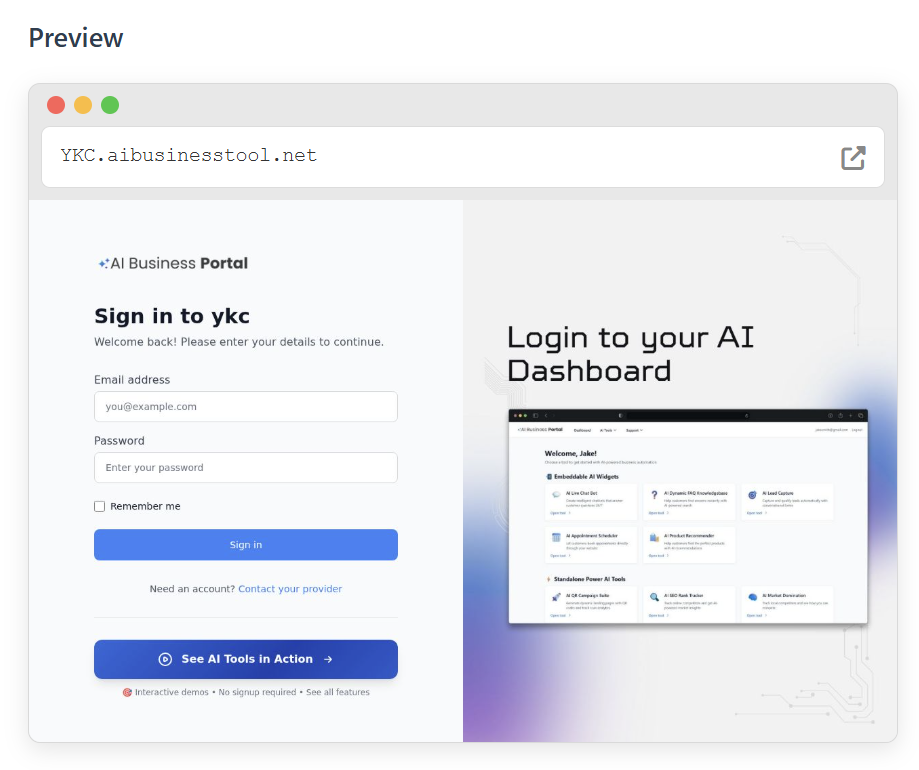
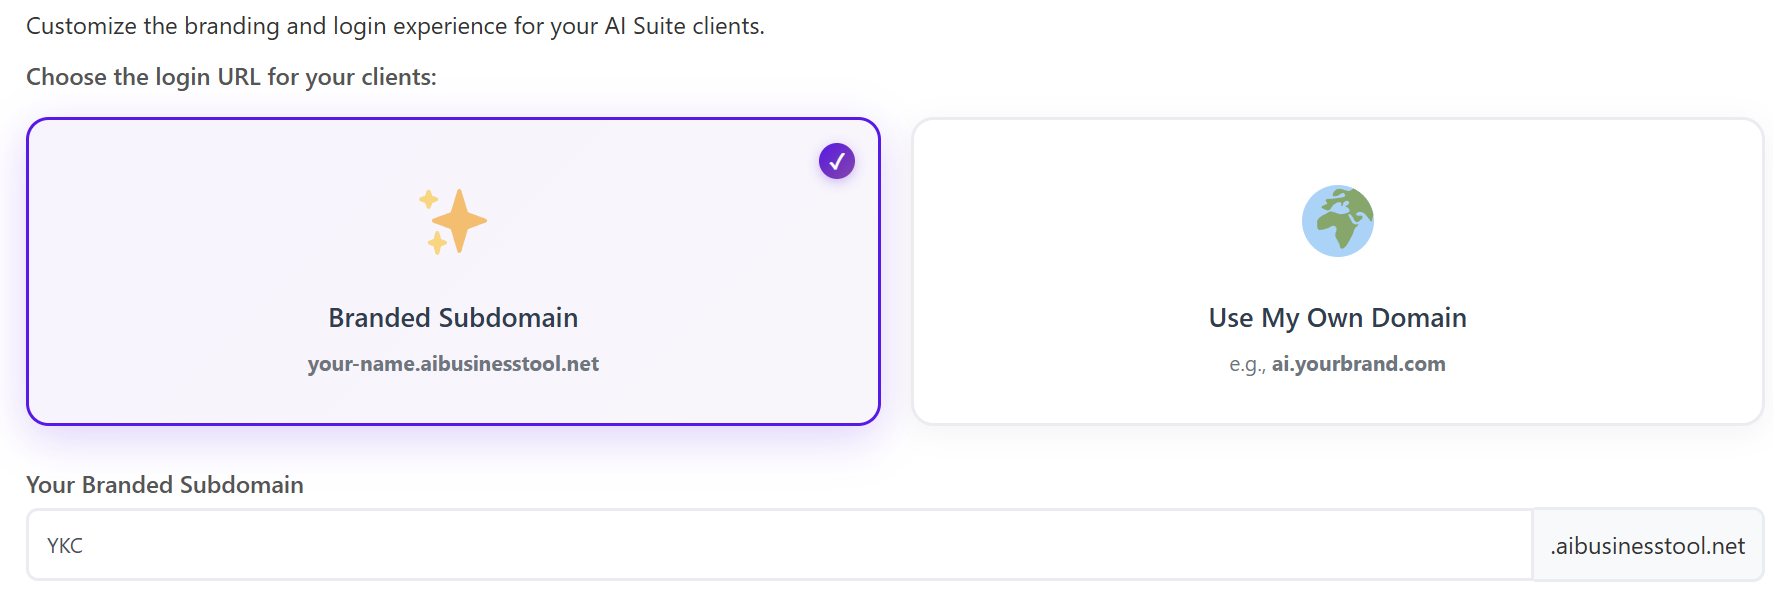
3. AI Suite Branding
If you are reselling the AI Business Tools, this section allows you to create a dedicated experience for those users.
-
Login URL: Choose between a branded subdomain (e.g., brand.aibusinesstool.net) or your own custom domain (e.g., ai.yourbrand.com).
-
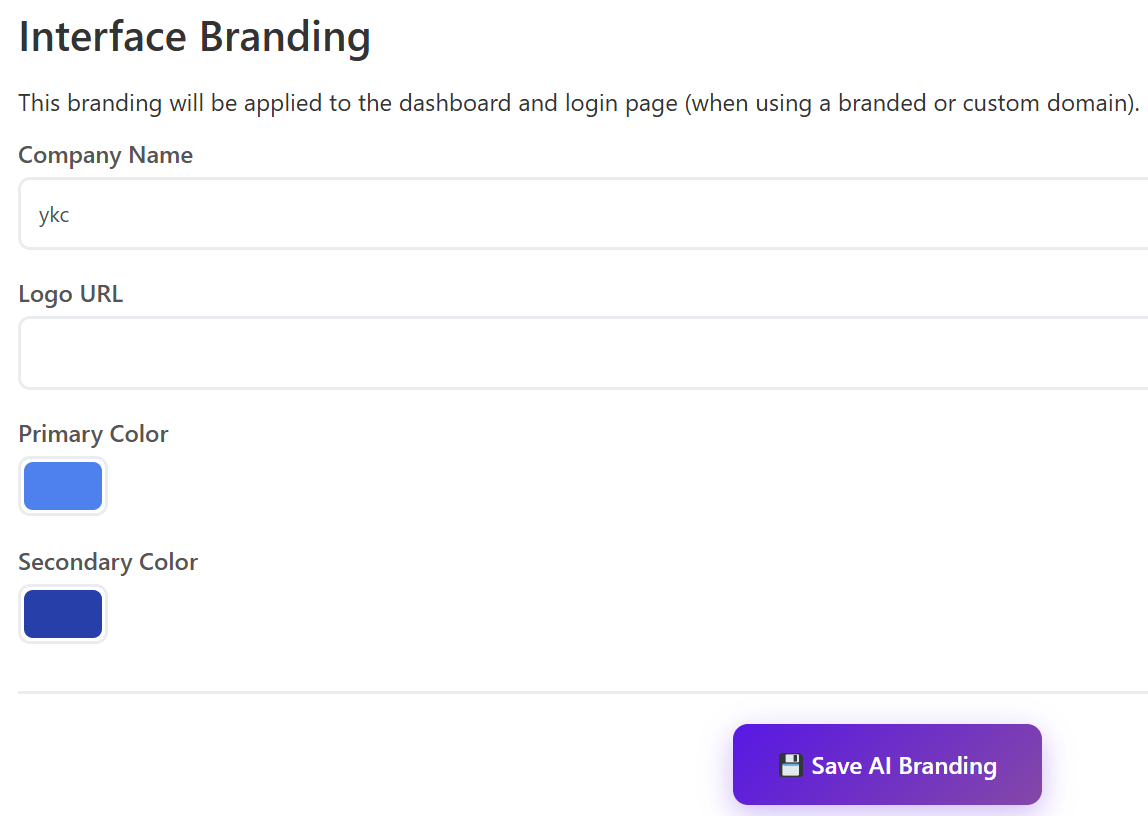
Interface Branding: Customize the dashboard and login page specifically for the AI Suite.
-
Set a specific Company Name and Logo.
-
Define unique Primary and Secondary colors for the AI dashboard to differentiate it from your main storefront.
-
-
Preview: Use the built-in previewer to see how the login page will look to your clients before saving.