
How to setup your Storefront & Enable Client Purchases on your Store
Use the Storefront feature to enable automatic client purchases from your webstore.
The Storefront (Auto) system allows you to launch a fully automated, branded SaaS store without needing to manually activate products for clients. Once your storefront is active, customers can browse, purchase, and subscribe to digital services instantly, while Stripe handles all billing and payouts directly.
This feature is ideal for resellers who want to:
-
Sell at scale
-
Offer 24/7 automated self-service
-
Avoid manual deployments
-
Run a fully branded SaaS storefront without building a website
Location of Storefront Settings
All storefront configuration is found under:
Whitelabel Settings → Storefront & Branding
This includes domain settings, Stripe connection, branding, profit margins, and portal appearance.
Before You Begin — Requirements
Your storefront becomes automatically enabled as soon as the following requirements are met:
1. Stripe Account Connected
You must connect your Stripe account for client billing.
Go to:
Whitelabel Settings → Storefront & Branding → Payment Gateway
Click Connect Stripe

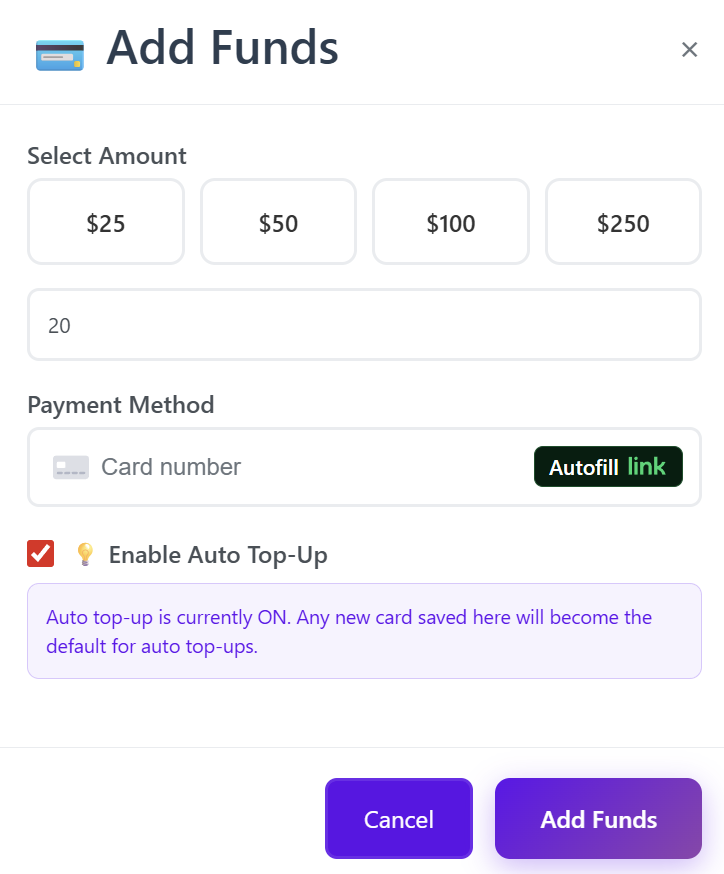
2. Wallet Balance ≥ $20
A minimum wallet balance of $20 is required to keep your storefront online.
Once both conditions are met, your storefront automatically activates.
If either requirement is missing or becomes invalid, the storefront becomes inactive.
Section 1: Domain Setup
You can choose how your storefront is accessed:
A. Free Subdomain (Instant Setup)
Use a free, hosted subdomain such as:yourstore.custom.appserviceportal.com
Just enter your subdomain name and save.
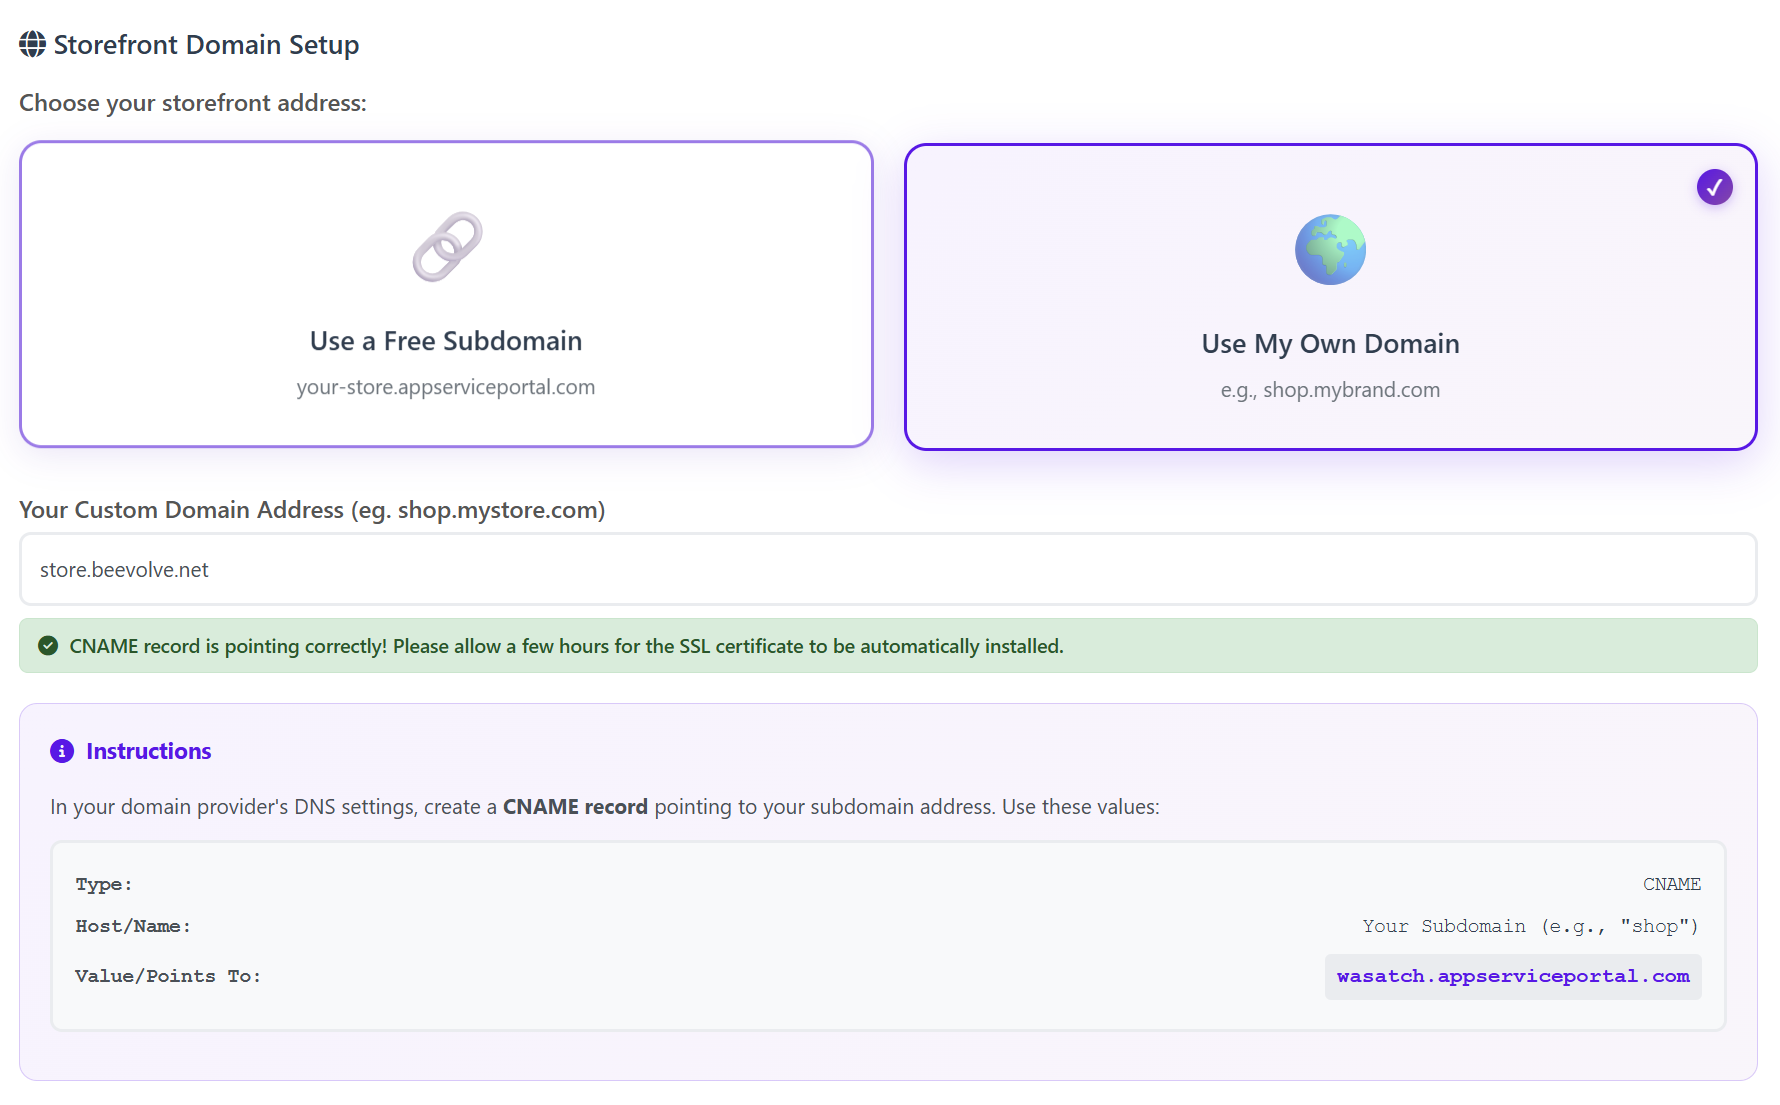
B. Custom Domain
You can use your own domain, such as:shop.mybrand.com
To connect it:
-
Go to your DNS provider
-
Create a CNAME record
-
Point it to the generated domain shown in your dashboard
-
Save changes
-
Wait for SSL to automatically install (usually a few hours)
The system will show if your CNAME is correctly pointing.
Section 2: Storefront Profit Margin
Set your global profit percentage.
This margin applies to all storefront products automatically.
-
Range: 0% – 200%
-
Recommended: 100% (doubles your wholesale price, competitive)

Example Pricing
Wholesale: $10
Profit Margin: 100%
Customer Pays: $20
Your Profit: $10 (Paid out directly by Stripe via payouts)
Products automatically use this formula — no manual pricing required.
Section 3: Store Appearance & Branding
Customize how your storefront and client portal look:
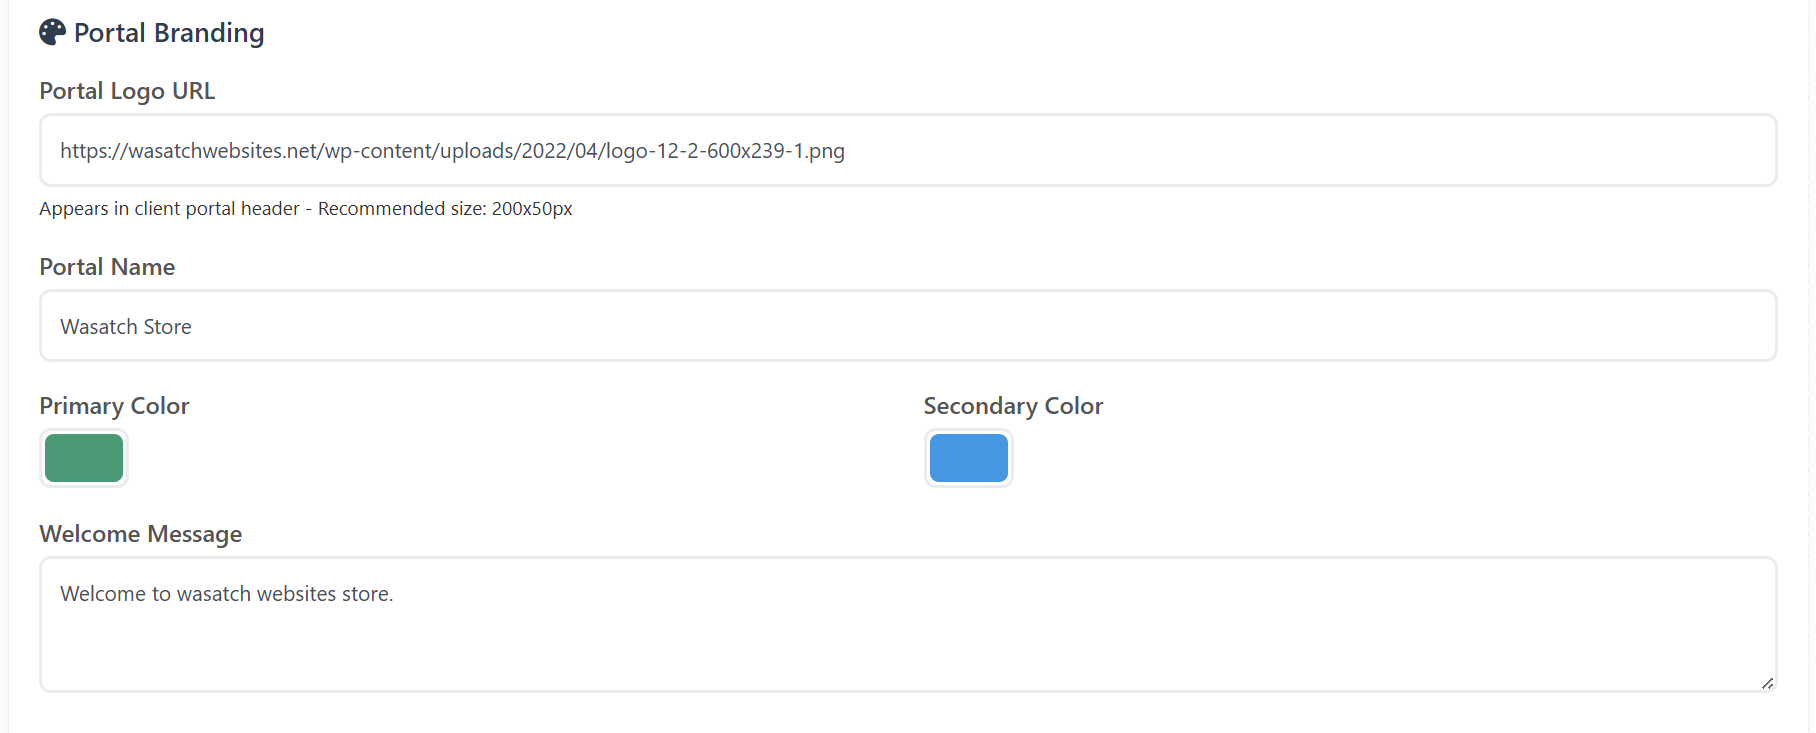
Branding Options
-
Portal Logo URL
-
Portal Name
-
Primary Color
-
Secondary Color
-
Welcome Message (client portal welcome text)
Homepage Description
You can set your storefront’s main introduction text to:
-
Explain your services
-
Introduce your brand
-
Highlight what customers get
This text appears on your storefront homepage.
Section 4: Client Email Branding
Email branding is now located separately under:
Whitelabel Settings → Client Email Branding
You can customize:
-
Email Logo URL
-
Company Name
-
Email Header Color
-
Email Button Color
-
Email Footer Text
-
Company Address
-
Support Email
-
Enable/Disable Support Chat Bubble
-
Custom CSS for the client portal
All emails sent to your clients (login credentials, product activation, receipts, notifications) reflect your branding.
Section 5: Payment Gateway (Stripe)
Your storefront uses your connected Stripe account for:
-
All customer payments
-
Subscription billing
-
Refunds (if you choose to issue them inside Stripe)
-
Payouts to your bank account
Since Stripe handles payouts, the platform no longer shows payout history.
All payouts appear in your Stripe Dashboard.
Section 6: Enabling Products & Services
You can choose which services or products you want available on your store by going to the Manage Active Storefront Products section in the white label settings topic.

Section 7: How the Storefront Works
Once your Stripe account is connected and your wallet has $20+:
-
Your storefront is automatically activated
-
Your domain becomes publicly accessible
-
Customers can browse your product catalog
-
They purchase using Stripe checkout
-
Services are automatically provisioned
-
Clients receive branded emails
-
Stripe sends your payouts directly to your bank account
No manual activation is required.
Summary of Benefits
| Feature | Benefit |
|---|---|
| Automatic Activation | Storefront turns on automatically when requirements are met |
| Stripe Billing | Fast, secure, automated payments |
| Custom Domain | Create a fully branded SaaS storefront |
| Global Profit Margin | Set your pricing once for all products |
| Automated Delivery | No manual activation required |
| Email Branding | All client communication uses your brand |
| No Website Needed | Your storefront is instantly deployed and hosted |