Using Appointment Scheduling
The Appointment Scheduling Application provides a comprehensive platform to manage appointments, customers, services, and user roles while offering customizable settings and integrations.
1. Header Navigation Overview
After logging in, the application header contains the following sections:
- Calendar: View and manage schedules.
- Customers: Manage customer information and appointments.
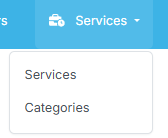
- Services: Includes Services and Categories management.
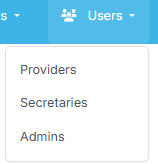
- Users: Dropdown for managing user roles: Providers, Secretaries, and Admins.
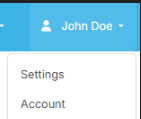
- User: Dropdown with Settings, Account, and About.
2. Calendar
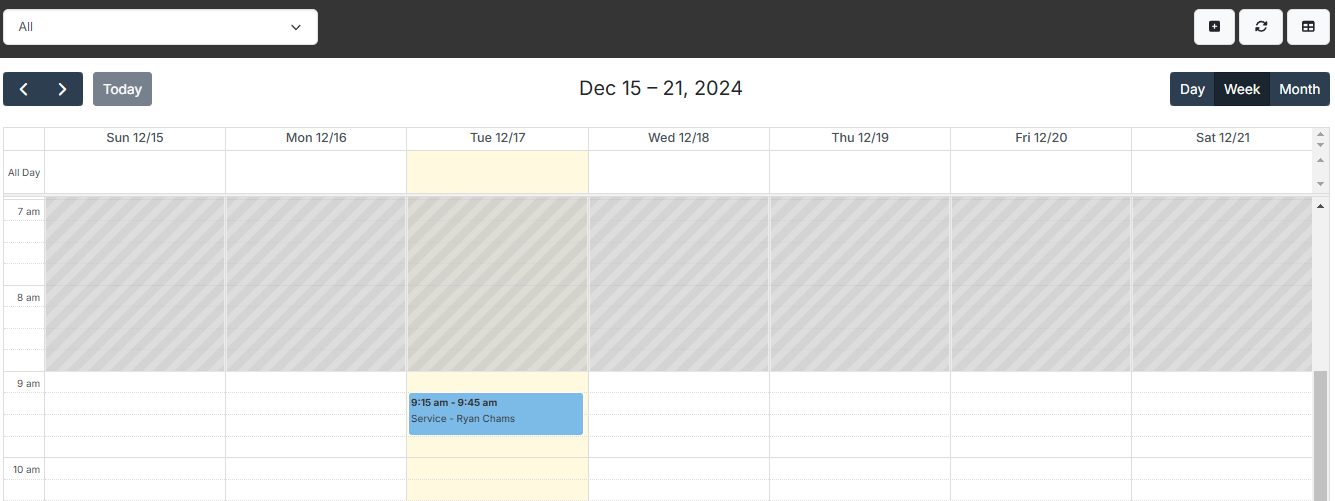
The Calendar Tab displays a table with Date and Time slots. Users can:
- View schedules by Day, Week, or Month.
- Click on a specific Date/Time slot to manage appointments.
Managing Appointments
-
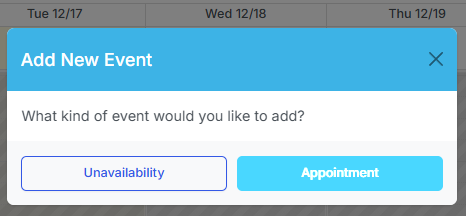
Click on a Date/Time slot.
-
Choose between:
-
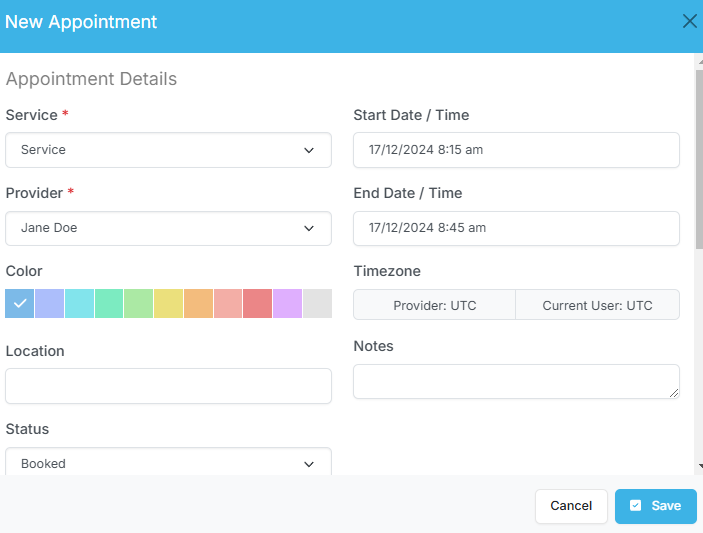
If Appointment is selected, fill out the following details:
- Service
- Provider
- Color (visual representation)
- Start Date/Time and End Date/Time
- Timezone
- Location
- Notes
- Status
-
Fill in the Customer Details Section:
- First and Last Name
- Address
- City
- Zip Code
- Phone Number
- Language
-
Click Save to finalize the appointment.
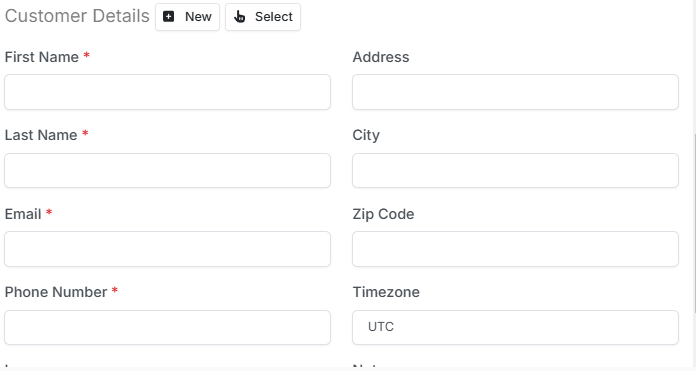
Note: You can either add new customer and enter their details or select from an existing customer for details to be auto filled.
3. Customers
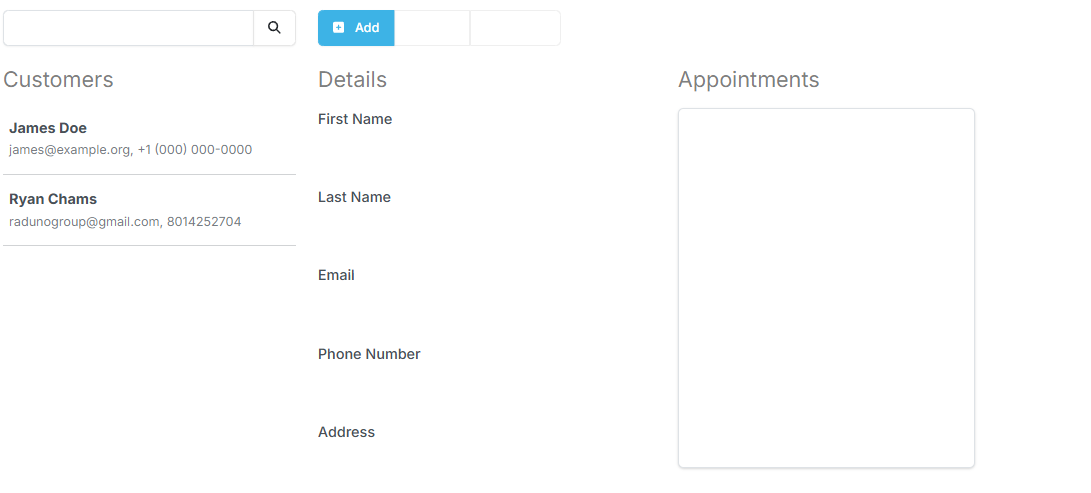
The Customers Tab allows users to manage customer information and view associated appointments.
Customer Details
Fill in the following details to add or update a customer:
- First Name
- Last Name
- Phone Number
- Address
- City
- Zip Code
- Language
- Timezone
- Notes
Appointments Section
A separate box displays all appointments associated with the customer.
4. Services
The Services Tab includes two dropdowns:
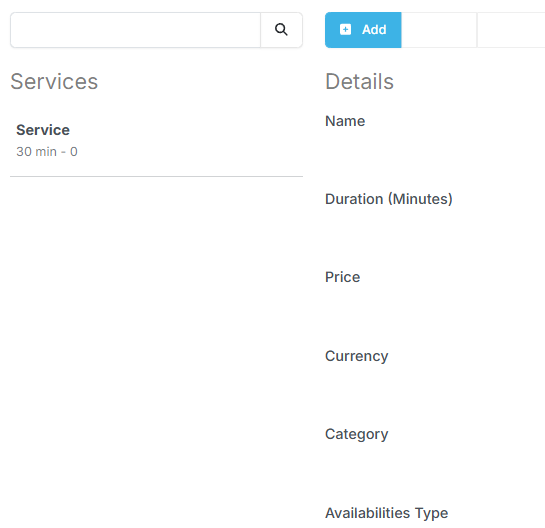
a) Services
Add or manage service details:
- Service Name
- Duration
- Price
- Currency
- Category
- Availability Types
- Attendants Number
- Location
- Color
- Visibility Options (Hide or Show from Public)
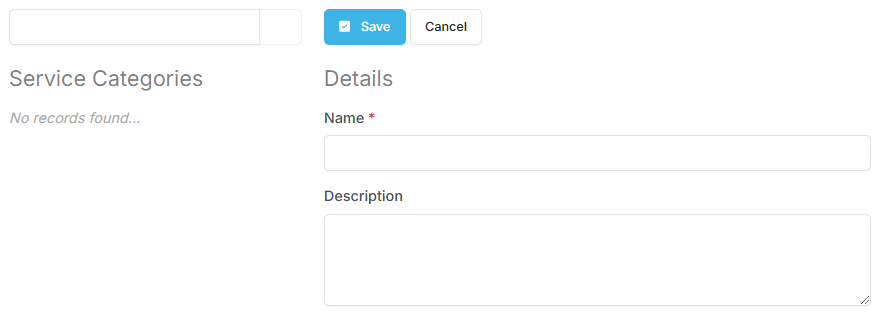
b) Categories
Add or manage service categories:
5. Users
The Users Tab manages user roles and is divided into three roles:
a) Providers
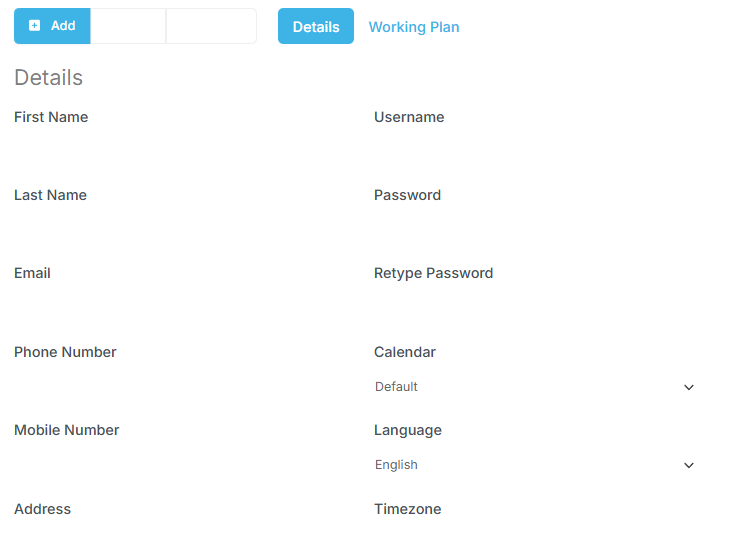
Add or manage provider details:
- Username
- First and Last Name
- Password and Retype Password
- Phone and Mobile Numbers
- Language
- Calendar
- Timezone
- Location
b) Secretaries
Follow the same process as Providers.
c). Admin
Follow the same process as Providers.
6. Settings
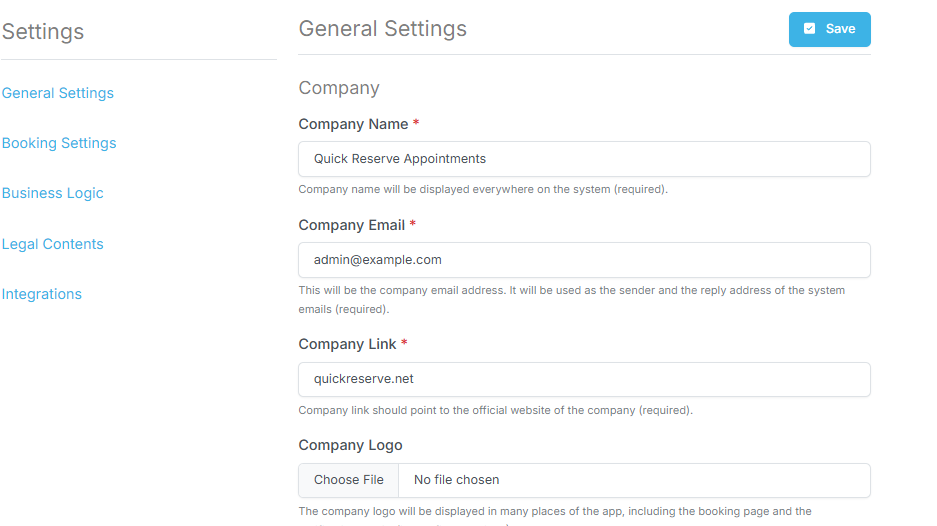
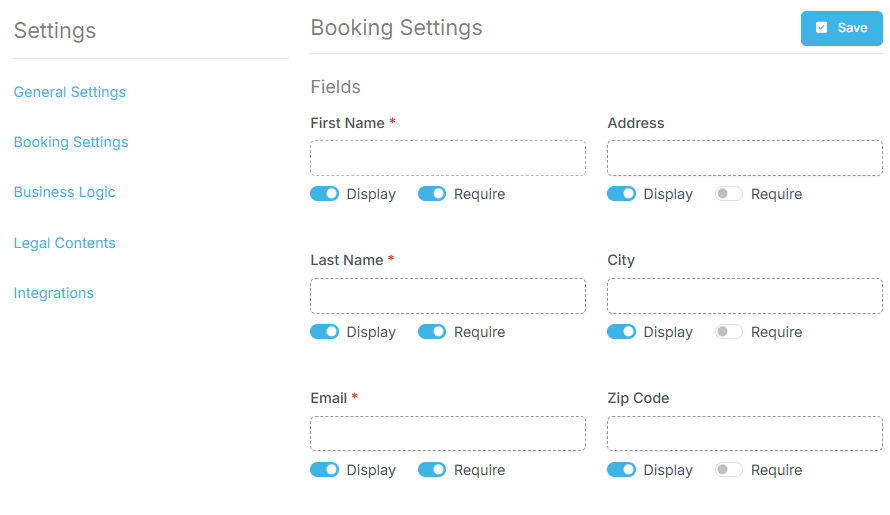
The Settings Section is divided into multiple areas and is found in the drop down below the user name:
General Settings
Booking Settings
Business Logic
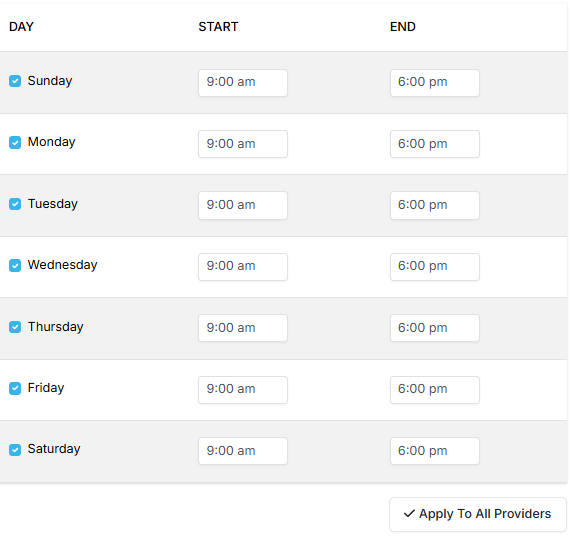
- Working Plan: Mark the days and hours that your company will accept appointments.
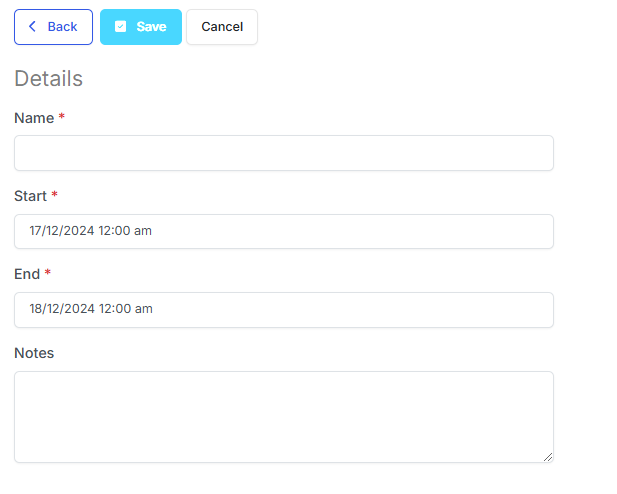
- Blocked Periods: Define periods of time where public bookings will be disabled for all providers. Press Configure then fill in the details.
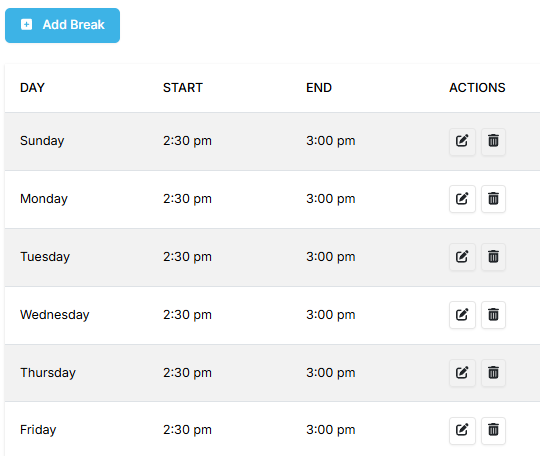
- Time-Out Breaks : Add the working breaks during each day.
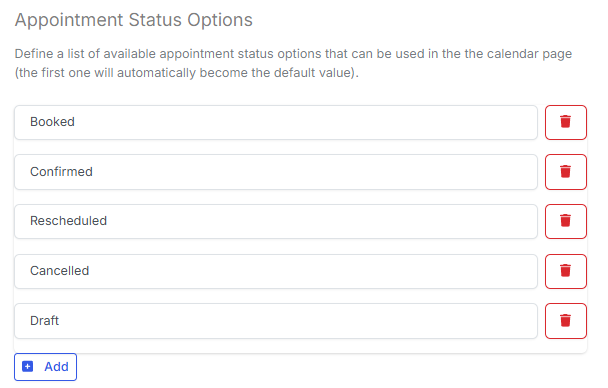
- Appointment Statuses: Define a list of available appointment status options that can be used in the the calendar topic.
Legal Contents
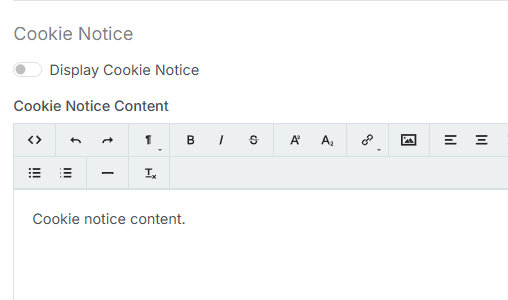
- Can choose to display the Cookie Notice.
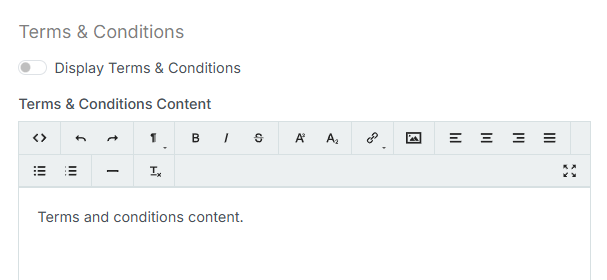
- Can choose to display the Terms and Conditions.
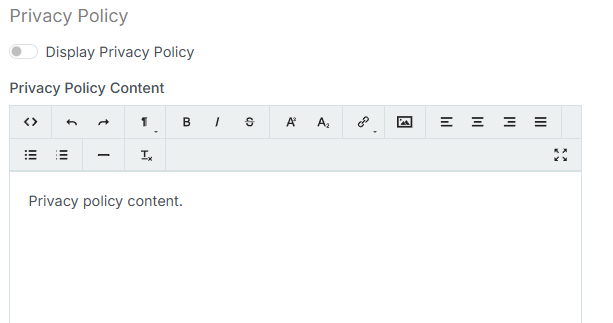
- Can choose to display the Privacy Policy.
Integrations
The application supports multiple integrations:
-
Webhooks:
- Send HTTP notifications to external applications for events like appointment creation or customer removal.
-
Google Analytics:
- Add tracking code to the public booking topic to monitor sessions.
-
Matomo Analytics:
- Similar to Google Analytics, track booking sessions.
-
API:
- Use HTTP protocol to interact with the application's data and create custom integrations.
-
LDAP Integration:
- Connect to an LDAP server for Single Sign-On (SSO) and automatic user imports.
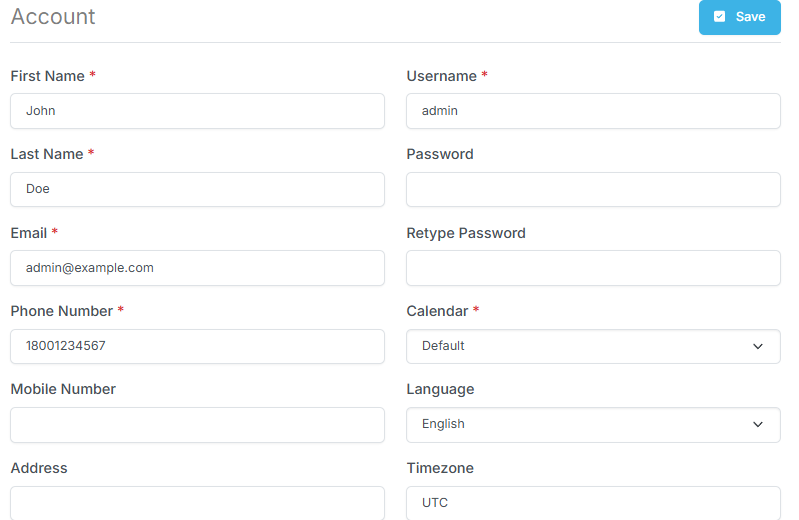
8. Account
The Account tab allows users to edit their details The topic includes:
- Username
- First and last names
- Setting the password
- Language
- Phone/Mobile numbers
- Calendar style
- Address
This documentation covers all primary functionalities of the Appointment Scheduling Application, including user roles, managing appointments, customers, and services, as well as settings and integrations. For further support, contact us at contact@resellportal.com


