
AI Blog Generator
The AI Blog Generator allows you to create high-quality, SEO-optimized blog posts in seconds. You can publish automatically to WordPress or download the HTML to use anywhere.
This guide walks you through each feature and how to use the generator effectively.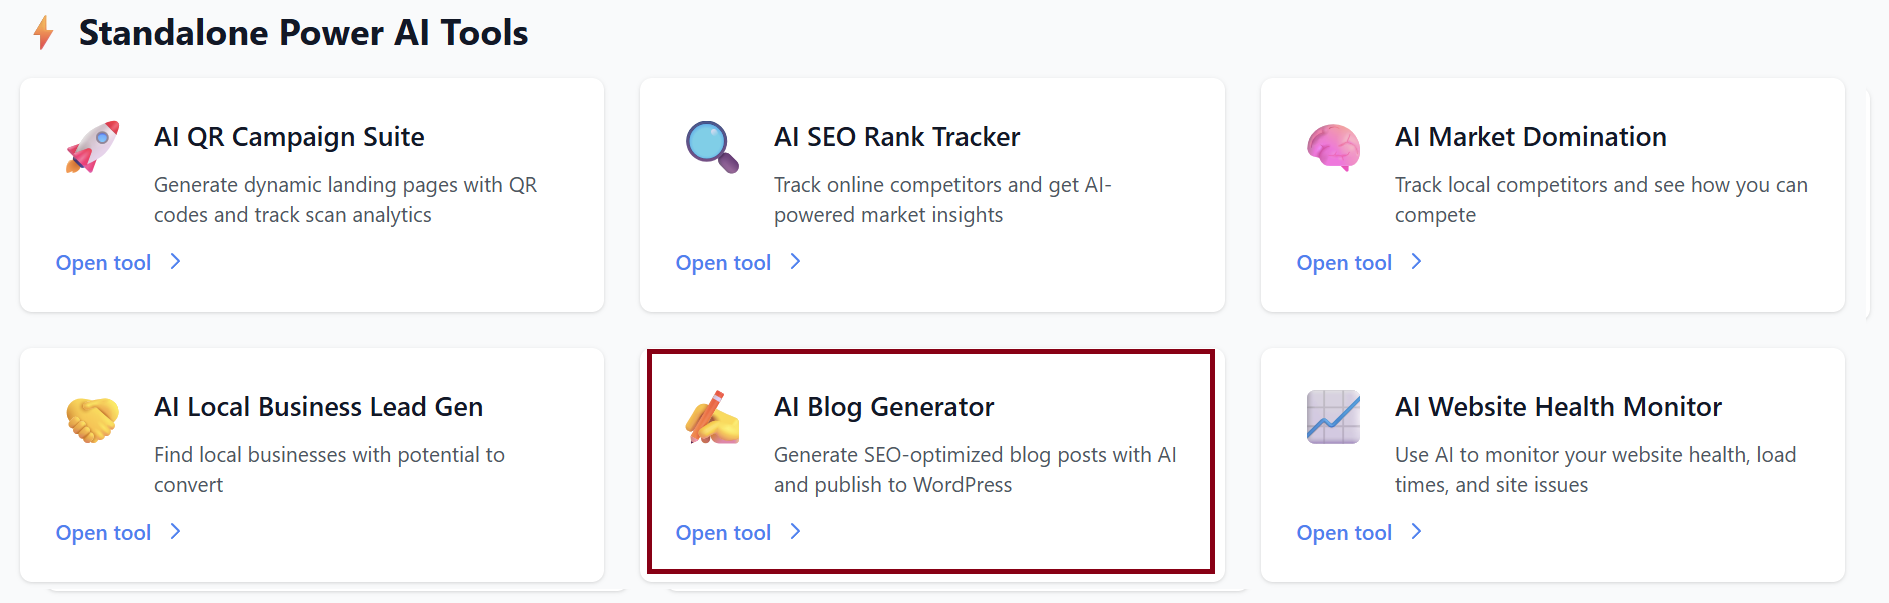
1. Getting Started
When you open the AI Blog Generator, you’ll see two main sections:
-
WordPress Integration (optional)
-
Generate Blog Post
You can use the tool with or without connecting WordPress.
2. Connecting WordPress (Optional)
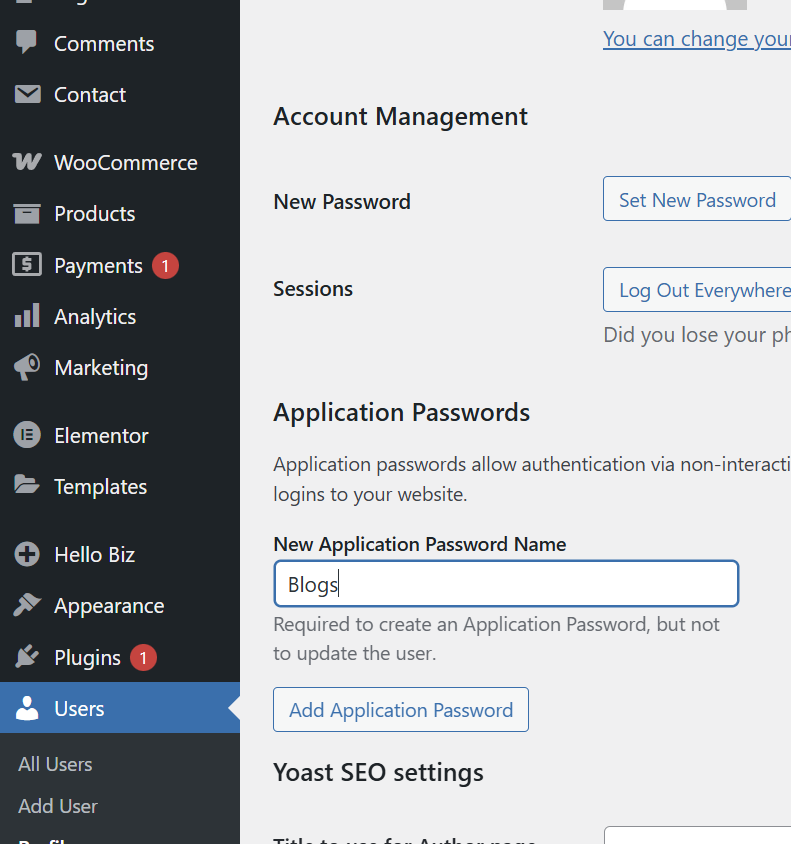
If you want your blogs to auto-publish directly to your WordPress site, you can connect it using a WordPress Application Password.
How to Connect WordPress
-
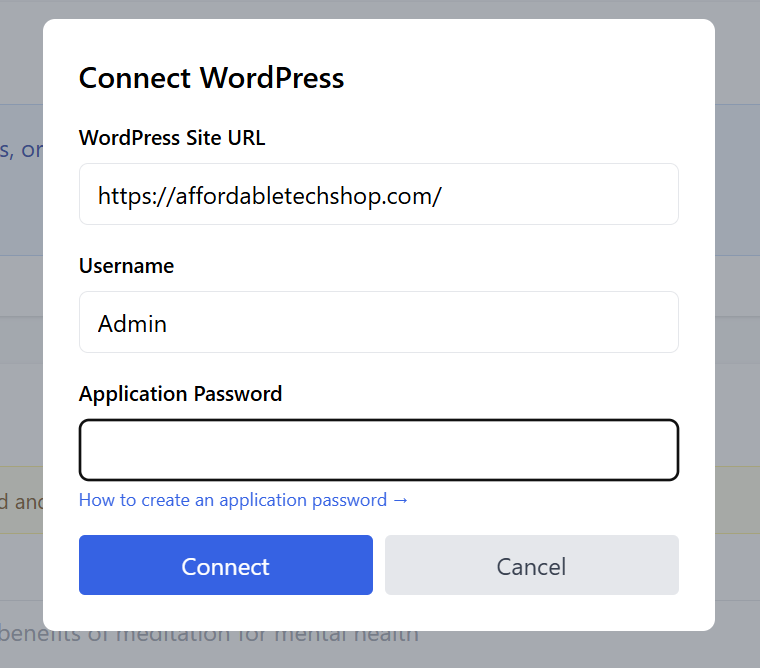
Click Connect WordPress.
-
A popup will appear asking for:
-
WordPress Site URL (your website link)
-
Username (your WordPress admin username)
-
Application Password
-
-
Paste your Application Password.
(A link is provided in the popup explaining how to create one.)
-
Click Connect.

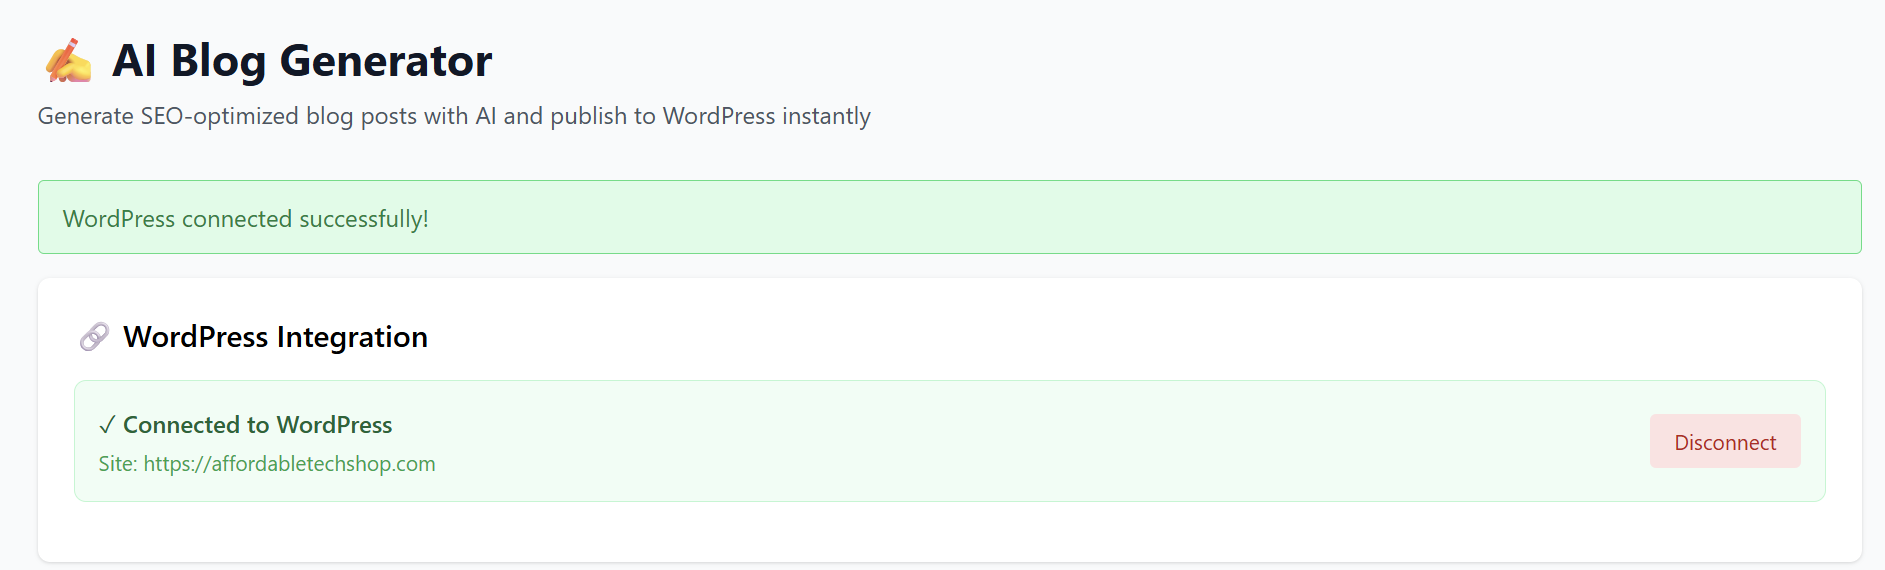
Once connected:
-
Blogs will automatically publish to your WordPress site.
-
No need to copy or upload HTML manually.
If you prefer not to connect, you can still generate the blog normally.
3. Generating a Blog Post
This is the main function of the tool.
Step 1 — Enter Your Blog Topic / Prompt
Type in the topic, description, or instructions for your blog.
Example:
“Write an article about good quality technology at an affordable budget, including wearables, laptops, phones, and assistive tech.”
The more detail you provide, the better the output.
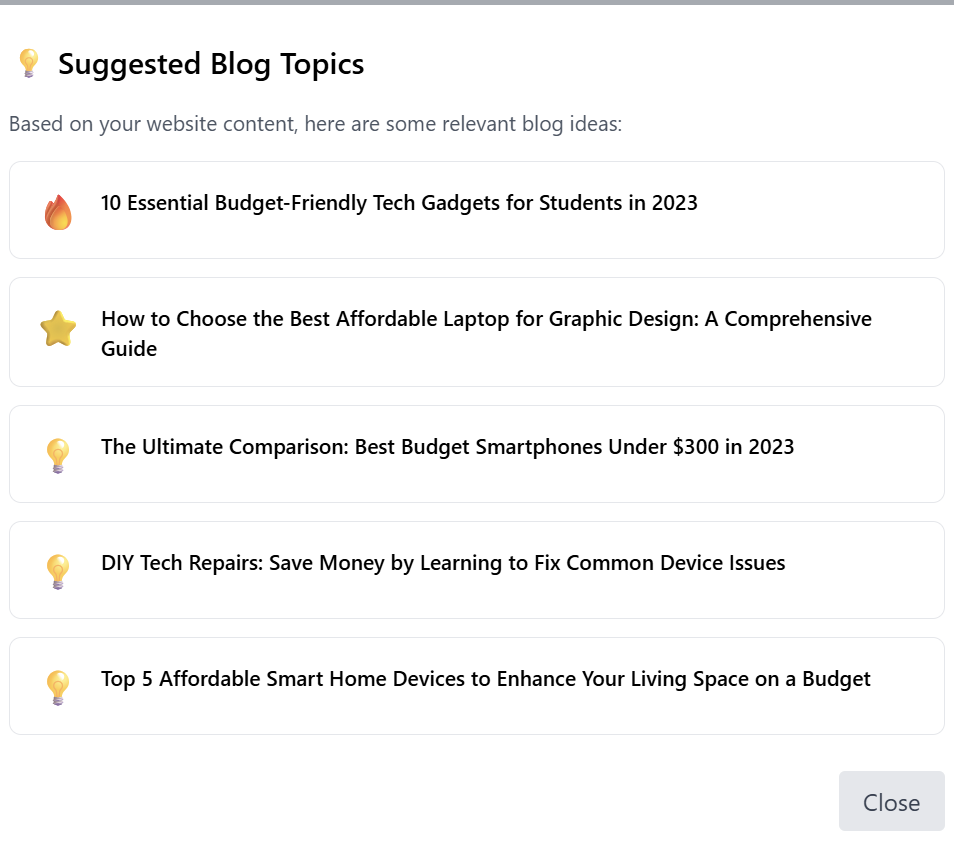
Alternatively, if connected to wordpress, you can click on ' Generate prompt from Website' where AI will analyze your WordPress site to suggest relevant topics.

After analyzing your website, some topic suggestions will be displayed to select from. then select and press generate blog and publish to wordpress button.
Step 2 — Select Your Tone
Choose the writing style for the blog:
-
Professional
-
Informal
-
Friendly
-
Persuasive
-
Educational
(or any styles you offer)
Step 3 — Select the Length
Choose how long you want the article to be:
-
Short (300–600 words)
-
Medium (1000–1500 words)
-
Long (2000+ words)
Step 4 — Generate a Featured Image (Optional)
Check the box if you want the AI to create a matching featured image.
This can be used for blog covers or thumbnails.
Step 5 — Click “✨ Generate Blog Post”
The AI will process your request.
Your blog will appear in the Generated Blog section below.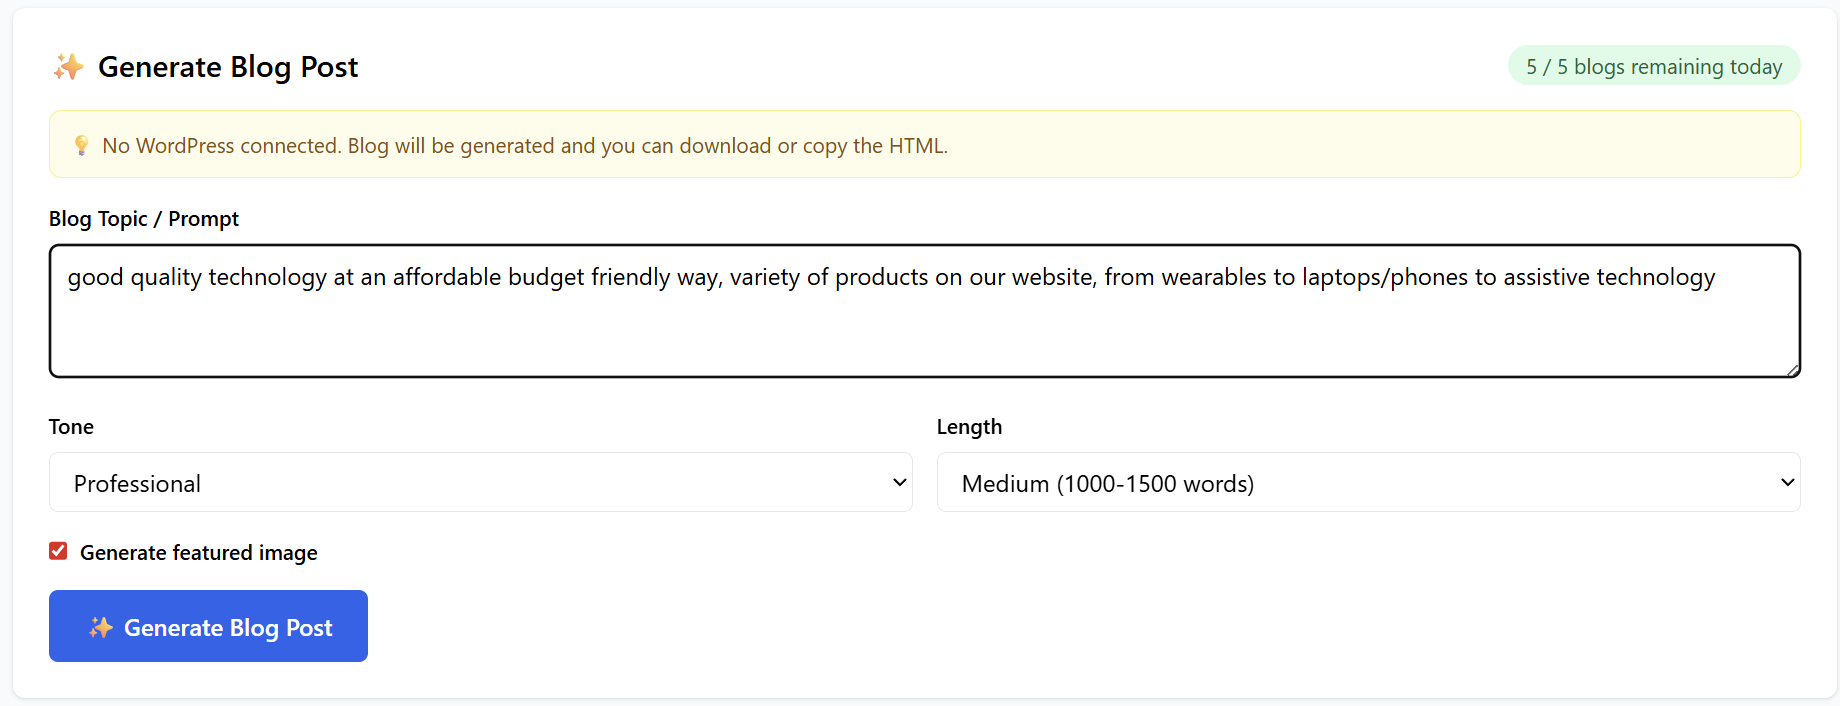
4. Recurring Blog Automation
After connecting your website to wordpress, you will have the option to automate generation of blogs timely.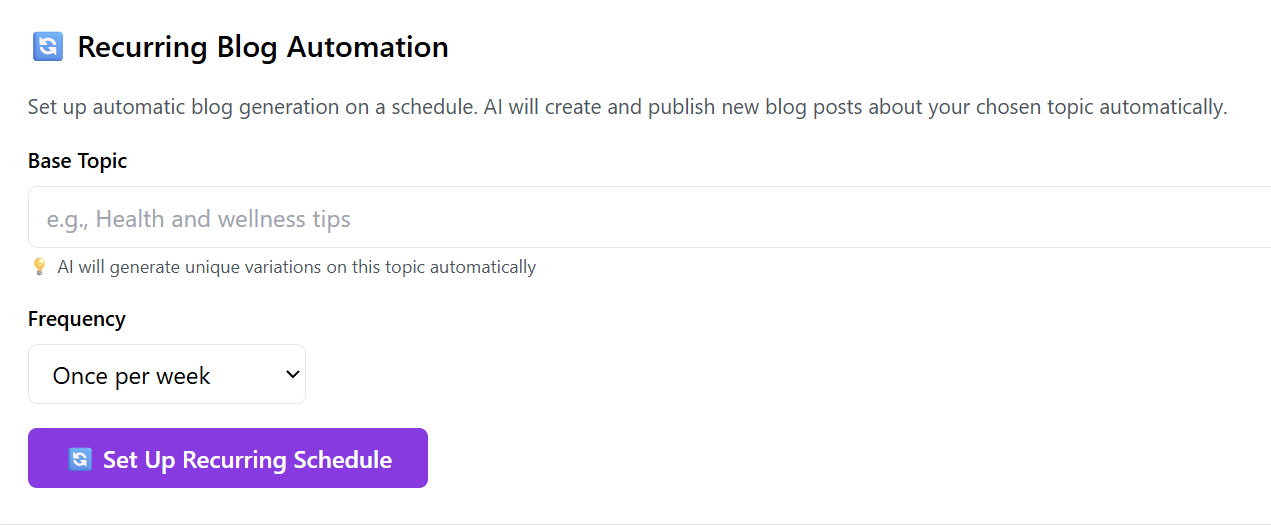
- Base Topic: type in your main topic that you want to geenrate blogs upon and AI will generate different variations on it on schedule.
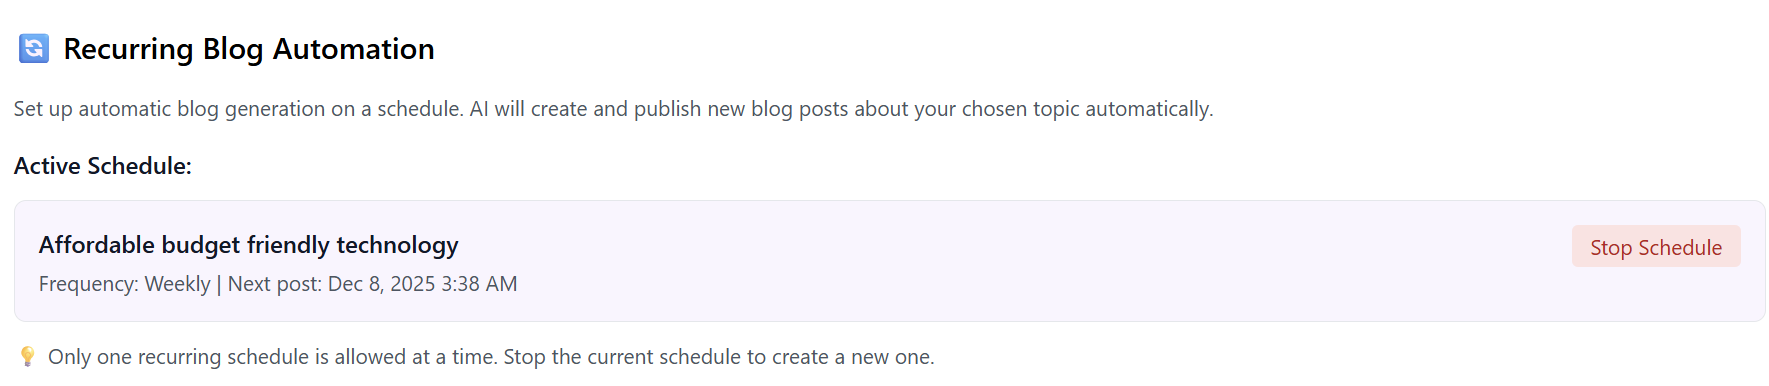
- Frequency: Select the frequency that you want your blogs to be generated upon ( weekly, monthly...)
- You have the option to stop schedule and create another base topic for different variations.

5. Viewing Your Generated Blog
After generation, you will see:
Blog Title: Automatically generated to match your topic
Featured Image: (If enabled)
Full Blog Content: Formatted and SEO-optimized.
Export Options: At the top right of the generated blog, you’ll see:
- Copy HTML – instantly copy the entire blog code
- Download HTML – download an HTML file to your computer
If WordPress is connected, you'll also see:
- Publish to WordPress (or it may auto-publish depending on settings)

5. Generated Blogs History
All previously created blogs will appear under the Generated Blogs section.
You can:
-
View them anytime
-
Copy or download the HTML again
-
Re-publish (if WordPress is connected)
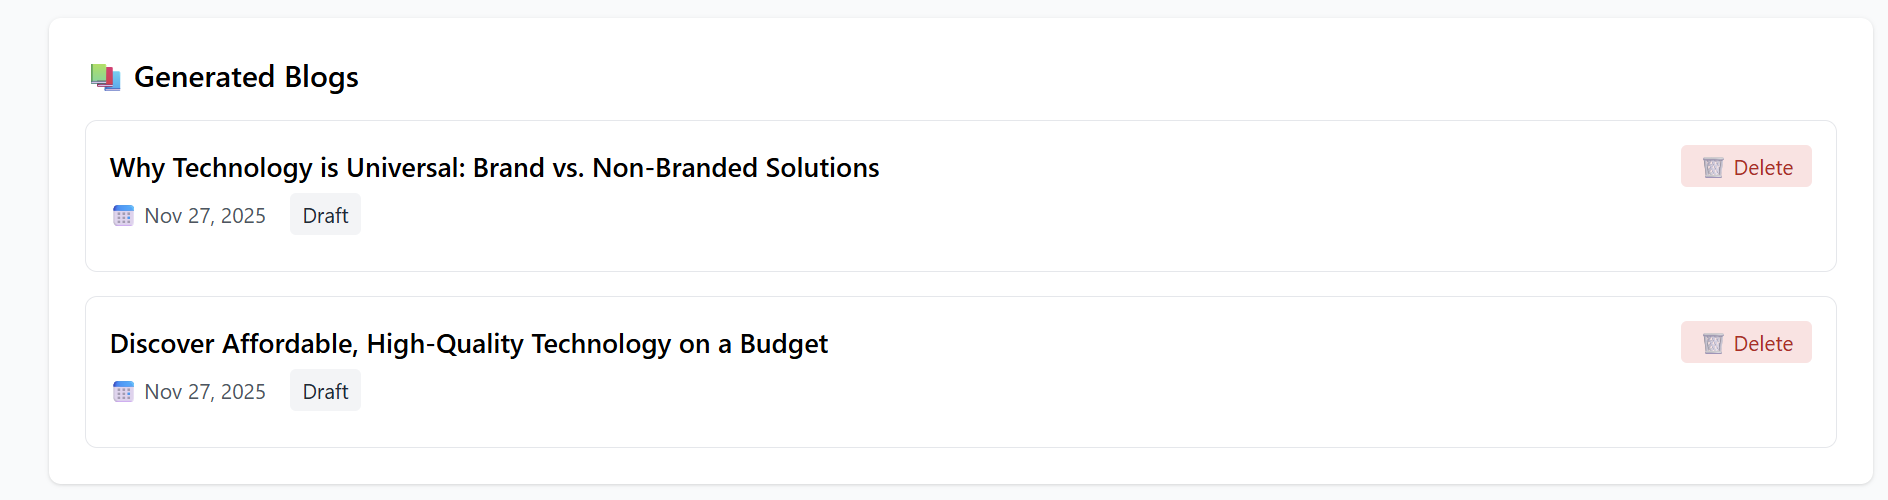
If nothing has been created yet, you’ll see:
“No blogs generated yet. Create your first one above!”
6. Common WordPress Connection Issues
-
Invalid Application Password
Make sure it is copied exactly, without spaces. -
Incorrect Username
Must match your WordPress admin username. -
Incorrect Site URL
Must be the homepage URL of your WordPress site.
7. Tips for Best Results
-
Give clear, descriptive prompts.
-
Define the audience (e.g., small business owners, gamers, beginners).
-
Specify the goal (educate, sell, compare, review, explain).
-
Use the “Professional” or “Educational” tone for SEO-focused blogs.
8. Summary
The AI Blog Generator helps you:
✔ Write full SEO-ready blog posts
✔ Create featured images
✔ Copy or download HTML instantly
✔ Publish directly to WordPress
✔ Save and revisit your generated blogs
Simple, fast, and powerful — everything you need to scale your content creation.