
AI Lead Capture Bot
The AI Lead Capture Bot allows you to create intelligent conversational forms that qualify leads directly on your website.
You can build multi-step question flows, customize input types, and automatically collect names, emails, budgets, interests, and more—all through an interactive chat-style interface.
This guide explains how to create, customize, and embed your lead capture bot.
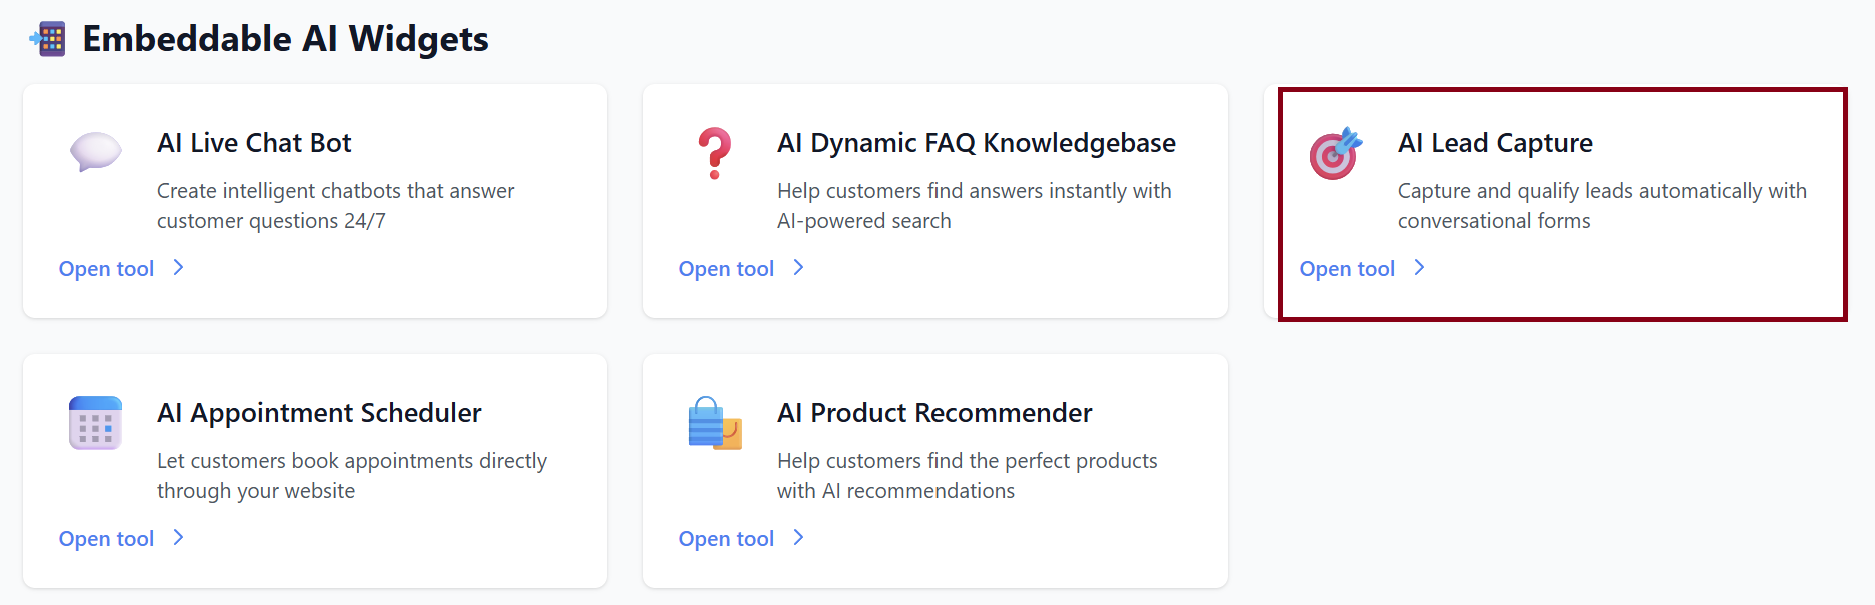
1. Accessing the AI Lead Capture Bot
Once the AI Business Tools Suite is active:
-
Go to your dashboard.
-
Navigate to AI Tools.
-
Select 🎯 AI Lead Capture Bot.
You will see the Lead Bots dashboard where you can create new bots or edit existing ones.
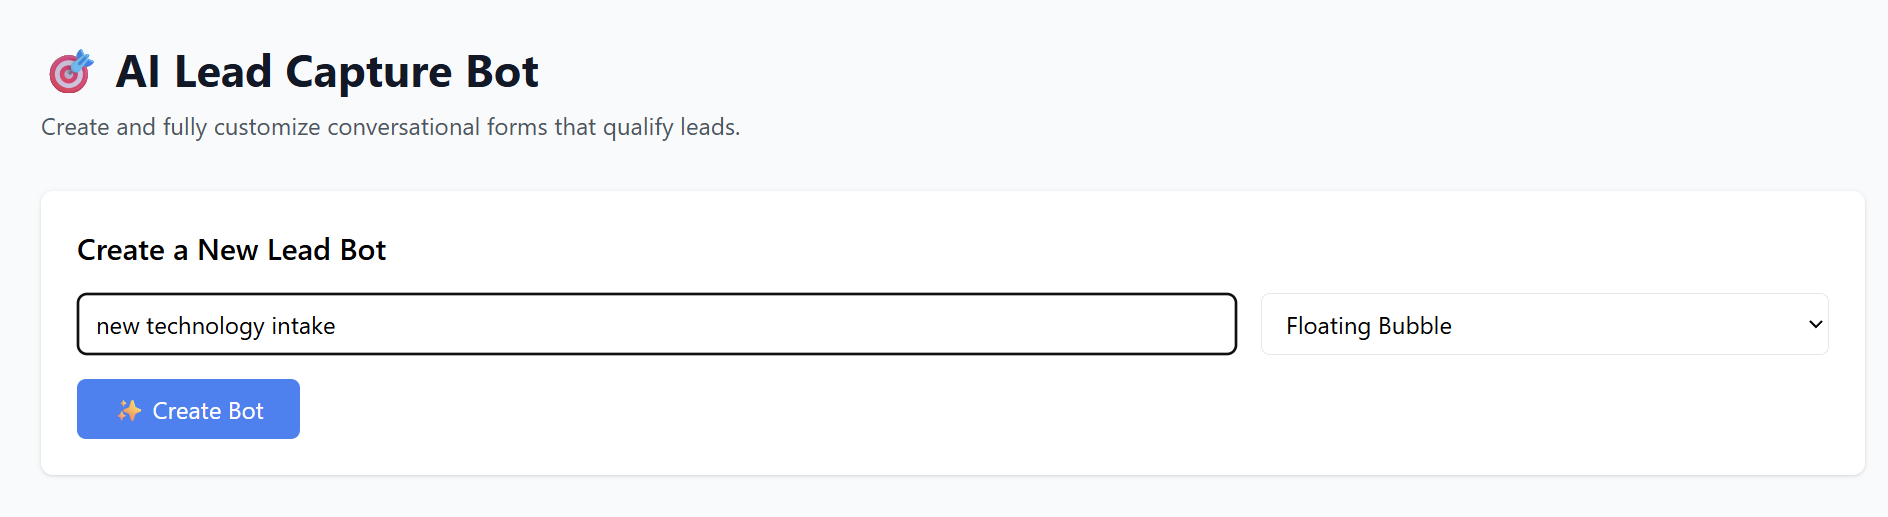
2. Creating a New Lead Bot
Click Create a New Lead Bot.
Fields to Fill
| Field | Description |
|---|---|
| Bot Name | Internal name for your bot (e.g., Real Estate Buyer Intake). |
| Display Style | How the bot appears on your site (e.g., Floating Bubble). |
After naming your bot, click:
✨ Create Bot
Your bot will appear on the dashboard with options to edit, save, or delete.
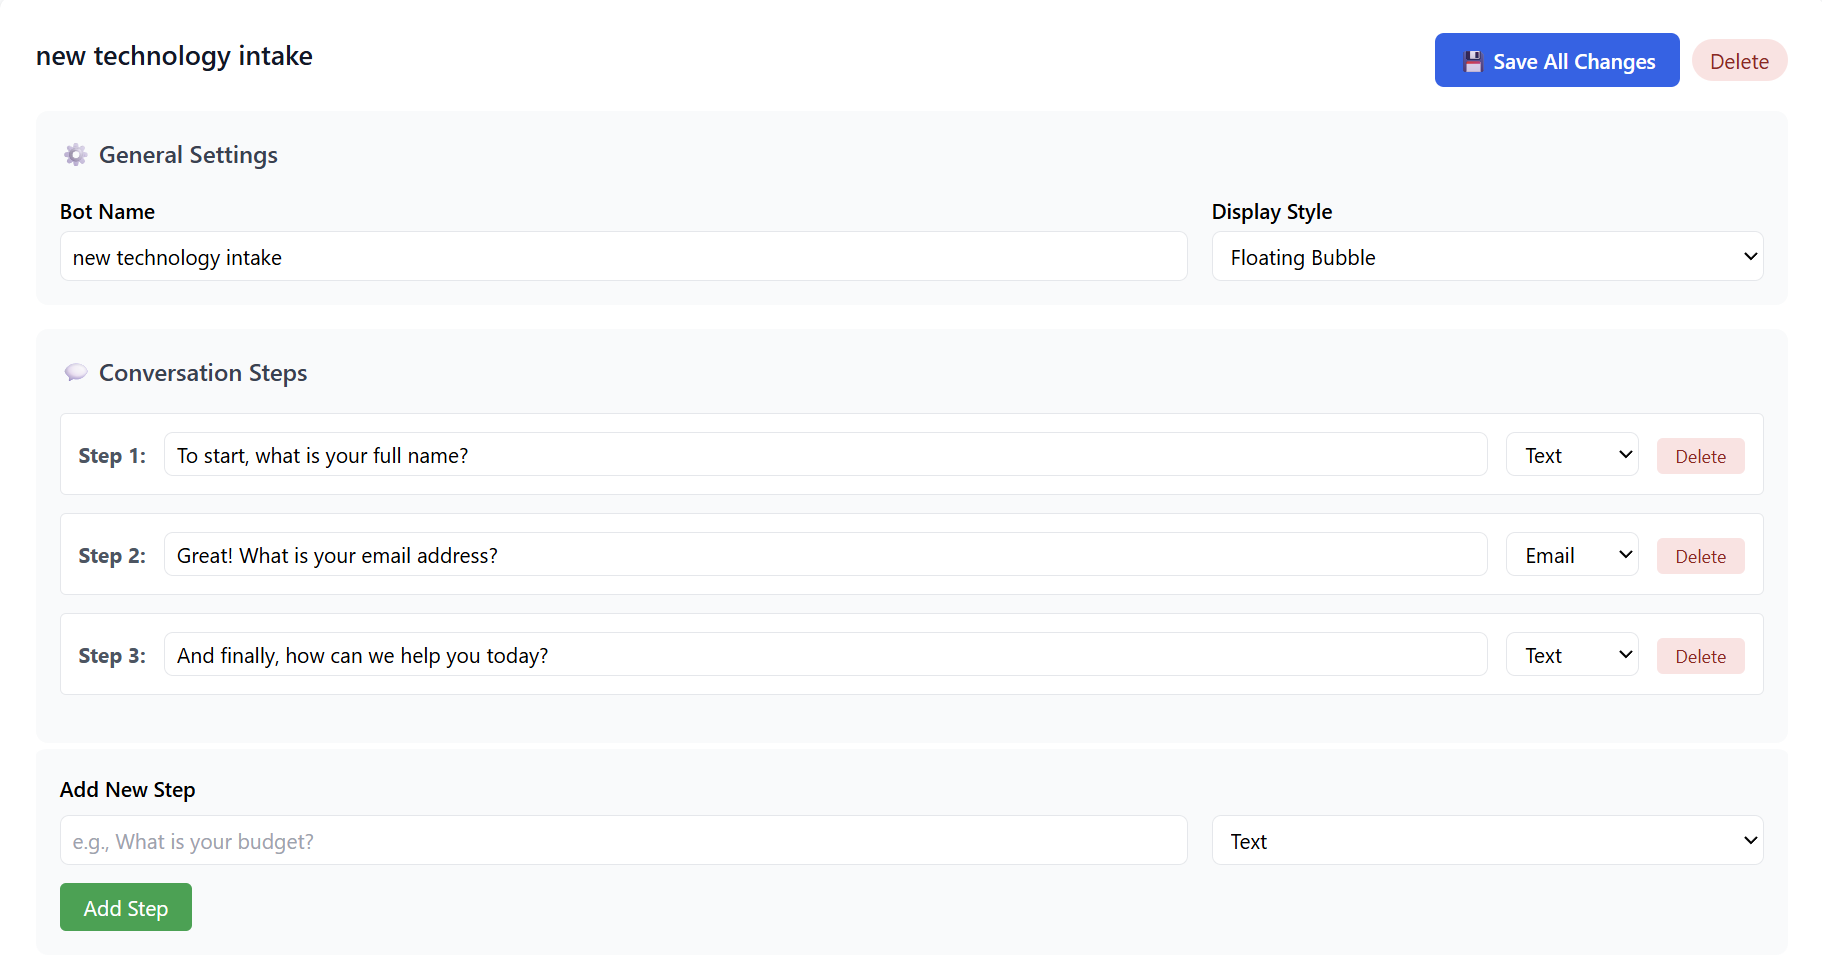
3. General Settings
Click ⚙️ General Settings to modify:
-
Bot Name
-
Display Style (Floating Bubble or future styles when available)
Click 💾 Save All Changes after editing.
4. Building Your Lead Capture Conversation
The Lead Capture Bot works through sequential conversation steps.
Default Example Steps
You might see:
-
Step 1:
“To start, what is your full name?”-
Input Type: Text
-
-
Step 2:
“What is your email address?”-
Input Type: Email
-
-
Step 3:
“How can we help you today?”-
Input Type: Text
-
-
Step 4:
“What is your budget?”-
Input Type: Text
-
You can delete any step using Delete.
5. Adding a New Step
To add your own questions:
-
Go to Add New Step.
-
Type your question (e.g., “What is your phone number?”).
-
Select the input type:
Available Input Types
-
Text (open-ended responses)
-
Email (validates email format)
(Other input types may appear as the platform expands)
-
Click Add Step.
Your new step appears at the bottom of the conversation list.
6. Saving Your Changes
Changes to steps, settings, or order will not save automatically.
Click:
💾 Save All Changes
This confirms all updates to your bot.
7. Deleting the Bot
Click Delete if you want to permanently remove the bot.
A confirmation will appear—once confirmed, the bot and its data will be removed.
8. Embedding Your Lead Capture Bot on Your Website
When your bot is ready, go to the 📋 Embed Code section.
You will see a snippet like:
Installation Instructions
To install:
-
Copy the entire snippet.
-
Paste it in the <head> section of your website’s HTML.
For platforms like WordPress, Shopify, Wix, or Squarespace:
-
Go to Custom Code, Header Scripts, or Theme Header.
-
Paste the snippet.
-
Save & publish.
Your Lead Capture Bot will now appear as a floating bubble or the selected display style.

Summary
| Feature | Description |
|---|---|
| Create Lead Bot | Build conversational lead collection flows. |
| Custom Steps | Add unlimited questions with text/email input types. |
| Display Style | Floating bubble widget for easy visibility. |
| Save & Manage | Edit, reorder, delete, or add new steps anytime. |
| Deployment | Install with a simple HTML embed code. |
Your AI Lead Capture Bot is now ready to qualify leads efficiently and automatically.