
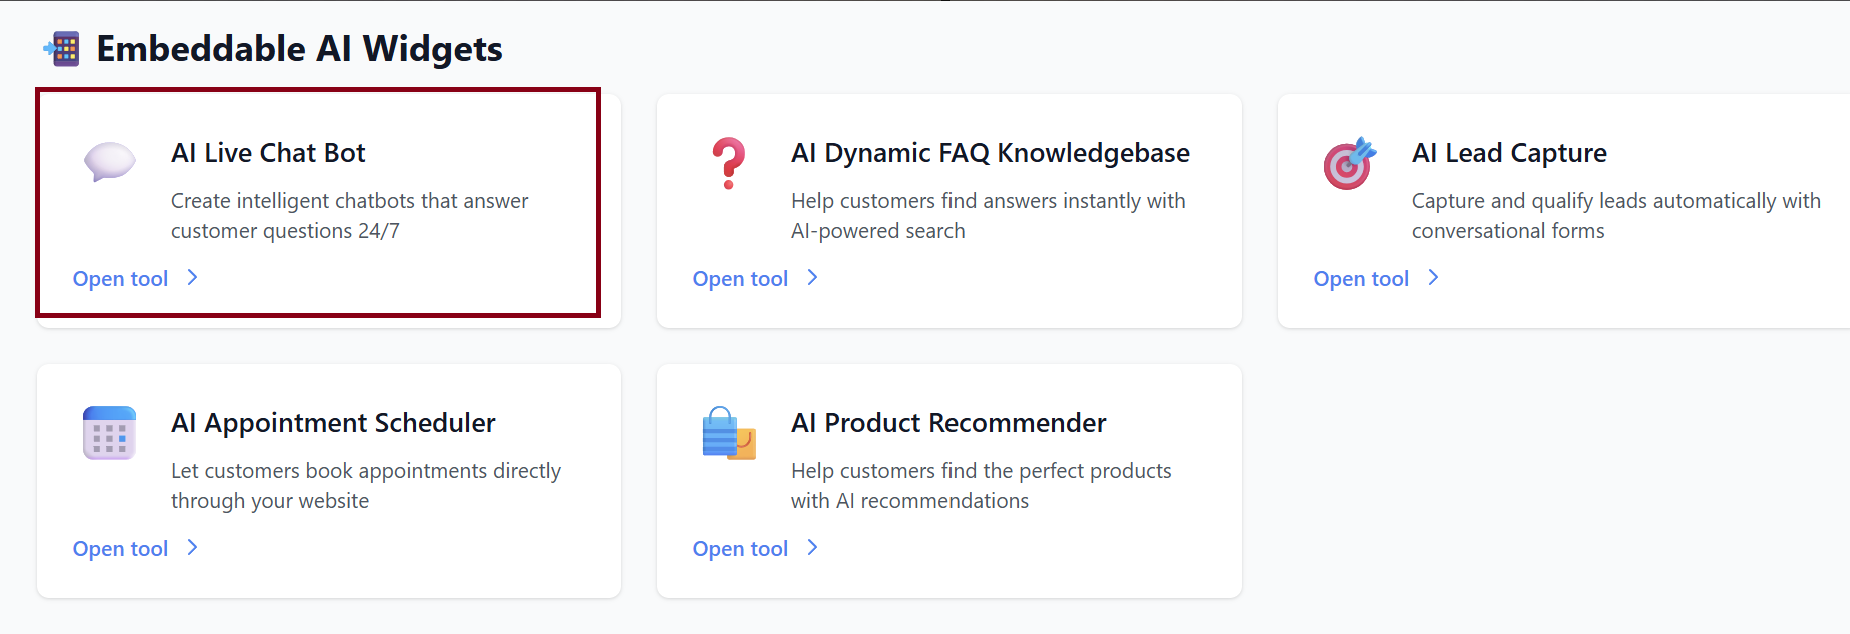
AI Live Chat Bot
The AI Live Chat Bot allows you to create intelligent, customizable chat widgets that can be embedded on any website.
You can train the bot on your website content, personalize its appearance, configure its behavior, and collect chats and leads—all from your dashboard.
This guide walks you through creating, training, deploying, and managing your AI Live Chat Bot.
1. Accessing the AI Live Chat Bot
After activating the AI Business Tools Suite for your client:
-
Go to your dashboard.
-
Navigate to AI Tools.
-
Select AI Live Chat Bot.

You will see your Chatbots Dashboard, where you can create new chatbots or manage existing ones.
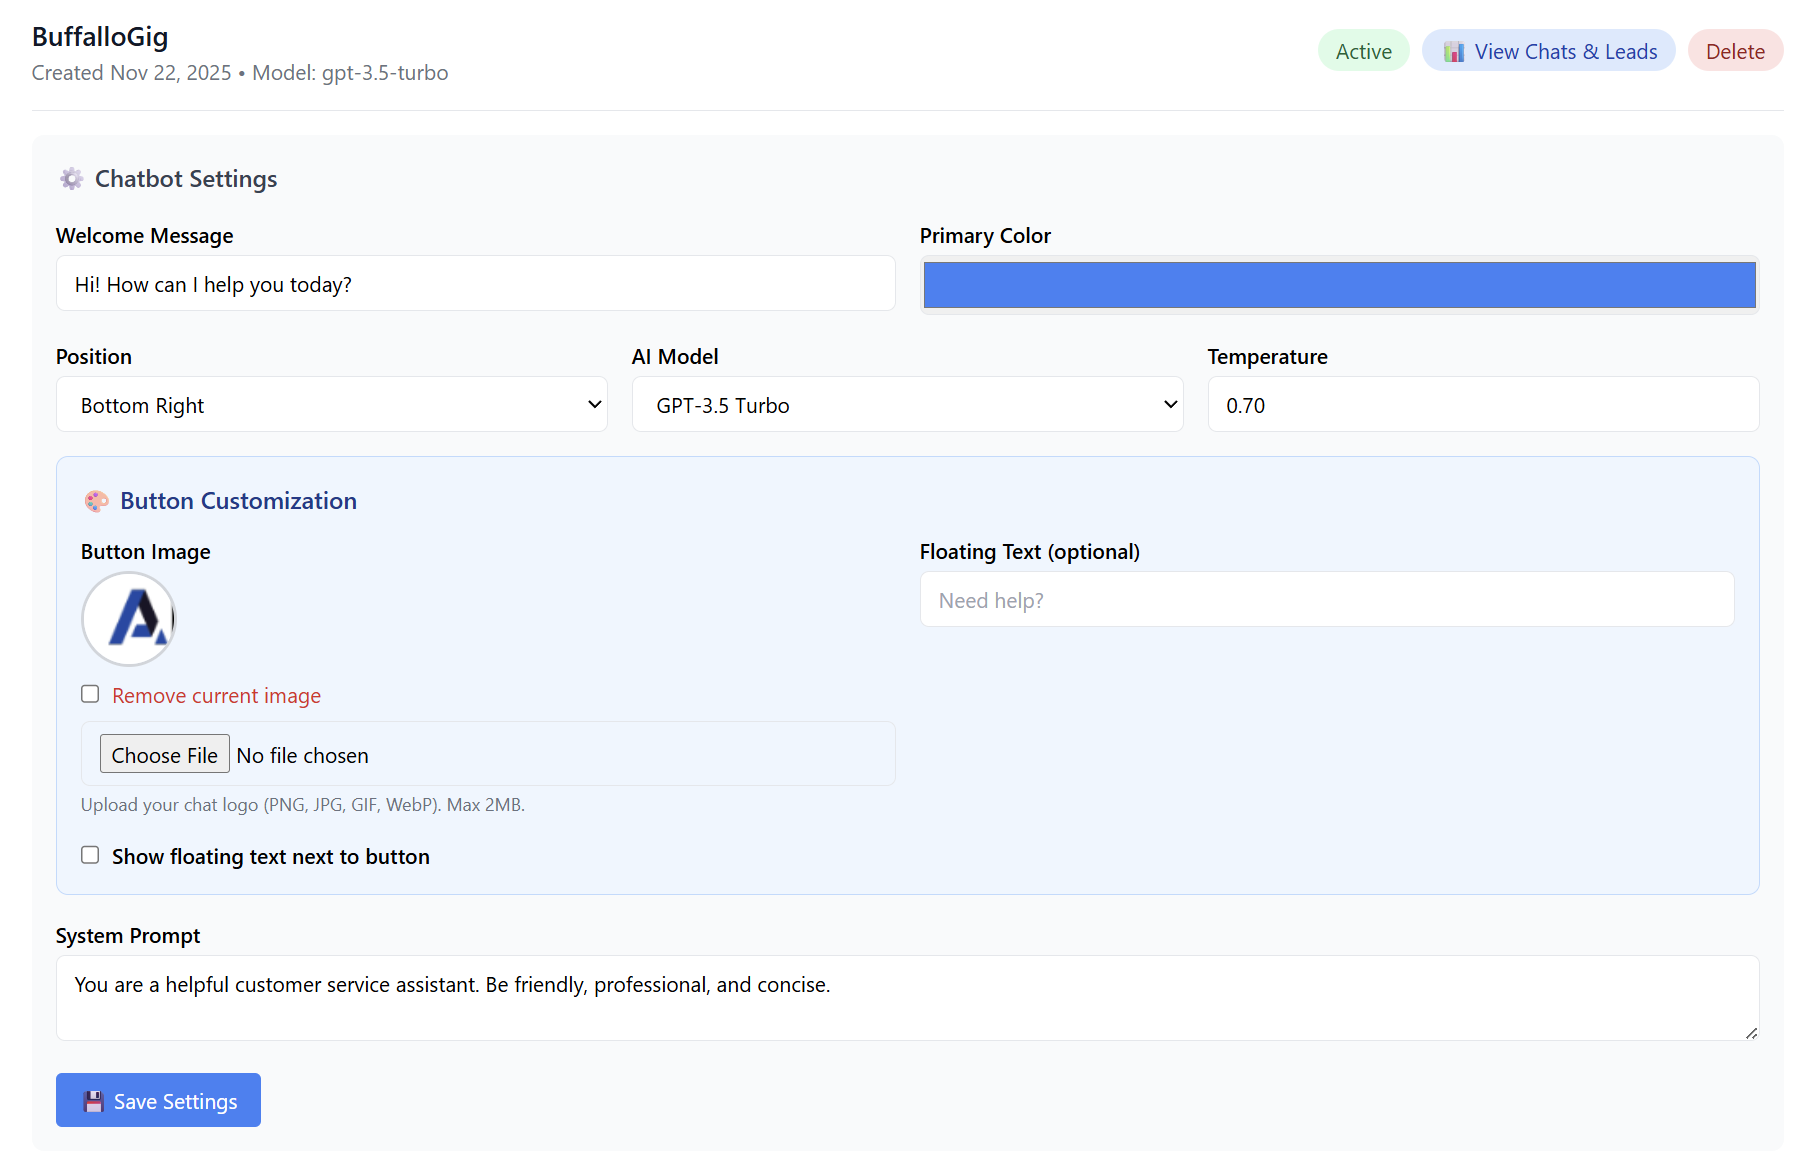
2. Creating a New Chatbot
| Field | Description |
|---|---|
| Chatbot Name | Name that identifies your chatbot (e.g., Support Assistant). |
| Position | Where the chat button appears on your website (e.g., Bottom Right). |
| Welcome Message | First message users will see when they open the chat. |
| Primary Color | Chat widget’s main color. |
| AI Model | Model powering your bot—e.g., GPT-3.5 Turbo (Fast & Cheap). |
| Temperature | Controls creativity (0.0 = factual, 1.0 = creative). |
Customize your button:
Write your system's prompt and give your bot instruction (This determines the bot’s behavior and tone).
Example default prompt:
“You are a helpful customer service assistant. Be friendly, professional, and concise.”
You may customize this for sales, support, booking, or FAQs.
3. Finalize Chatbot Creation
After filling out your settings:
Click ✨ Create Chatbot
Your chatbot will be added to your dashboard showing:
-
Status: Active
-
Model: (e.g., gpt-3.5-turbo)
-
Creation date
-
Actions:
-
📊 View Chats & Leads
-
⚙️ Chatbot Settings
-
❌ Delete

-
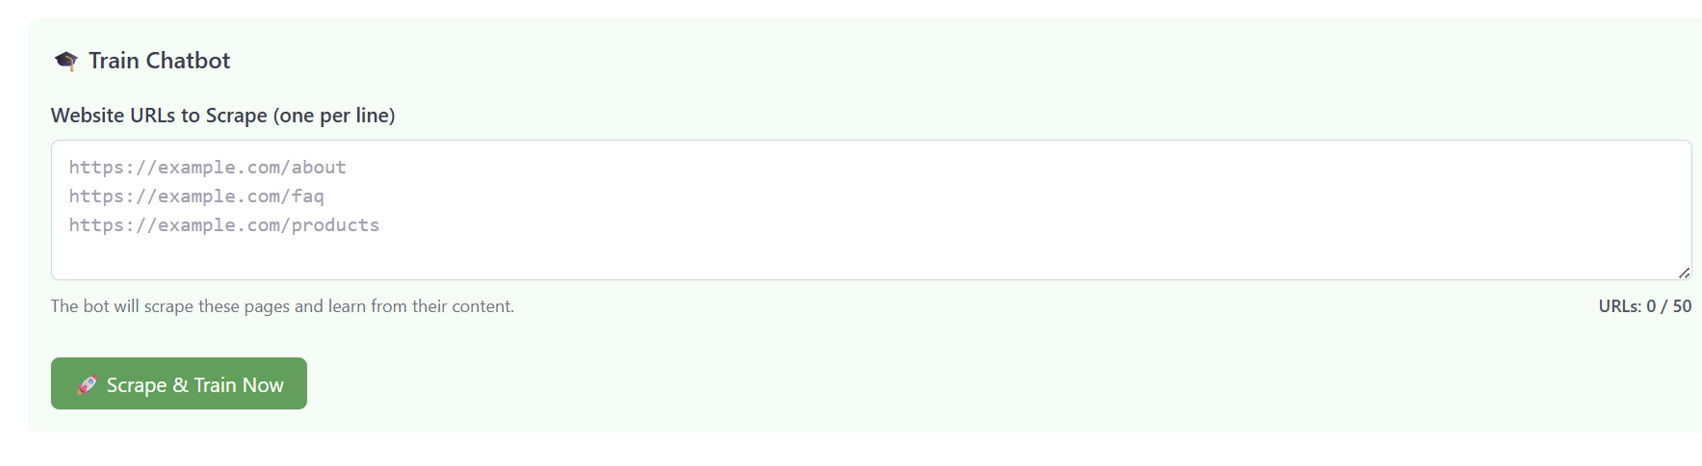
4. Training Your Chatbot
To make your chatbot smart and relevant to your business, you can train it using website content.
Training Steps
-
Click 🎓 Train Chatbot.
-
Add website URLs under:
Website URLs to Scrape (one per line) -
You may add up to 50 URLs.
Example:
-
Click 🚀 Scrape & Train Now.
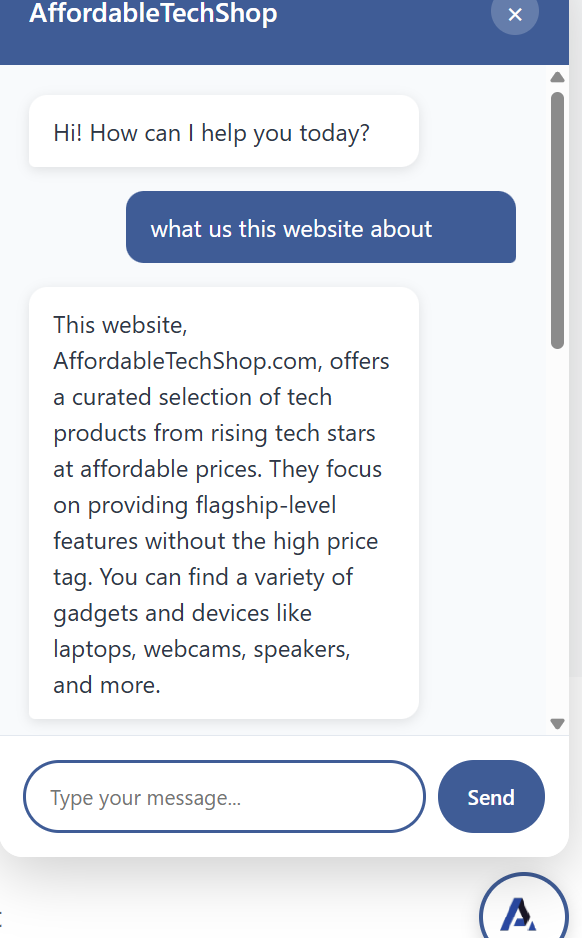
The system will scrape the pages and train the bot so it can answer questions about your business, products, FAQs, etc.
5. Embedding Your Chatbot on a Website
Once your chatbot is created, you will find the embed code under 📋 Embed Code.
How to Install
Copy the embed snippet:
Important: Paste this code into the <head> section of your website’s HTML. This will activate the chat widget and make it appear on your site.
If using platforms like WordPress, Shopify, Wix, Squarespace, etc., paste the code into the Header Code Injection or Custom Code area.

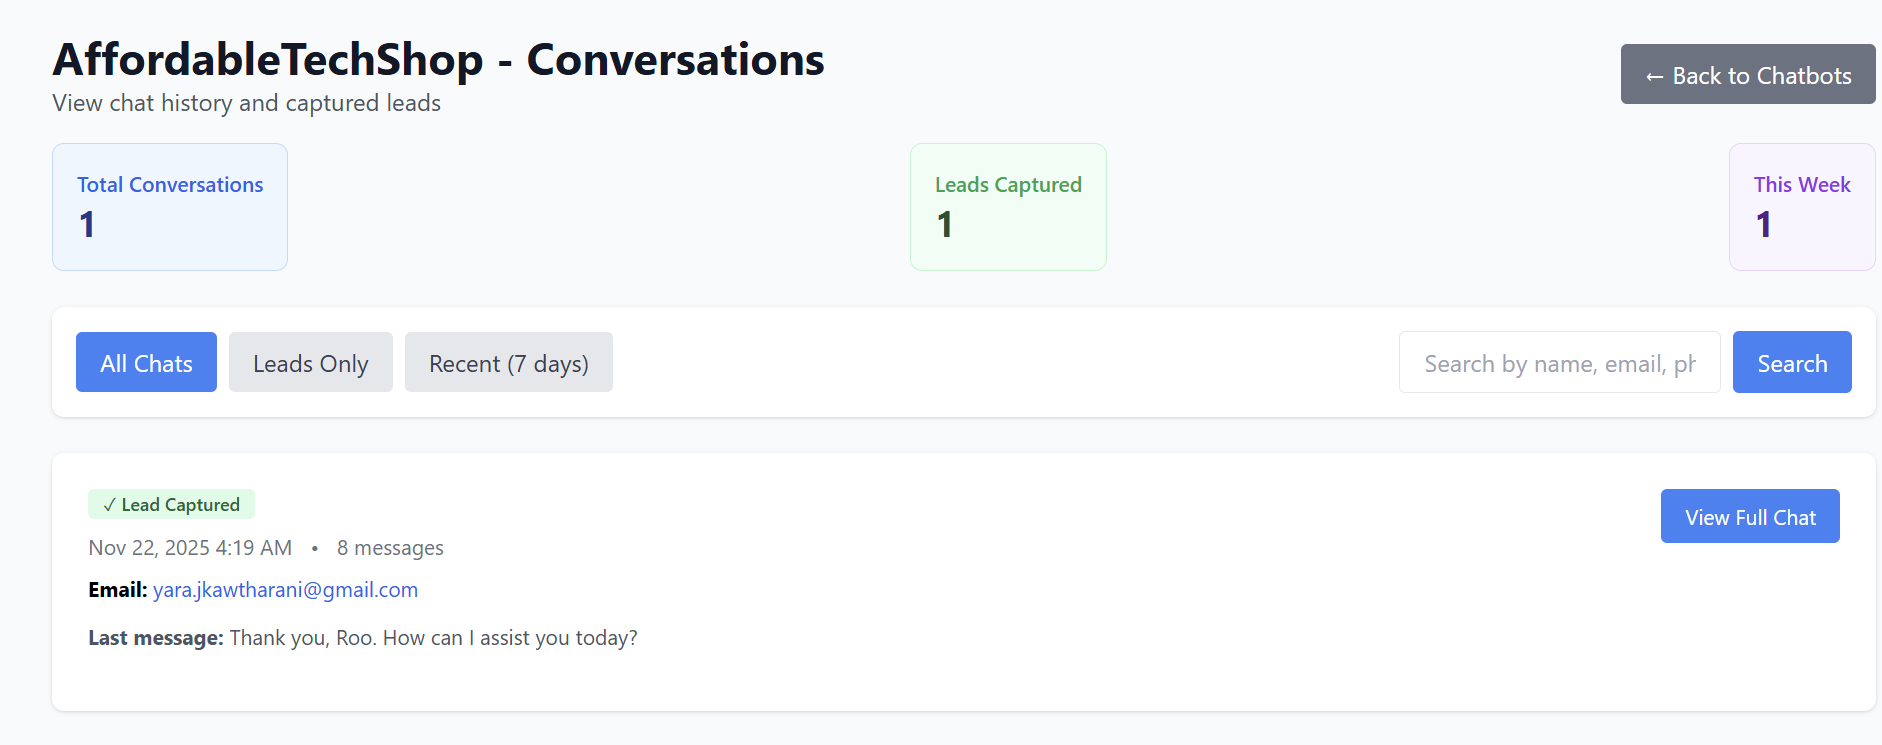
6. Viewing Chats & Leads
Click 📊 View Chats & Leads to see:
-
Visitors who interacted with the chatbot
-
Conversations transcripts
-
Collected leads (names, emails, phone numbers if provided)
-
Chat history
This allows you to review customer interactions and follow up on warm leads.

7. Deleting a Chatbot
If you want to remove a chatbot:
-
Open the chatbot in your dashboard.
-
Click Delete.
-
Confirm removal.
The widget will instantly stop working on all websites where it was installed.

Summary
| Feature | Description |
|---|---|
| Create Chatbot | Build a custom support or sales bot. |
| Train Bot | Scrape your site to teach it about your business. |
| Customize | Change colors, logo, button style, and AI settings. |
| Deploy | Copy/paste embed code into your website header. |
| Track Leads | View captured chats and customer messages. |
Your AI Live Chat Bot is now ready to support customers, generate leads, and boost conversions 24/7.