
Setting up Appointment Booking Service
After activation, you will receive an automated email containing your administrative login link and credentials. Follow this guide to configure your platform, set your policies, and manage your bookings.
1. Logging In
Access your unique admin URL (e.g., your-subdomain.quickreserve.net/login) and enter the credentials provided in your activation email.
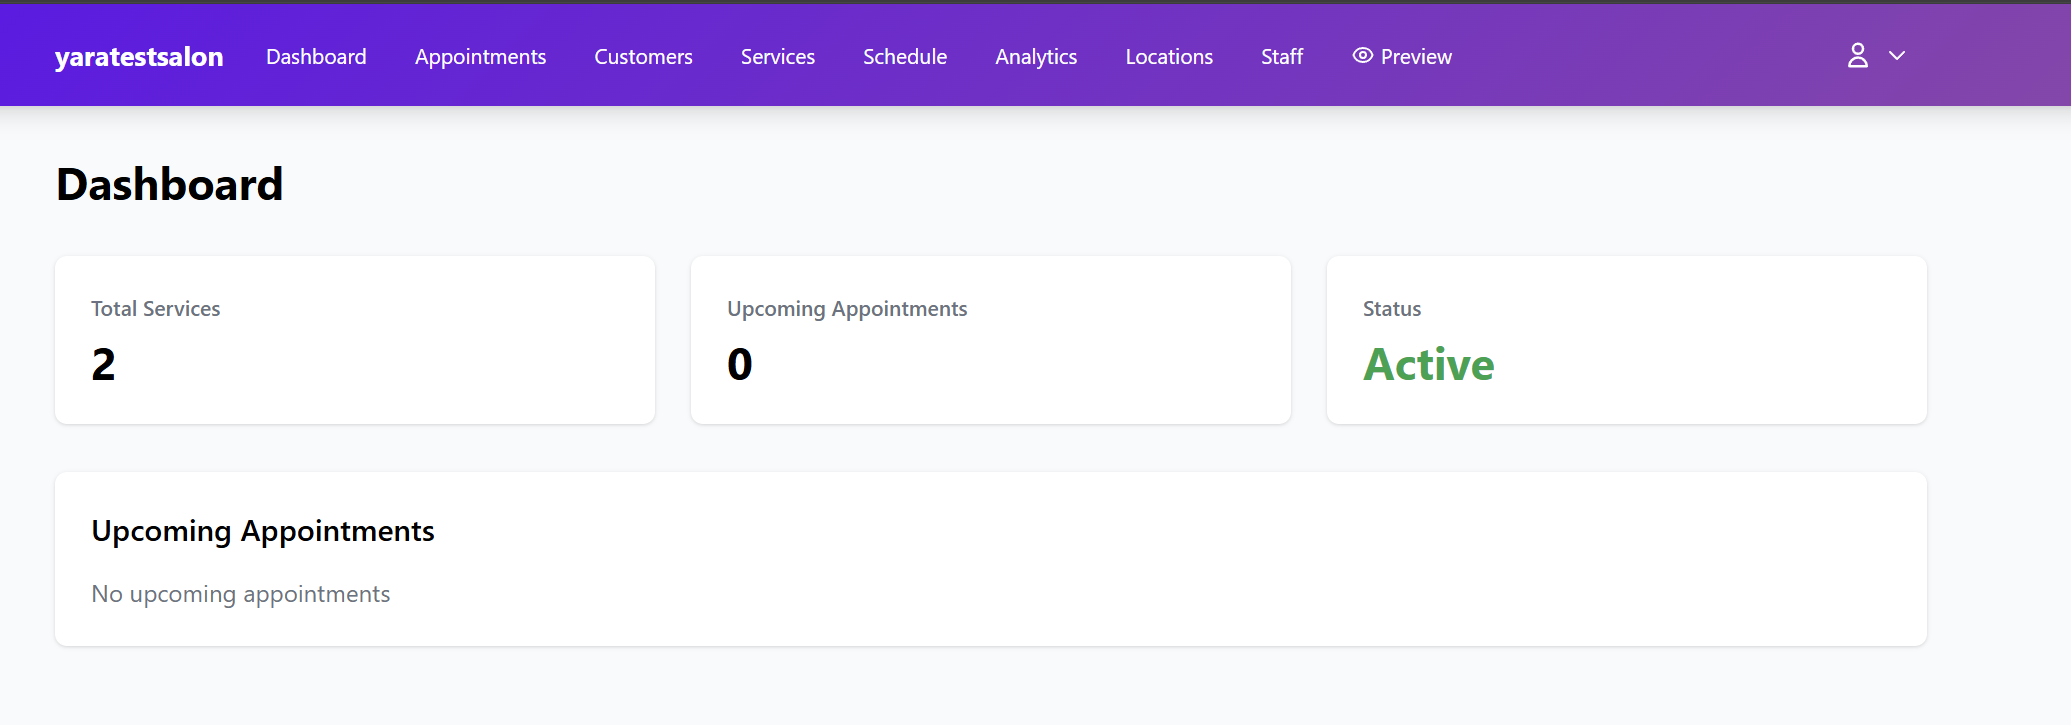
Upon logging in, you will land on the Dashboard, which provides a high-level overview of your total services, upcoming appointments, and account status.
2. Configuring Business Settings & Policies
Before creating services, navigate to the Settings tab to define how your booking portal behaves.
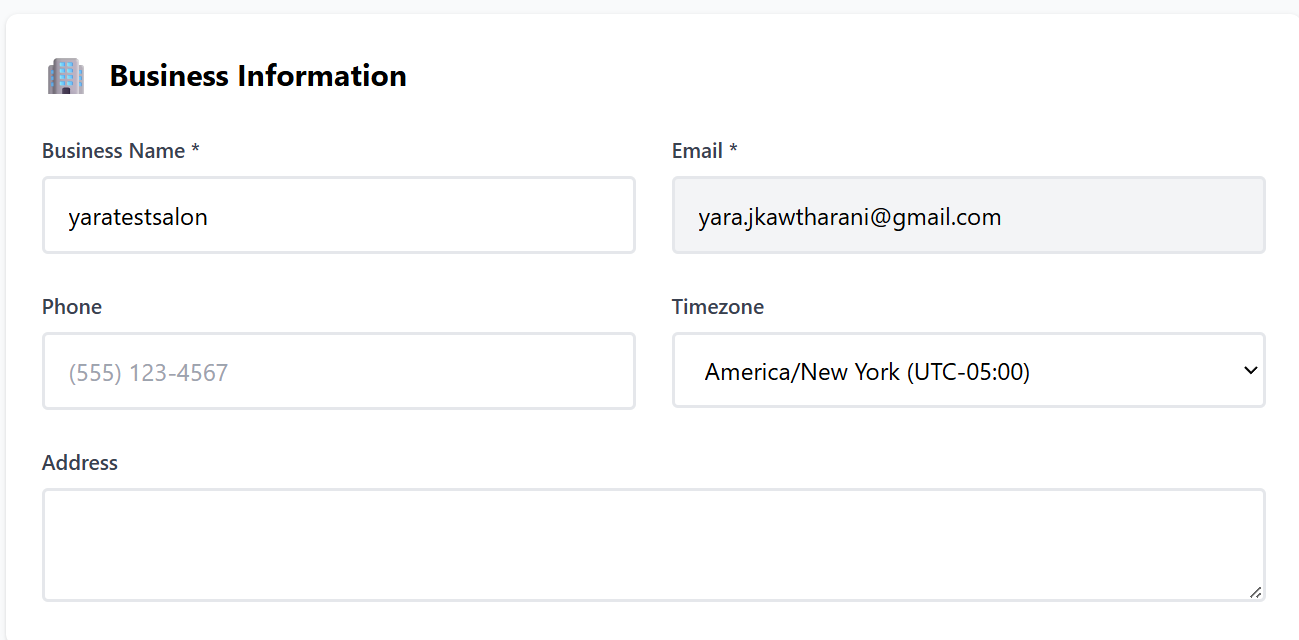
Business Information
-
Identity: Update your Business Name, Email, and Phone Number.
-
Timezone: Set your local timezone (e.g., America/New York). This is critical as it determines the accuracy of your booking calendar.
-
Address: Provide your physical location for customer reference.

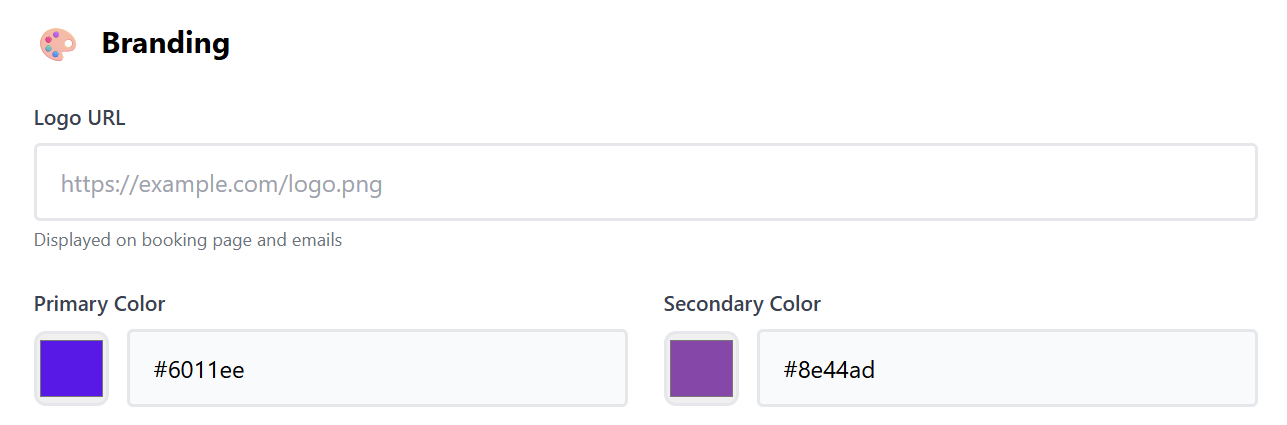
Branding
-
Logo URL: Provide a link to your logo. This will be displayed on the public booking page and in all automated customer emails.
-
Colors: Set your Primary and Secondary brand colors to ensure the booking interface matches your business identity.

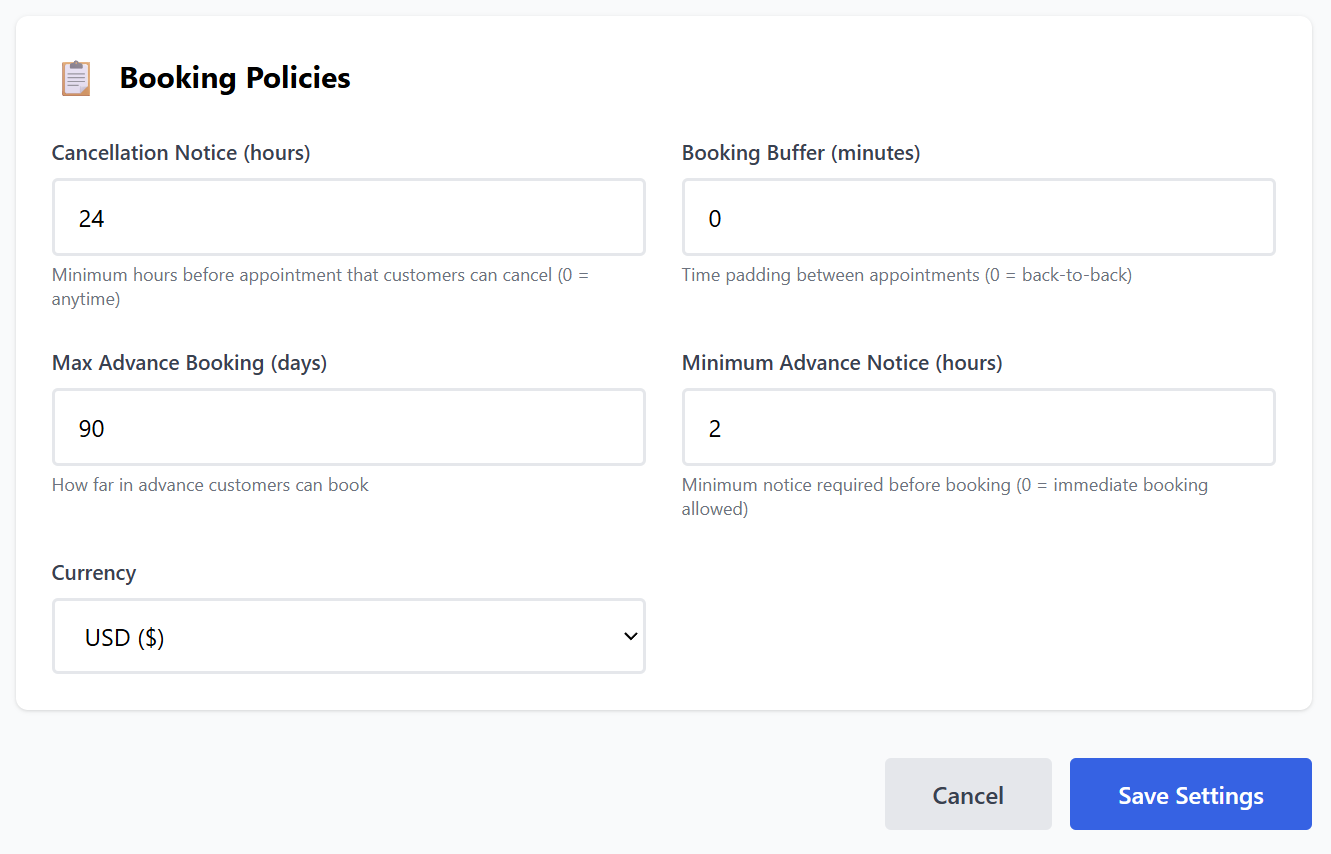
Booking Policies
Define your rules for customer interaction:
-
Cancellation Notice: Set the minimum hours required for a customer to cancel (e.g., 24 hours). Setting this to 0 allows anytime cancellation.
-
Booking Buffer: Add time padding (in minutes) between appointments to prevent back-to-back scheduling and allow for breaks.
-
Max Advance Booking: Choose how far into the future a customer can book (e.g., 90 days).
-
Minimum Advance Notice: Set how much "lead time" you need before an appointment (e.g., 2 hours). This prevents last-minute surprise bookings.
-
Currency: Select your local currency for displayed pricing.

3. Setting Up Your Services
Now, define the specific sessions your clients can book.
-
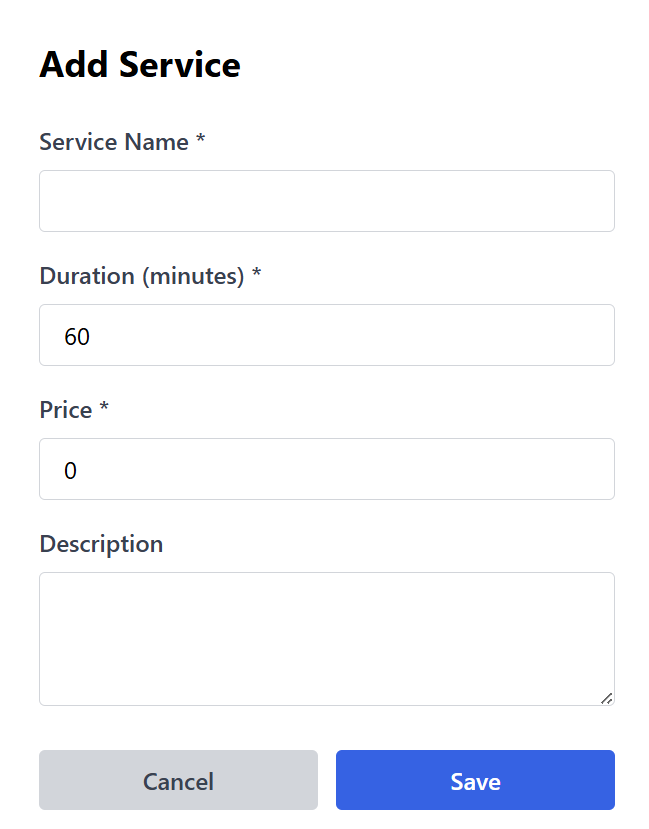
Navigate to the Services tab and click + Add Service.
-
Service Name: (e.g., "1 Hour Consultation").
-
Duration: Set the length of the session in minutes.
-
Price: Set the cost (enter 0.00 for free sessions).
-
Description: Briefly explain what the service entails.
You can Edit, Deactivate, or Delete services at any time from this list.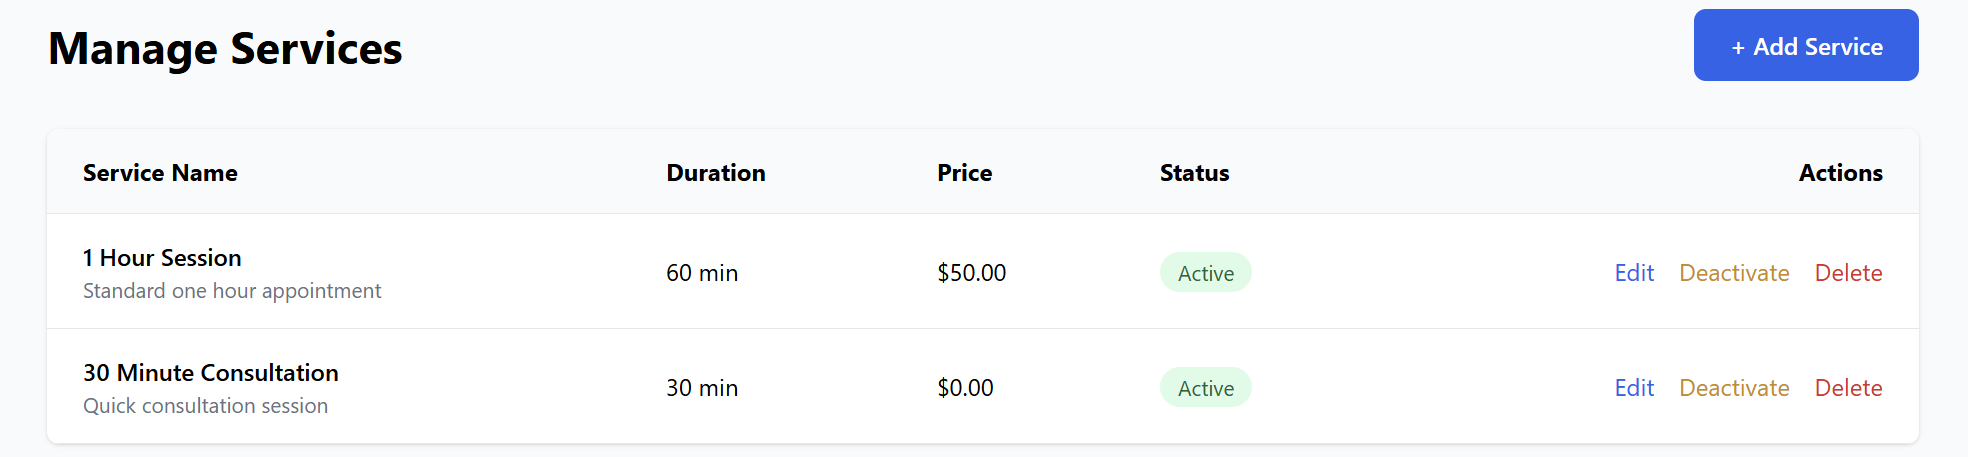


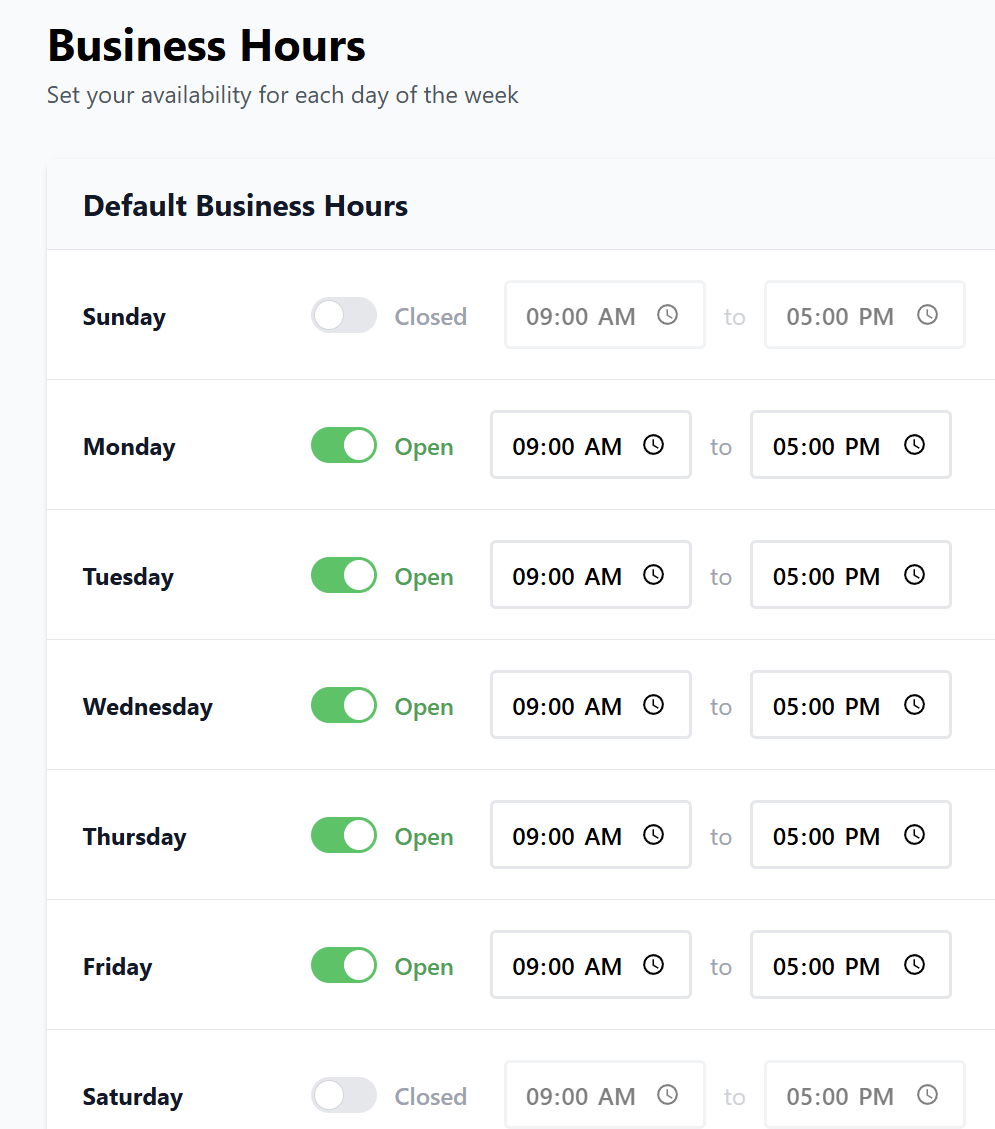
4. Configuring Business Hours (Schedule)
Define when your business is open for bookings:
-
Go to the Schedule tab.
-
Use the toggle switches to set days as Open or Closed.
-
Set the specific start and end times for each working day.
Note: Bookings can only be made within these defined time slots.
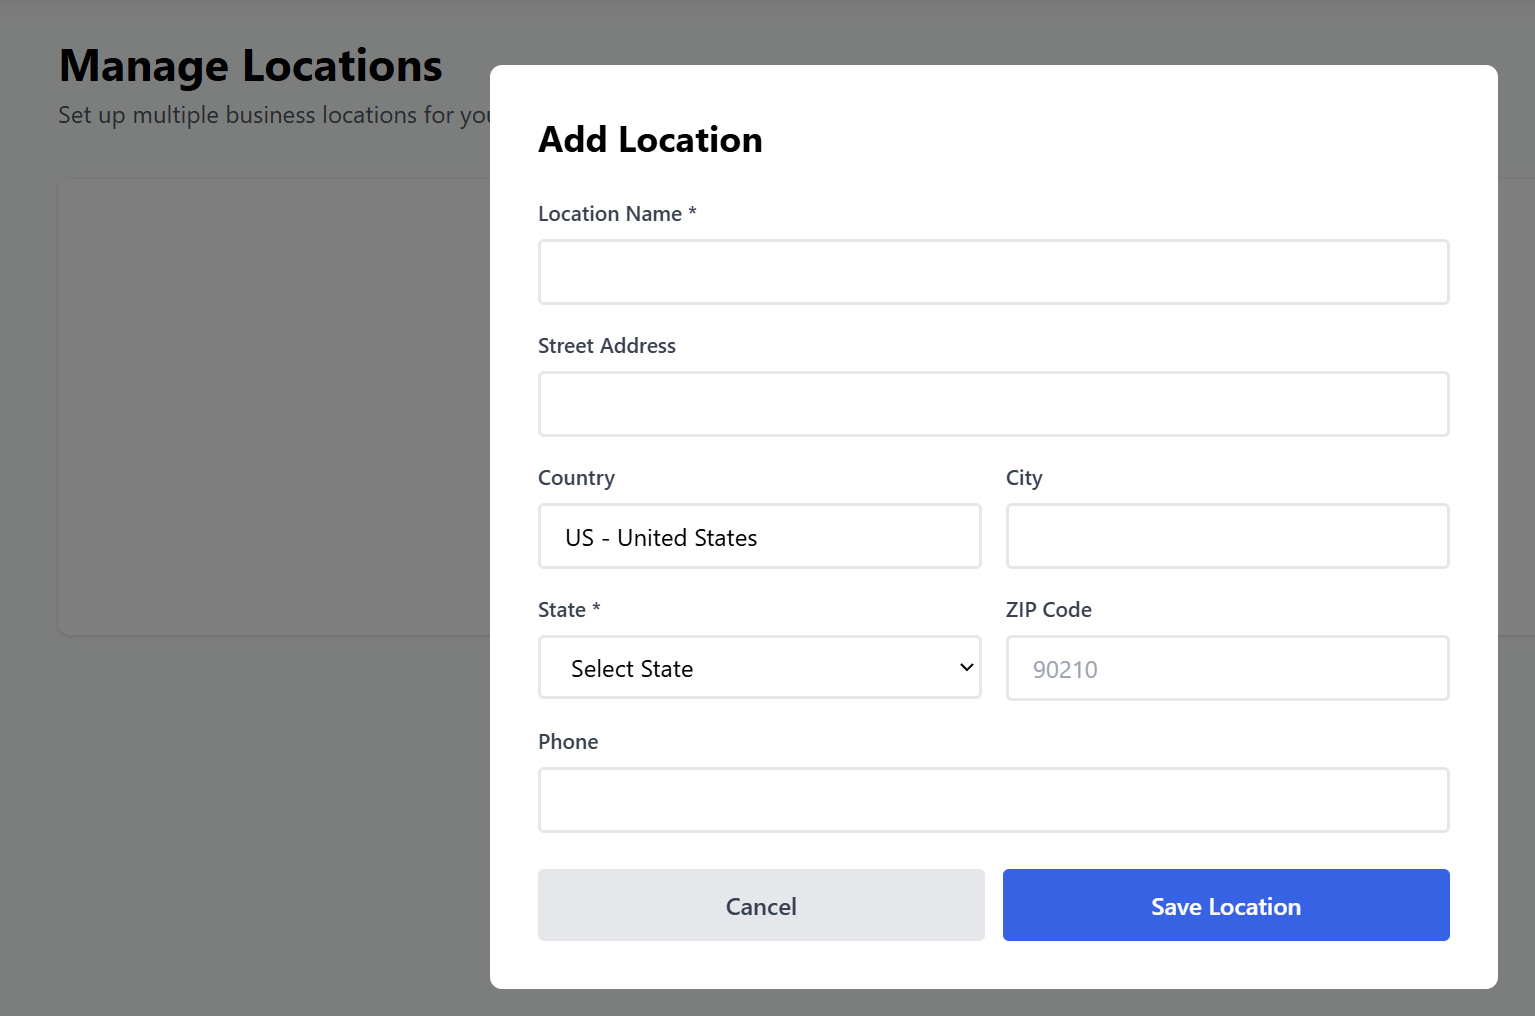
5. Managing Staff & Locations
If the business has multiple team members or physical branches, manage them here:
-
Locations: Add the physical addresses where services are provided.

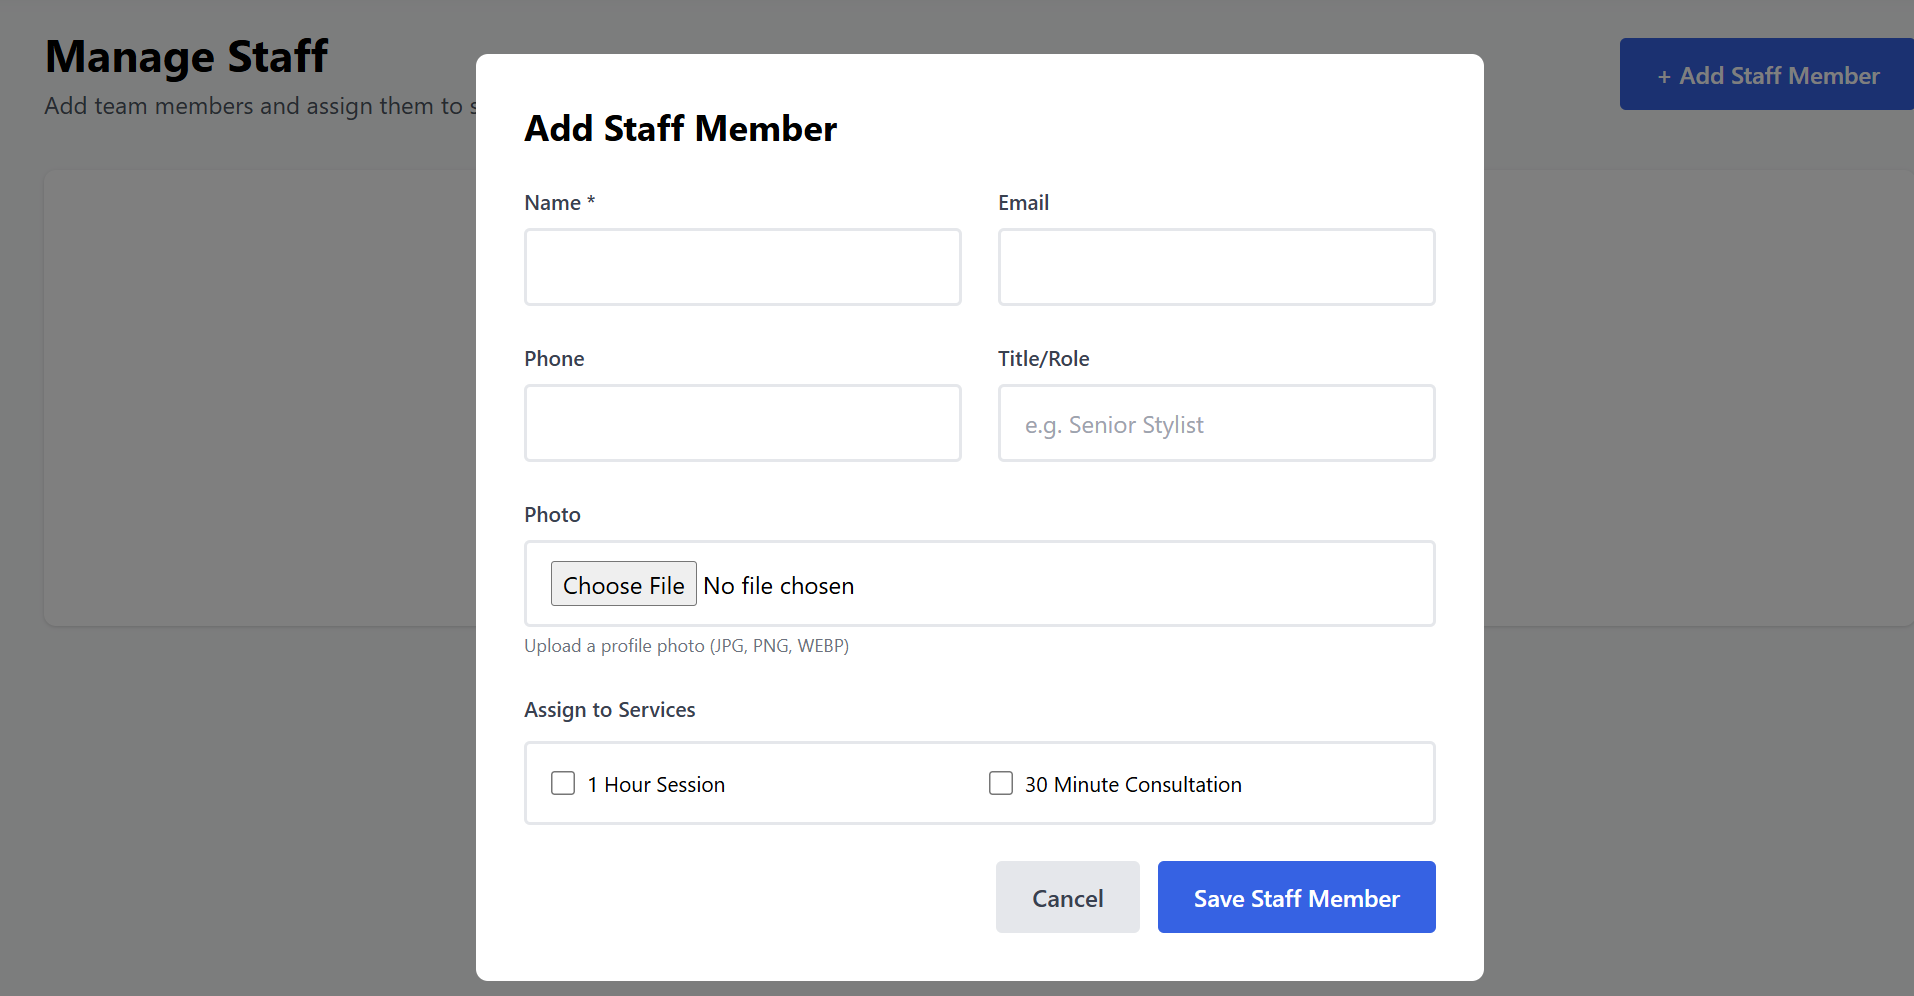
-
Staff: Click Add Staff Member to upload a photo and enter their name, email, and role.

-
Assignment: You can assign specific staff members to specific services, ensuring customers book with the right expert.
6. Managing Appointments & Customers
As bookings begin to arrive, you can manage them through two primary tabs:
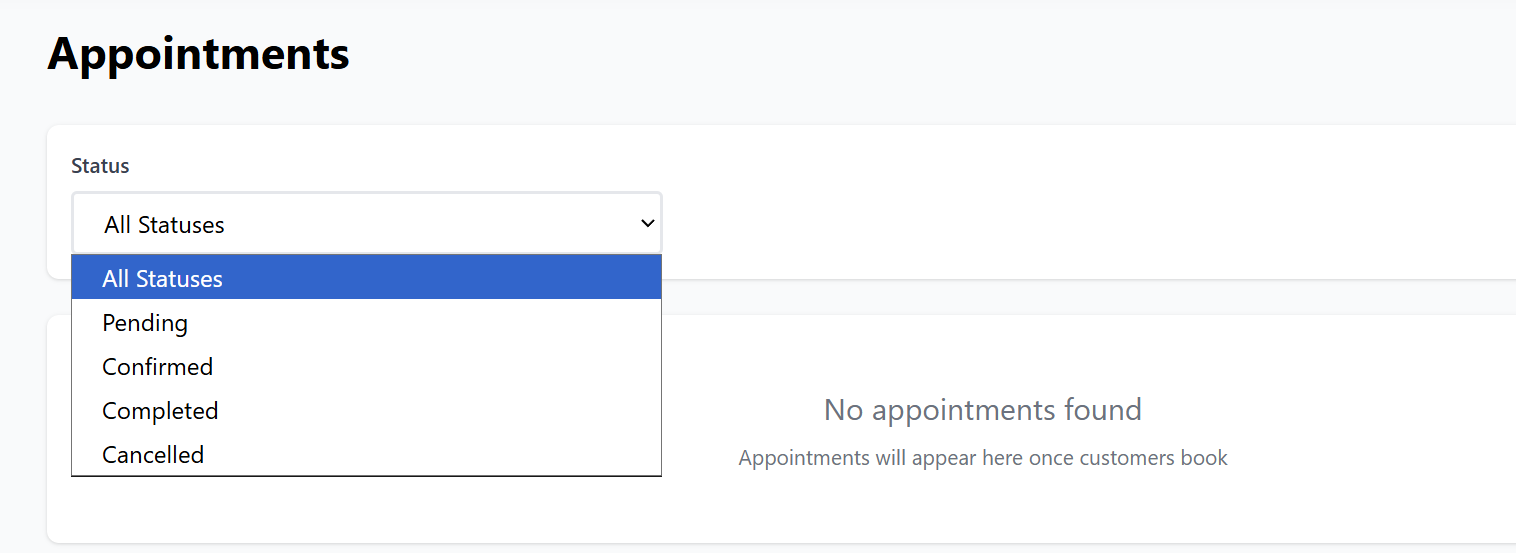
-
Appointments: View all bookings in one place. Use the Status Filter (Pending, Confirmed, Completed, or Cancelled) to organize your workflow and keep track of daily sessions.
-
Customers: Access your growing customer database. Here you can see contact details (Email/Phone) and the full appointment history for every client.


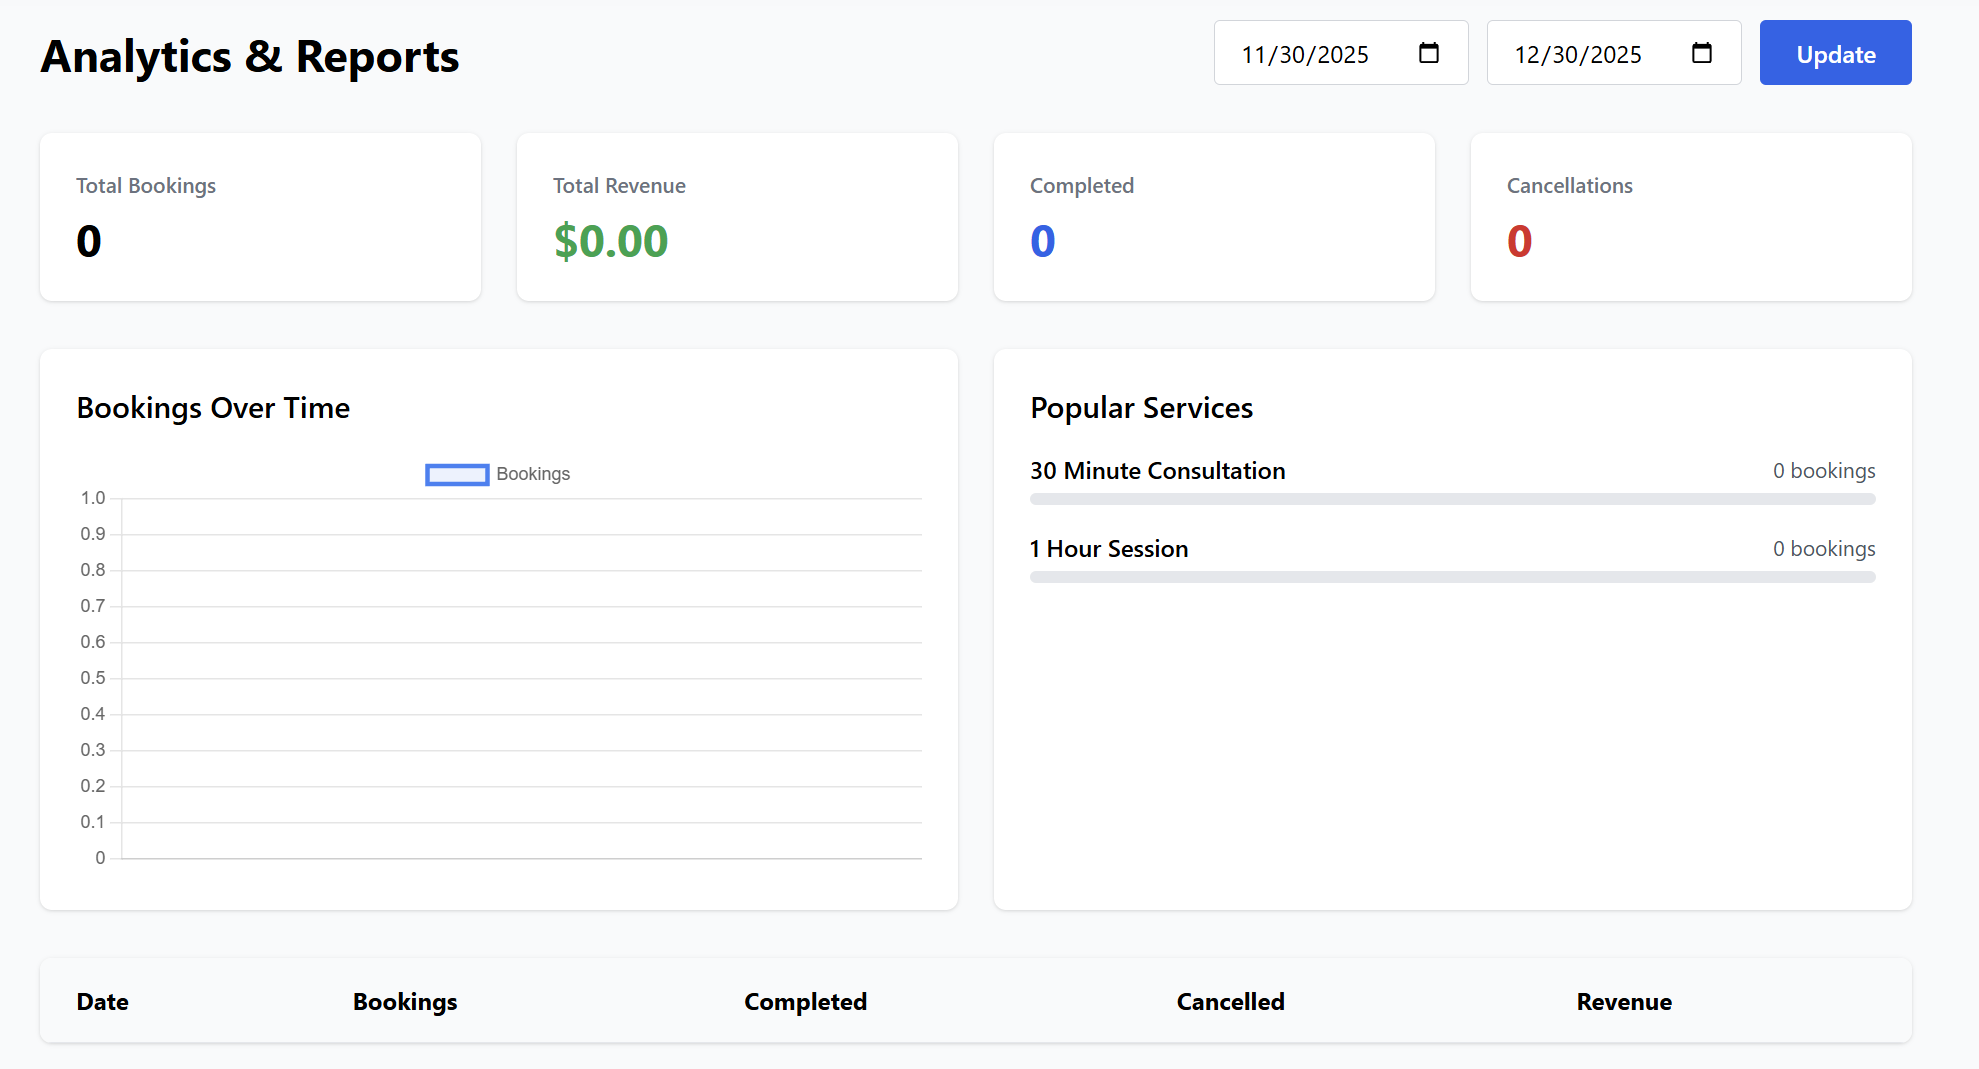
7. Tracking Performance (Analytics)
The Analytics tab provides a visual report of your business performance. You can filter by date range to view:
-
Key Metrics: Total bookings, total revenue, and cancellation rates.
-
Booking Trends: A "Bookings Over Time" chart to visualize your busiest periods.
-
Popular Services: See which services are being booked the most to help you optimize your offerings.

8. Previewing the Booking Page
Once you have configured your settings, added a service, and set your hours, click the Preview button in the top navigation bar. This will take you to the public-facing page where your customers will book their appointments.
Ready for the final look? Proceed to The Public Booking Experience guide to see how the service appears to the end-user.